Nail Pens: A Complete Guide to Easy Nail Art at Home
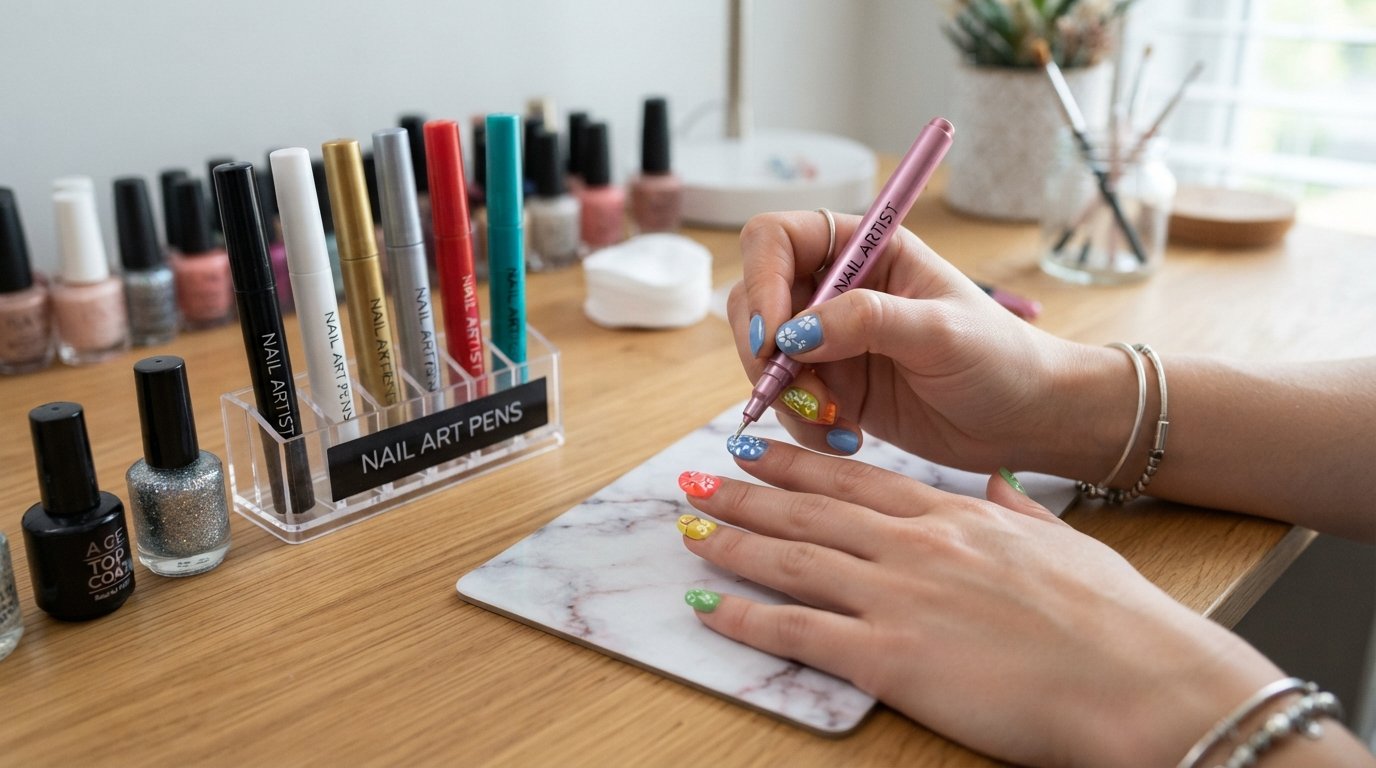
If you enjoy doing your nails but struggle with tiny details, nail pens can make the process much easier. Instead of trying to control a traditional nail-art brush, you can hold a pen-like tool and draw directly onto the nail.
Whether you want simple dots, French tips, flowers, hearts, stripes, or small lettering, a nail art pen gives you a more familiar way to create designs. Fine-tip versions are particularly useful for detailed work because they allow controlled lines and small decorative elements. (Hotucolor)
In this guide, we will look at nail pens, how they work, how to use them step by step, what designs you can create, how to choose the right one, common mistakes to avoid, and how to make your finished nail art last.
What Are Nail Pens?
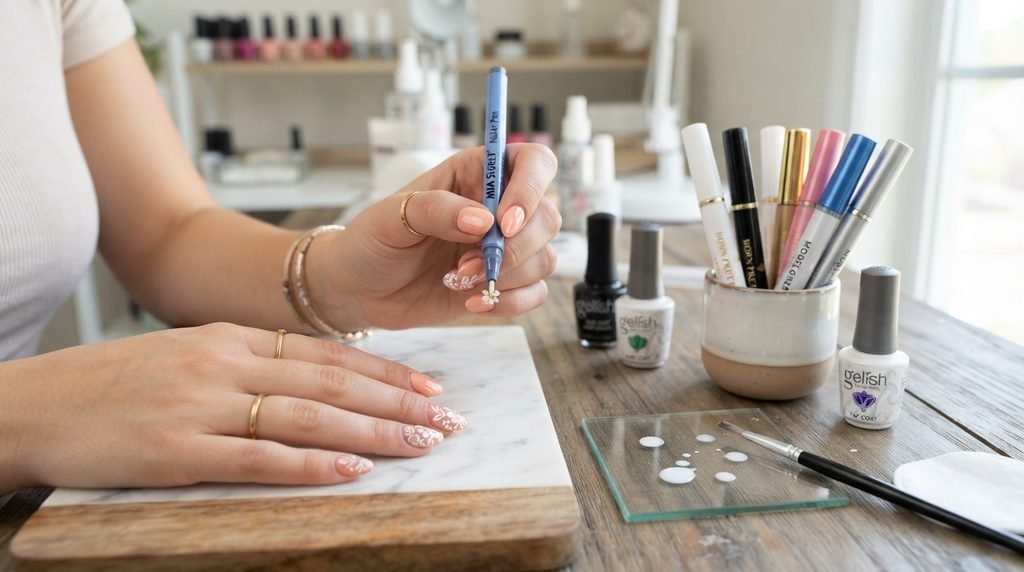
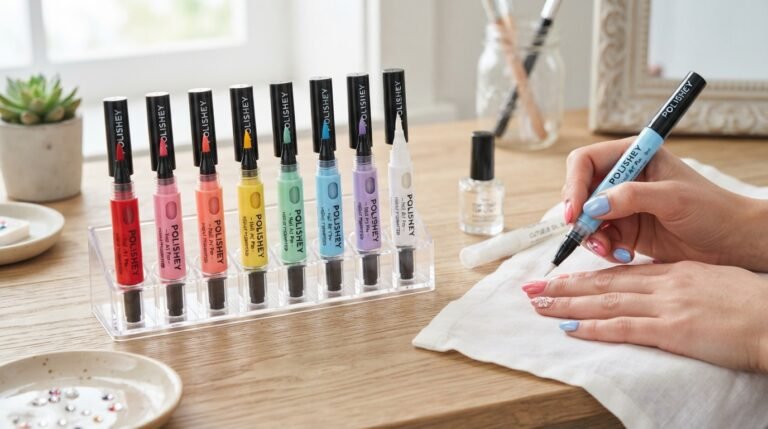
Nail pens are pen-shaped tools designed to apply colour or create decorative designs on nails. They are also commonly called nail art pens, nail polish pens, nail design pens, or nail polish markers.
The main difference between a nail pen and an ordinary nail polish brush is the way you control the product.
With a regular brush, you pick up polish from a bottle and guide a relatively wide brush across the nail. With a pen, you can draw lines and details more like you would draw with a normal writing pen. This can be especially helpful when working on small areas. (The Bia B Nails)
Depending on the product, nail pens may contain nail polish, paint, gel-compatible products, or water-based nail-art formulas. Therefore, always check the manufacturer’s instructions before using a particular pen on natural, gel, acrylic, or press-on nails.
Why Are Nail Pens So Popular?
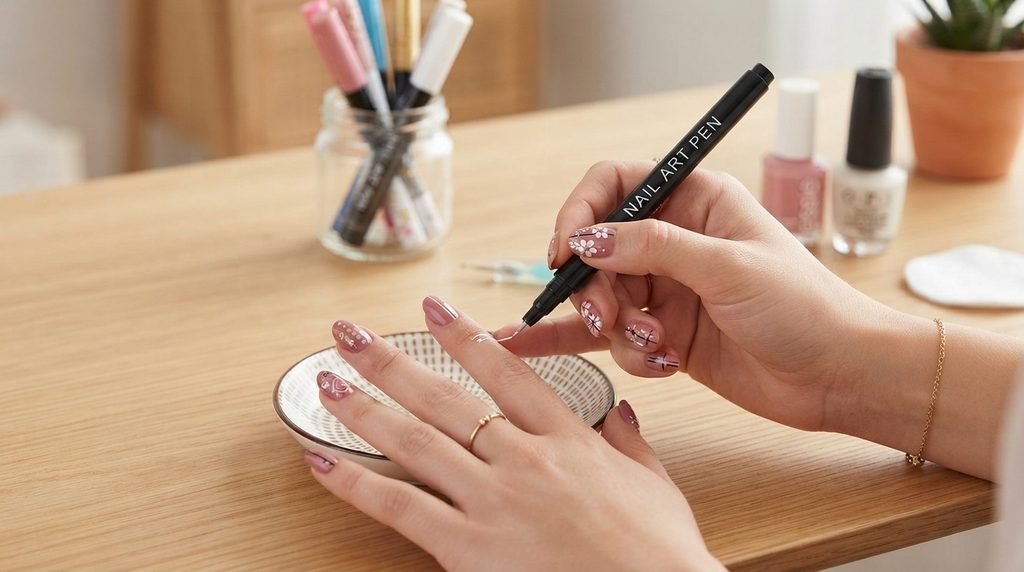
There is a simple reason nail art pens have become useful for DIY manicures: they make detailed nail art feel more approachable.
Imagine sitting at your table on a Friday evening, ready to create a cute manicure. You have your polish, a brush and a design saved on your phone. Then you try to draw one thin line—and it comes out twice as thick as expected.
That is exactly where a nail pen can help.
1. Better Control
A fine tip gives you greater control over where the colour goes. This is useful for:
- Thin lines
- Dots
- French tips
- Small flowers
- Hearts
- Stars
- Geometric designs
- Lettering
- Small decorative details
Fine tips, including approximately 0.5 mm designs, are commonly promoted for detailed nail-art work. (Hotucolor)
2. Beginner-Friendly
You do not have to be a professional nail technician to start using nail pens.
In fact, beginners can start with very basic designs. A few dots or simple lines can already make a plain manicure look more interesting.
3. Easy to Carry
A pen-shaped tool is convenient to keep in a small nail art kit. You do not necessarily need a large collection of brushes and separate palettes just to create a few small designs.
This can also make nail art pens convenient when travelling.
4. Great for Small Details
Traditional brushes can be difficult to control when you are working on tiny areas. A fine nail pen can make details such as small petals, thin stripes and tiny shapes easier to draw.
5. Creative Freedom
Perhaps the biggest advantage is that you are not limited to one manicure style.
You can use nail pens to create completely different looks depending on your colours and technique.
Nail Pens vs. Regular Nail Polish Brushes
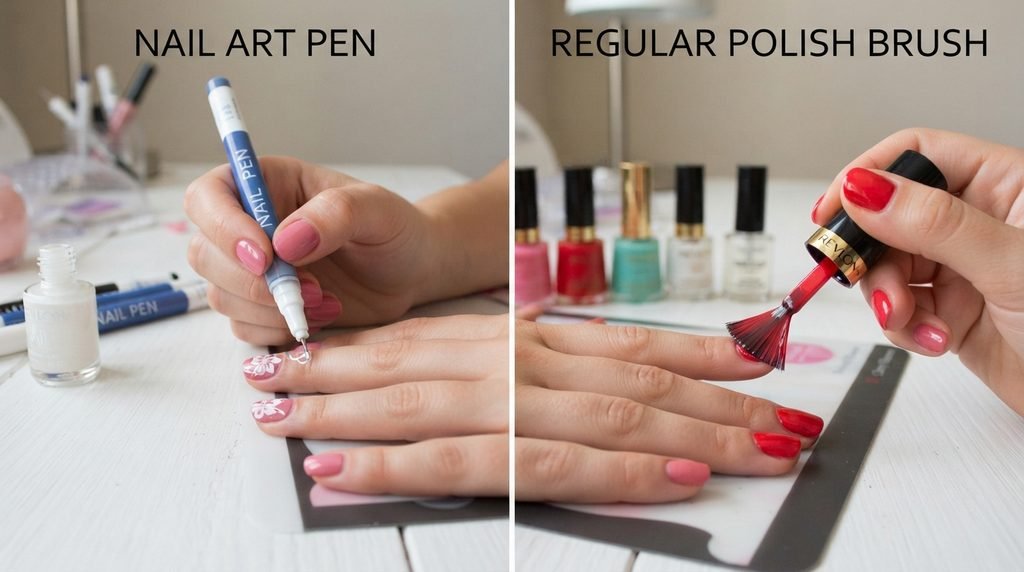
Both tools have their place, but they work differently.
| Feature | Nail Pens | Regular Polish Brush |
|---|---|---|
| Fine details | Excellent for many pen designs | More difficult |
| Thin lines | Easy with a fine tip | Requires practice |
| Dots | Simple | Usually needs another tool |
| French tips | Useful for drawing | Possible but requires control |
| Large areas | Not always ideal | Better suited |
| Portability | Very convenient | Bottles take more space |
| Beginner use | Generally approachable | Can require more practice |
The important thing is not to think of a nail polish pen as a complete replacement for ordinary polish.
Instead, think of it as an additional tool that gives you more control when creating designs.
What Can You Create With Nail Pens?
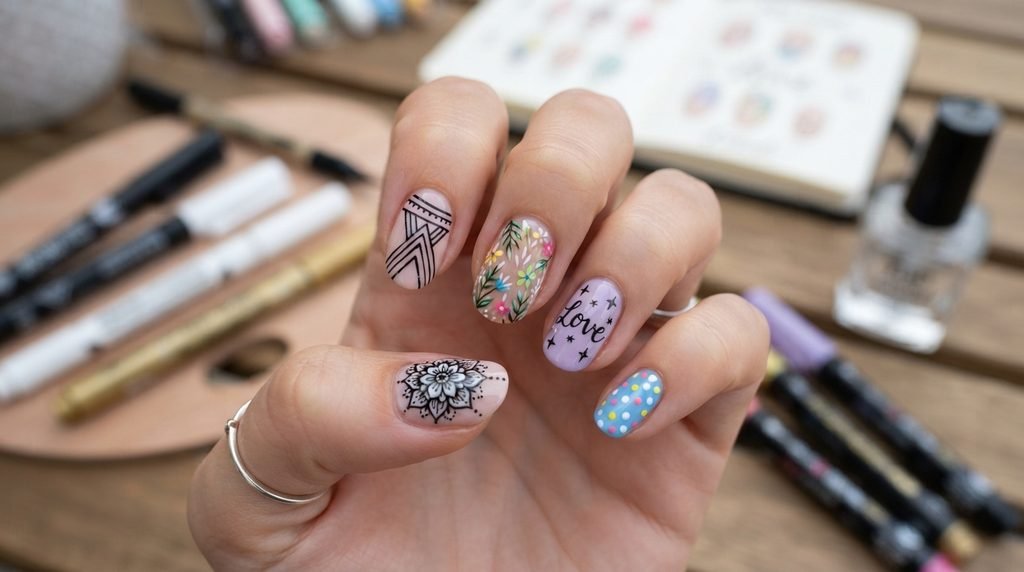
One of the best things about nail art pens is the number of designs you can try.
You can start with something extremely simple and gradually develop your skills.
1. Dots
Dots are one of the easiest designs for beginners.
Simply place the tip against the nail and lift it away. You can make large dots, tiny dots or several dots arranged in a pattern.
Try creating:
- Polka dots
- Flower centres
- Dot borders
- Random patterns
- Colourful dot clusters
2. Lines and Stripes
Once you are comfortable with dots, try lines.
You can create:
- Vertical lines
- Horizontal lines
- Diagonal stripes
- Wavy lines
- Curved lines
- Crossed lines
For a cleaner result, rest your wrist on a table while drawing.
A useful trick is to move your nail into position rather than trying to move your entire arm. This can make detailed work feel more controlled.
3. French Tips
French tip nail art is another useful application for a fine nail design pen.
Instead of trying to control a large amount of white polish with a traditional brush, you can draw a thin guideline around the nail tip and build the design gradually.
You can also move beyond traditional white French tips by trying:
- Pink tips
- Black tips
- Pastel tips
- Rainbow tips
- Double French tips
- Glitter accents
4. Flowers
Small flowers are surprisingly easy once you understand the basic technique.
Start with five small dots arranged in a circle. Add a contrasting dot in the middle, and you have a simple flower.
For example:
Pink base + white petals + yellow centre
or
Nude base + black petals + gold centre
This is an easy way to make a simple manicure look more decorative.
5. Hearts
Draw two small curves at the top and bring them together into a point.
You can create tiny hearts across the nail or place one larger heart on an accent nail.
6. Geometric Nail Art
If you prefer a modern style, nail pens are useful for geometric designs.
Try:
- Triangles
- Squares
- Checkerboard patterns
- Abstract lines
- Half-moon shapes
- Minimalist patterns
A nude or neutral base with black or white details can create a clean, modern appearance.
How to Use Nail Pens: Step-by-Step Guide
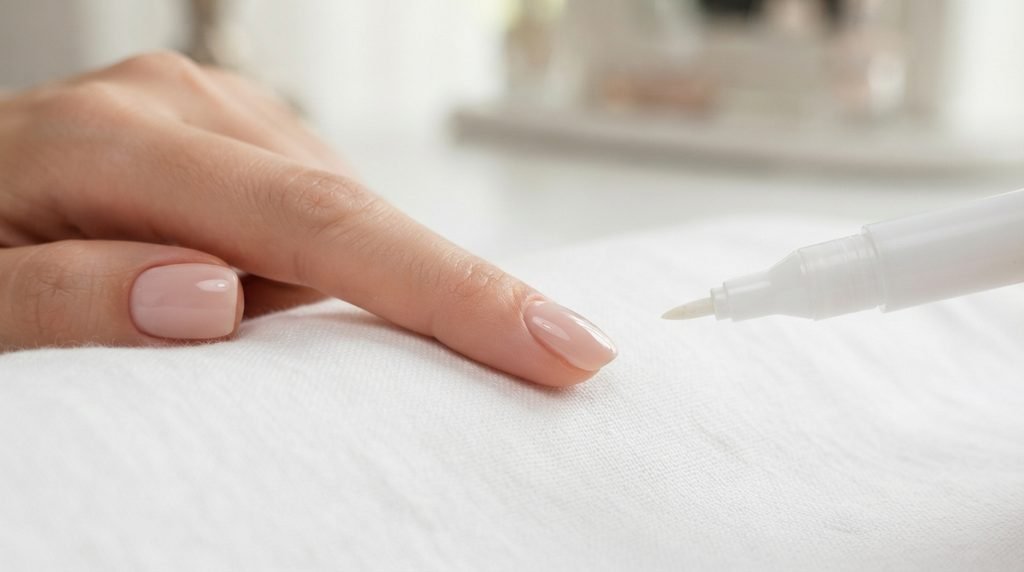
Using nail pens is relatively simple, but preparation makes a big difference.
Step 1: Clean Your Nails
Start with clean, dry nails.
Remove old polish and wash your hands. Make sure there is no excess oil, cream or lotion left on the nail surface.
A clean surface helps the product apply more consistently.
Step 2: Shape Your Nails
Use a suitable nail file to create the shape you want.
You can choose:
- Square
- Round
- Oval
- Almond
- Squoval
The design usually looks more polished when your nails have a neat, consistent shape.
Step 3: Apply Your Base Colour
If your nail pen is designed for nail art over polish, apply your chosen base colour first.
This could be:
- Nude
- White
- Pink
- Red
- Black
- Pastel
- Sheer
- Neutral
Most importantly, allow the base layer to dry completely before drawing.
Working over wet polish can cause the design to drag or become uneven. (JW Nail Studio)
Step 4: Prepare the Nail Pen
Different nail polish pens work differently.
Some need shaking, while others may require the tip to be pressed several times to activate the flow.
Follow the instructions supplied with your particular product.
Do not automatically press or pump every pen because activation mechanisms vary between products.
Step 5: Test the Pen
Before touching your nail, test the pen on a piece of paper or a nail-art practice tip.
Draw a few lines.
Check:
- Is the colour flowing?
- Is the line too thick?
- Is the line too light?
- Is the tip working evenly?
Testing first can save you from ruining an otherwise finished manicure. (Monaco Nail Academy)
Step 6: Start With Light Pressure
Now begin your design.
Hold the nail art pen like a normal writing pen.
Use light pressure.
If you press too hard, you may release too much product or make the line wider than you wanted. A light touch generally gives you better control for fine details.
Step 7: Let the Design Dry
Once you have finished drawing, give the design enough time to dry.
Do not immediately touch the surface or apply a top coat while the design is still wet.
The drying time depends on the formula and manufacturer.
Step 8: Apply a Top Coat
Once the artwork is properly dry, a suitable clear top coat can help protect the design.
A top coat can also give the manicure a smoother, shinier finish.
However, make sure your nail pen’s instructions are compatible with the top coat you intend to use. Different formulas can behave differently.
Easy Nail Pen Routine for Beginners
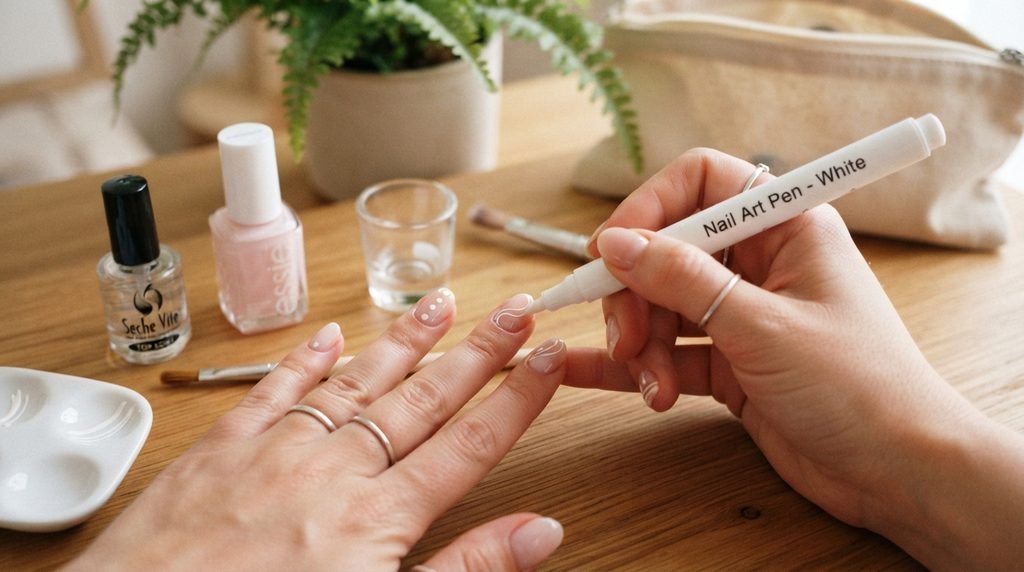
If this is your first time using nail pens, do not try a complicated design immediately.
Use this simple routine:
- Clean your nails.
- Shape them with a nail file.
- Apply your base colour.
- Allow the base colour to dry completely.
- Shake or activate the nail pen according to its instructions.
- Test the flow on paper.
- Draw simple dots or lines.
- Let the design dry.
- Apply a suitable top coat.
- Allow everything to dry properly.
That is enough for your first attempt.
Once you become comfortable, you can move toward flowers, French tips, geometric designs and more detailed patterns.
How to Choose the Right Nail Pens
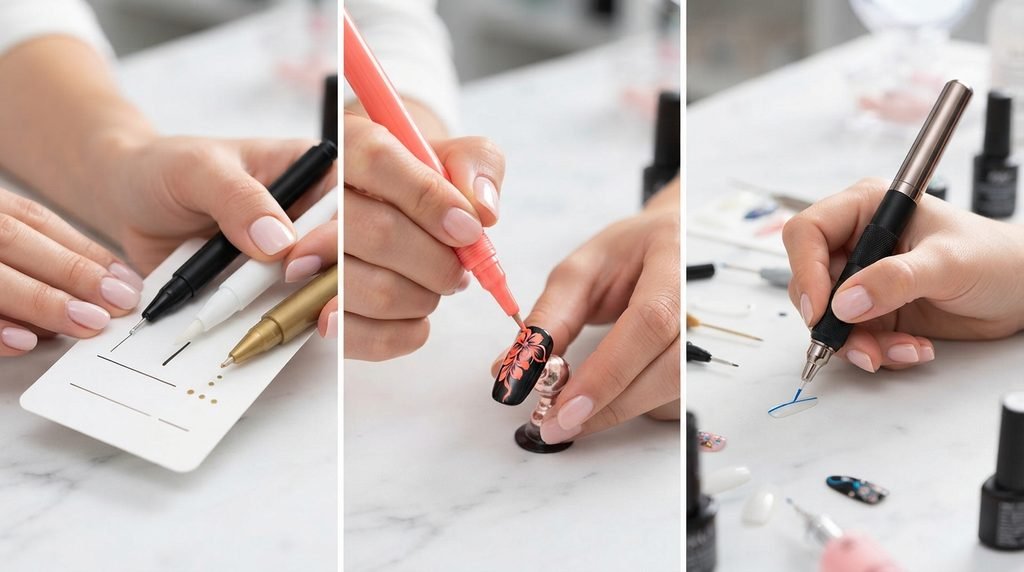
Not every nail pen is designed in exactly the same way.
Before buying one, consider the following features.
Tip Size
If you want detailed designs, look for a fine tip.
A fine tip can be particularly useful for:
- Thin lines
- Small flowers
- Lettering
- Tiny dots
- Geometric details
Some nail-art pens use approximately 0.5 mm tips for precision work. (Hotucolor)
Colour Selection
If you enjoy experimenting, a nail art pen set with multiple colours may offer more flexibility than buying one colour at a time.
Think about the colours you actually use.
A useful starter selection could include:
- White
- Black
- Red
- Pink
- Gold
- Silver
You can then add pastel or seasonal shades later.
Formula
Check what the pen actually contains.
Some products are water-based, while others may use different polish or paint formulas. For example, some water-based nail-art pens are designed to be removable before sealing with a top coat. (PaintMyNails)
Always follow the product’s own instructions rather than assuming every pen works in exactly the same way.
Nail Compatibility
If you regularly use gel nails, acrylic nails or press-on nails, check whether the product specifically supports that surface.
Some manufacturers state that their pens can be used on natural, gel, acrylic and press-on nails, but compatibility should always be confirmed for the exact product you purchase. (PaintMyNails)
Common Mistakes When Using Nail Pens
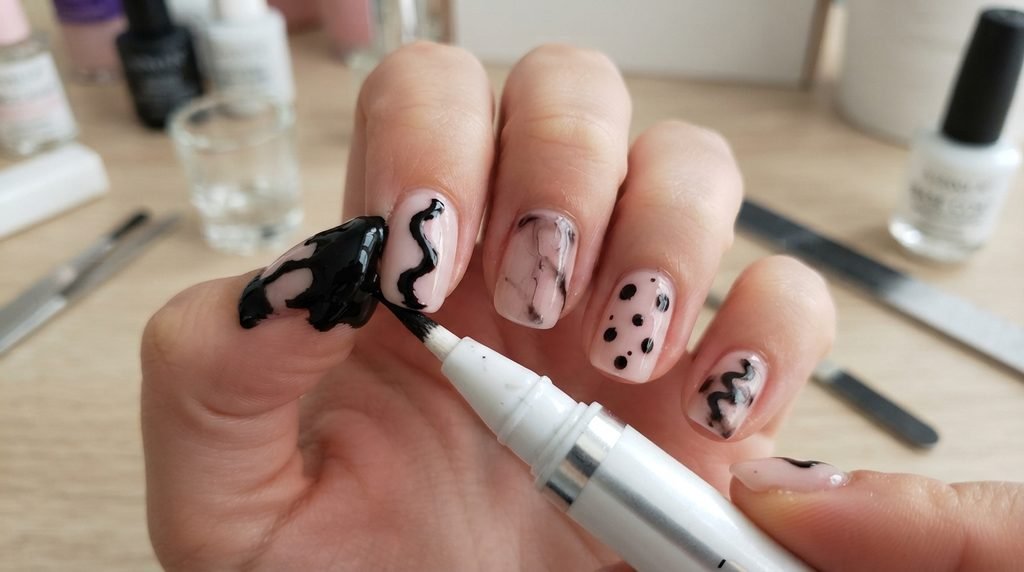
Even though nail pens are beginner-friendly, a few mistakes can affect the result.
Drawing on Wet Polish
This is one of the most common problems.
If the base colour is still wet, the pen can drag through it instead of creating a clean line.
Solution: Wait until the base is completely dry.
Pressing Too Hard
Heavy pressure can make your lines too thick.
Solution: Start with gentle pressure and increase it only when necessary.
Skipping the Practice Step
It can be tempting to open the pen and immediately start drawing on your nails.
However, testing the flow first lets you understand how the tip behaves.
Solution: Always test on paper or a practice nail.
Applying Top Coat Too Quickly
If the artwork has not dried properly, the top coat may smear it.
Solution: Give the design sufficient drying time before sealing it.
Trying a Difficult Design First
Your first attempt does not need to look like professional salon artwork.
Start with dots and lines.
Then try flowers.
Then move toward more detailed designs.
Small improvements add up quickly.
How to Make Nail Pen Designs Last Longer
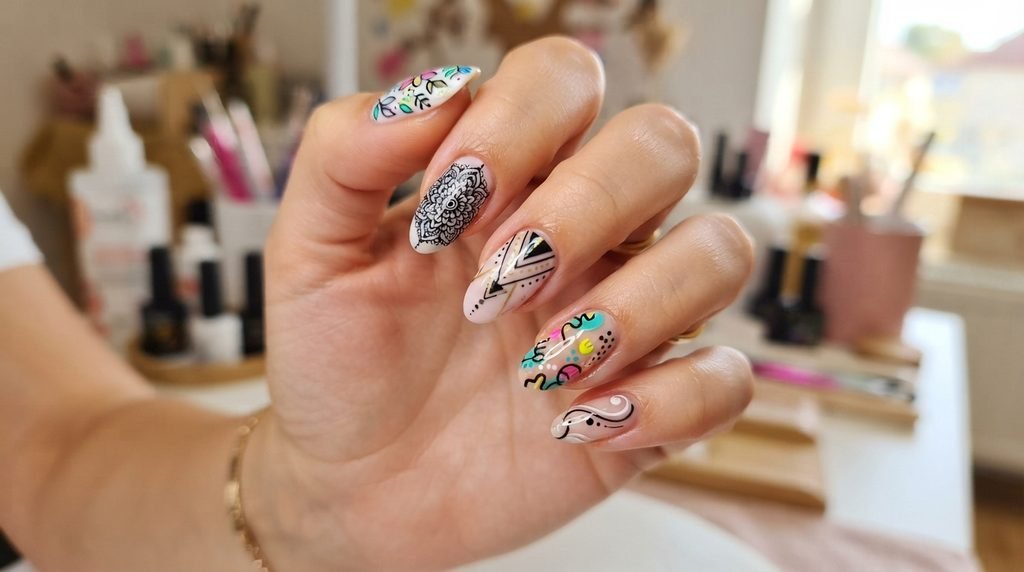
Your technique matters, but aftercare matters too.
Keep Your Nails Dry While the Design Sets
Avoid immediately washing dishes, taking a long shower or doing activities that may disturb a fresh manicure.
Use a Suitable Top Coat
A compatible top coat can help protect the artwork.
Avoid Picking at the Design
If part of the artwork begins lifting, picking at it can make the manicure look uneven.
Protect Your Nails
If you frequently work with water or cleaning products, wearing suitable gloves can help protect your manicure.
How to Practice With Nail Pens
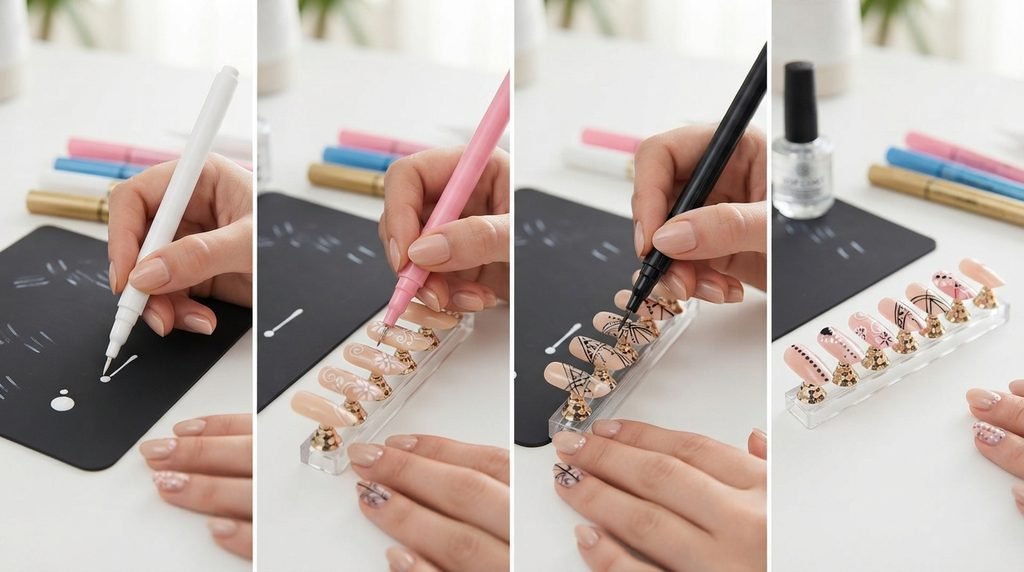
You do not have to practise directly on your nails.
In fact, practising elsewhere can be a smart way to improve.
Take a piece of paper and draw:
— — — — —
Then practise:
~~~~~~~
Then:
••••••••
Then try simple flowers and hearts.
You can also use artificial nail tips to practise complete designs before applying them to your natural nails.
With time, your hand becomes more familiar with the amount of pressure required.
Are Nail Pens Worth Buying?
For someone who enjoys DIY nail art, nail pens can be a practical addition to a manicure collection.
They are especially useful if you want to create detailed designs without learning complicated brush techniques first.
They can help with:
- Quick nail art
- Fine details
- French tips
- Simple patterns
- Dots
- Lines
- Accent nails
- Personalised designs
However, expectations should remain realistic. A nail pen does not automatically create perfect nail art. Your results will still depend on the product, your technique, the condition of your nails and the time you spend practising.
The good news is that the learning curve can be quite manageable.
Nail Pens for Beginners: What Should You Start With?
If you are buying your first nail art pen set, you do not necessarily need dozens of colours.
Start with a small selection that works with different base colours.
For example:
| Base Colour | Pen Colour |
|---|---|
| Nude | Black |
| Pink | White |
| White | Red |
| Black | White |
| Pastel | Black |
| Neutral | Gold |
This gives you plenty of combinations without making your first purchase unnecessarily complicated.
As your skills improve, you can add more colours and experiment with seasonal nail art.
Frequently Asked Questions About Nail Pens
Can beginners use nail pens?
Yes. Nail pens are designed to make detailed nail art easier to control, and simple dots and lines are good starting designs. (Hotucolor)
Can I use a nail pen on natural nails?
Many products are designed for natural nails, but the exact formula matters. Check the manufacturer’s instructions before use.
Can nail pens be used on gel nails?
Some products are specifically compatible with gel nails, but not every pen should be assumed to work with every gel system. Always check the product instructions.
Do nail pens need a top coat?
A top coat is commonly recommended to protect nail-art designs, although the exact recommendation depends on the formula. (JW Nail Studio)
Why is my nail pen not drawing?
The pen may need to be shaken, activated or prepared according to its instructions. Test the flow on paper before using it on your nail.
Why are my lines too thick?
You may be applying too much pressure. Try using a lighter touch.
Can I create French tips with nail pens?
Yes. Fine-tip pens can be useful for drawing precise French-tip lines, particularly when you want to create detailed or alternative French-tip designs.
Can I create flowers with a nail pen?
Absolutely. Small dots and curved lines can be combined to create simple flowers and floral patterns.
Final Thoughts
Nail pens are a simple way to make DIY nail art more approachable. Instead of struggling with a traditional brush for every tiny detail, you can use a familiar pen-like grip to create lines, dots, flowers, French tips and other designs.
The key is to start slowly.
Prepare your nails, allow your base colour to dry, activate the pen correctly, test the flow, use light pressure and let the design dry before applying a compatible top coat.
You do not need to create complicated artwork on your first attempt. Start with a few dots or lines, practise on paper, and build your confidence from there.
For anyone who enjoys experimenting with manicures, a good nail art pen can be a useful tool to keep in your nail-art collection. With the right tip, suitable formula and a little practice, you can turn a simple manicure into something much more personal and creative. (sweenly.com)