Nail Varnish Pens: The Easy Way to Create Beautiful Nail Art
If you enjoy doing your nails at home but struggle to create clean lines, small patterns, or detailed designs, nail varnish pens could make things much easier. Unlike a traditional nail polish bottle and brush, a nail varnish pen gives you more control over where the colour goes. This makes it useful for simple nail art, French tips, dots, flowers, hearts, lines, and other small designs.
For beginners, the biggest attraction is simple: you can use a pen in much the same way you use a normal drawing pen. You do not need to be a professional nail artist to start experimenting.
Some products are designed specifically for nail art, while others contain actual nail polish in a pen-style applicator. For example, some nail art pens are designed for drawing over a coloured nail base, while French manicure pens are made specifically for creating precise white tips.
So, if you have been wondering whether nail varnish pens are worth trying, this guide will help you understand how they work, how to use them, what designs you can create, and what to look for before buying.
What Are Nail Varnish Pens?
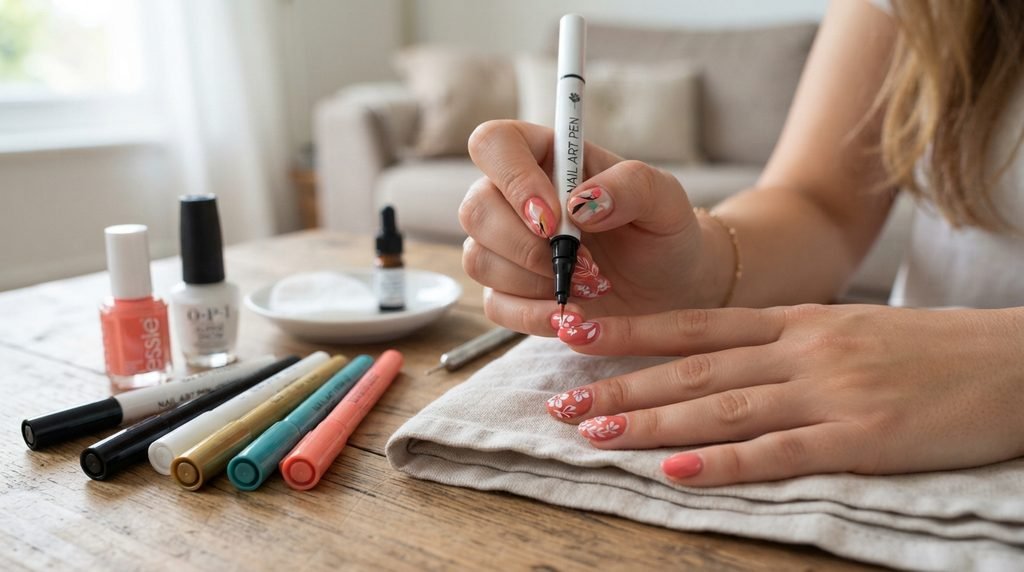
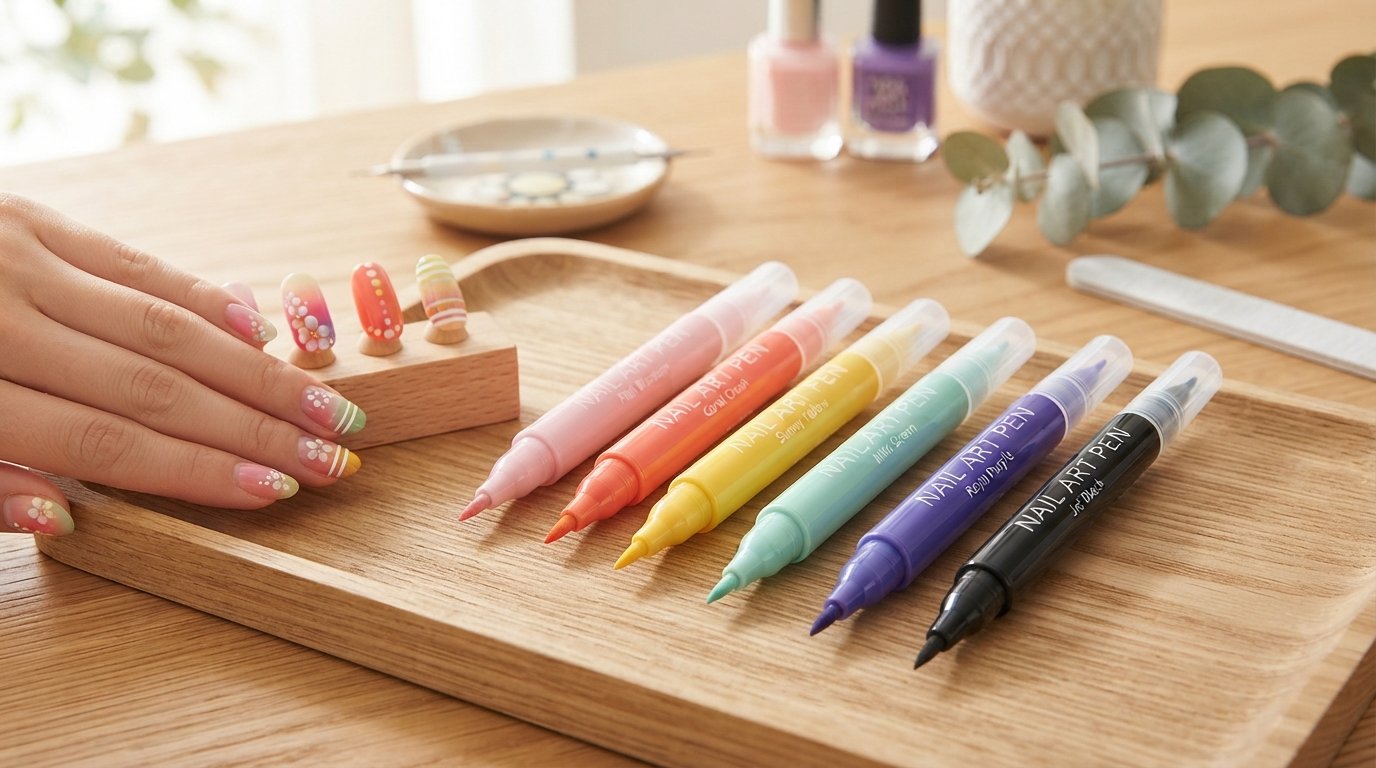
Nail varnish pens are nail products designed in a pen-like format. Instead of dipping a brush into a bottle of polish, you apply the product through a pen tip or nib.
Depending on the product, a nail polish pen can be used to:
- Draw thin lines
- Create dots
- Make French tips
- Draw flowers and hearts
- Add small details to nail designs
- Create geometric patterns
- Add lettering or simple symbols
- Touch up small areas of colour
The design of the applicator can make detailed nail art easier because you have a smaller point of contact than you normally get with a standard nail polish brush.
For example, Nails.INC’s Mani Markers are designed for nail art such as French tips, smileys, swirls, hearts, and flowers.
Nail Varnish Pens vs Traditional Nail Polish
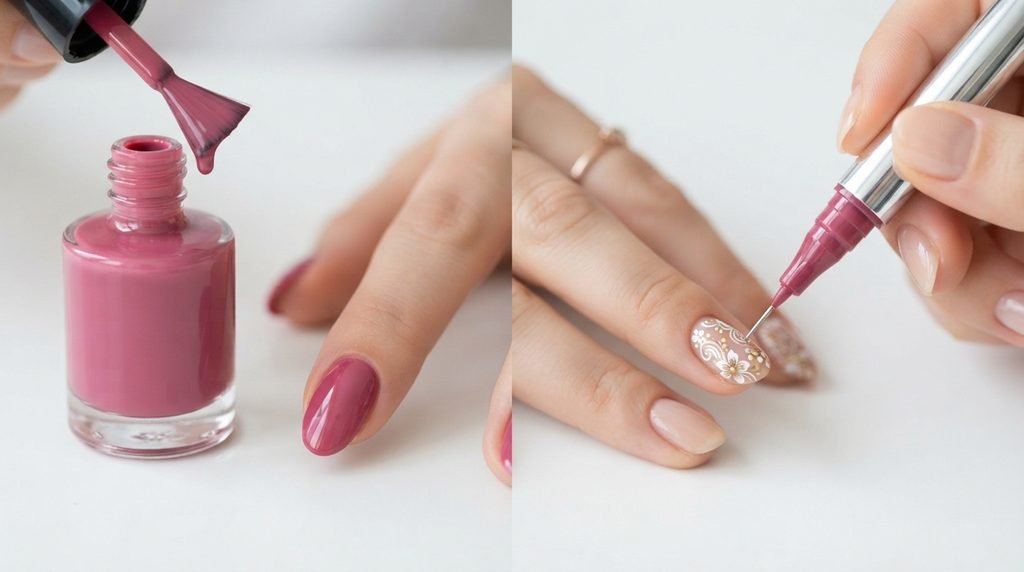
Traditional nail polish is usually applied with a wider brush. That works very well when you want to cover the whole nail, but it can be harder when you want to draw a very small design.
A nail varnish pen, on the other hand, is more focused on precision.
Think of it this way: a normal polish brush is like using a paintbrush to colour a large area, while a nail art pen is more like using a fine drawing pen for small details.
That does not mean one is always better than the other. They simply have different jobs.
Why Are Nail Varnish Pens So Popular?

One of the main reasons people like nail varnish pens is convenience.
You do not necessarily need a large collection of nail art brushes, dotting tools, and other accessories to start creating simple designs. A pen can give you a straightforward way to experiment.
1. They Are Beginner-Friendly
If you have never done nail art before, using a tiny brush can feel difficult.
A pen-style applicator can feel more familiar because you already know how to hold and control a pen.
This can make the first few attempts less intimidating.
2. They Can Help With Precision
Small nail designs often require controlled movements. A narrow pen tip can help you place colour exactly where you want it.
This is especially useful for:
- French manicure tips
- Thin lines
- Small dots
- Simple flowers
- Hearts
- Swirls
- Minimalist nail art
3. They Are Convenient for Quick Designs
If you only want to add a small detail rather than create a complicated manicure, a nail art pen can be a convenient option.
You can start with a simple base colour and then add your design once the base is completely dry.
4. They Make Nail Art More Accessible
You do not have to be an experienced nail technician to enjoy nail art.
With a little practice, beginners can create simple designs at home and gradually move toward more detailed patterns.
How to Use Nail Varnish Pens: Step-by-Step Guide
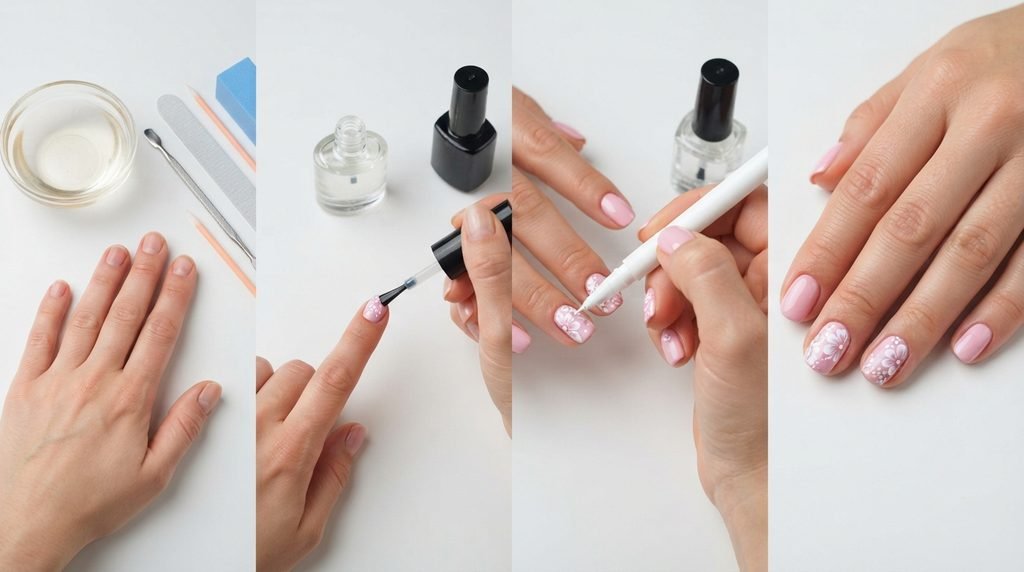
Using nail varnish pens is generally straightforward, but the exact instructions can vary between products. Always check the instructions supplied with your particular pen.
Here is a simple routine you can follow.
Step 1: Clean Your Nails
Start with clean, dry nails.
Remove old polish and wash your hands. Make sure there is no oily hand cream or heavy residue left on the nail surface.
This matters because oils can interfere with how nail products adhere.
If your nails are wet or damp, give them enough time to dry before starting.
Step 2: Shape Your Nails
Before applying colour, decide what nail shape you want.
You can gently file your nails into shapes such as:
- Round
- Oval
- Square
- Squoval
- Almond
A clean nail shape can make the finished nail art look more polished.
Step 3: Apply Your Base Colour
If you want a colourful background, apply your chosen nail varnish first.
For example, you could use:
- Nude
- Pink
- White
- Beige
- Red
- Black
- Pastel blue
Allow the base colour to dry completely before using your nail varnish pen.
This is an important step.
If the base is still wet, your pen can drag through the polish and ruin the design.
Step 4: Prepare the Pen
Different nail polish pens work differently.
Some require shaking. Others need you to press or pump the nib several times before the product begins flowing.
For example, KIKO Milano’s French Manicure Pen instructions recommend shaking the product and activating the applicator before use.
Some nail art markers may also need the nib pressed down onto paper first to activate the flow. Nails.INC recommends shaking its Mani Marker and pressing the nib onto paper before drawing.
Follow your product’s instructions rather than repeatedly pressing the pen if nothing comes out.
Step 5: Test the Flow
Before touching your nail, test the pen on a piece of scrap paper.
Draw a few lines and dots.
This lets you see:
- How much product comes out
- How quickly it dries
- How thin the line is
- Whether you need more or less pressure
This small test can prevent mistakes on your manicure.
Step 6: Start With a Simple Design
If you are new to nail art pens, do not start with a complicated floral design.
Try something simple.
For example, draw three small dots in a row.
Then try:
• • •
Once you feel comfortable, connect the dots or turn them into a small flower.
You can also practise:
- Straight lines
- Curved lines
- Waves
- Small hearts
- Tiny stars
- French tips
Step 7: Let the Design Dry
Give the design enough time to dry before touching it.
This is particularly important when you have used several layers.
Trying to add another layer too quickly can cause smudging.
Step 8: Apply a Top Coat When Recommended
A top coat can help protect your nail design, but the exact requirement depends on the product.
Some nail art pens specifically recommend a top coat because it helps seal the design. Nails.INC, for example, notes that its water-based Mani Marker designs need a top coat to prevent the design from coming off.
Always check the instructions for your particular pen.
Easy Nail Art Ideas With Nail Varnish Pens
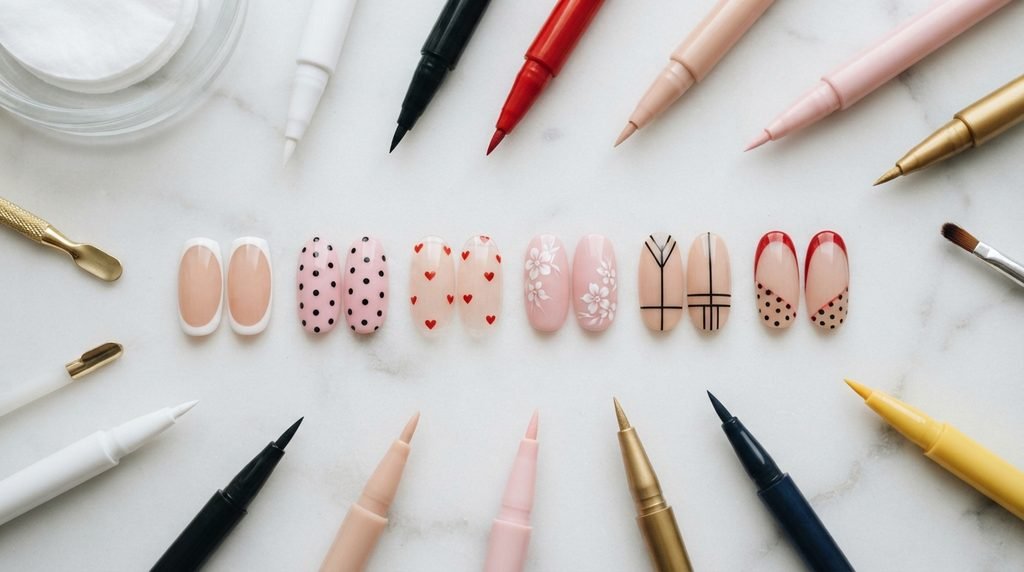
You do not need complicated techniques to create attractive nails.
Here are some beginner-friendly ideas.
French Tips
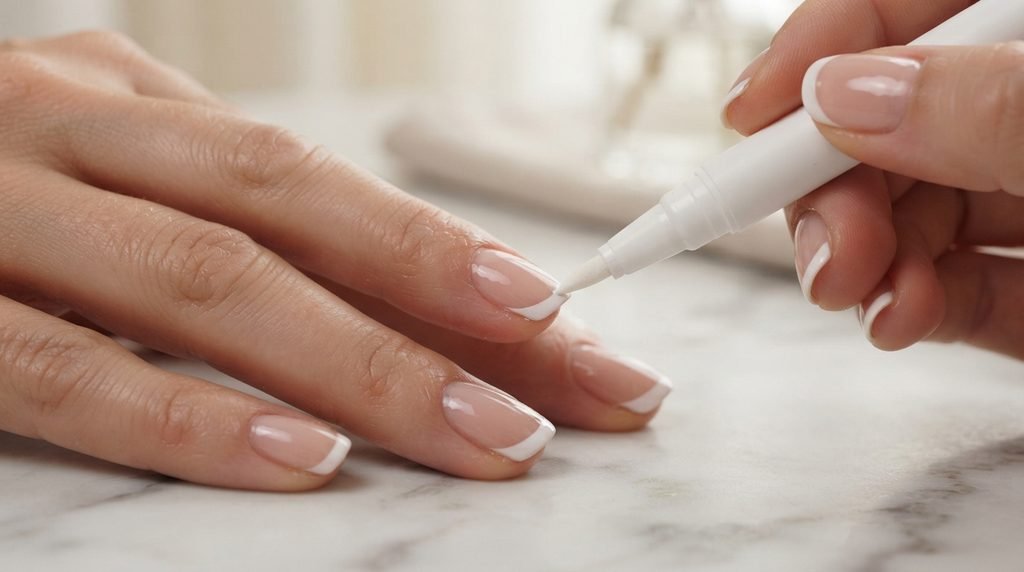
French tips are one of the most obvious uses for a nail varnish pen.
Apply a nude or pale pink base and allow it to dry.
Then use a white pen to create the tip.
A French manicure pen can be particularly useful because its applicator is designed for precise tip application.
Dot Nail Art
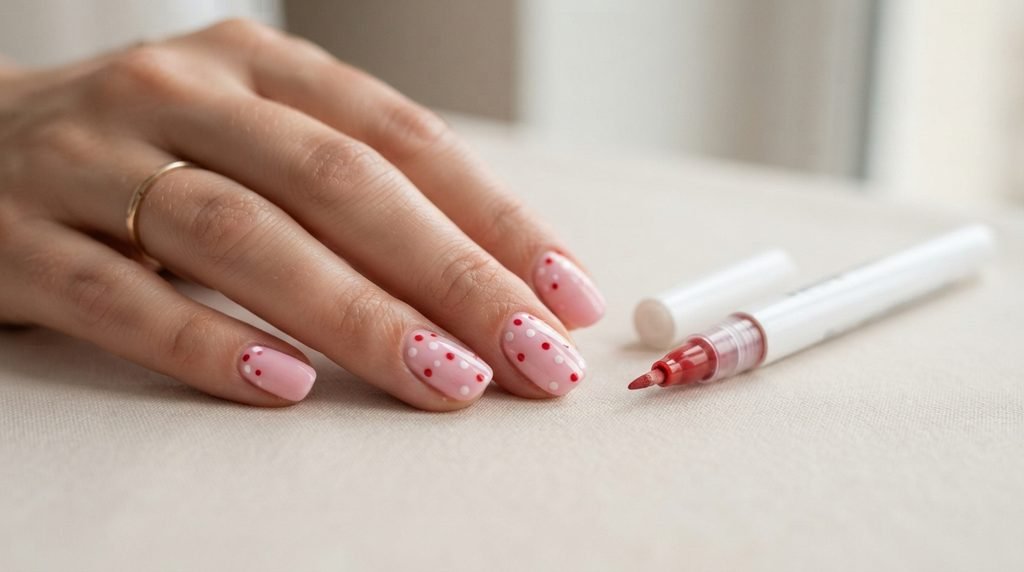
Dots are probably one of the easiest designs to try.
Place three or four small dots on each nail.
You can use one colour or alternate between different shades.
For example:
Pink → White → Pink → White
Simple designs like this can look clean without requiring advanced nail-art skills.
Heart Designs
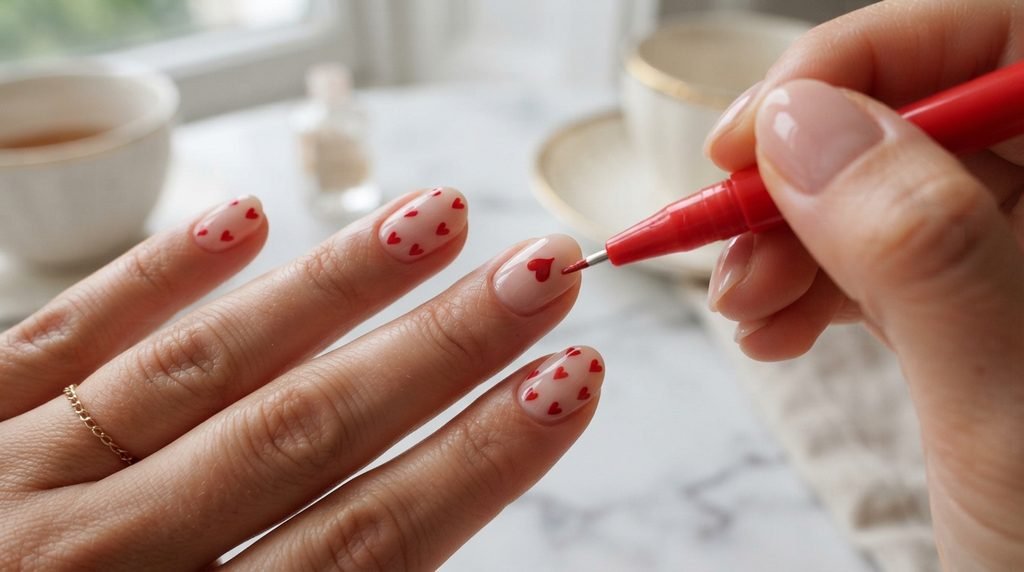
For small hearts, create two dots next to each other.
Then carefully pull the colour downward into a point.
Once you practise a few times, you can create tiny hearts near the cuticle or in the centre of the nail.
Floral Nail Art
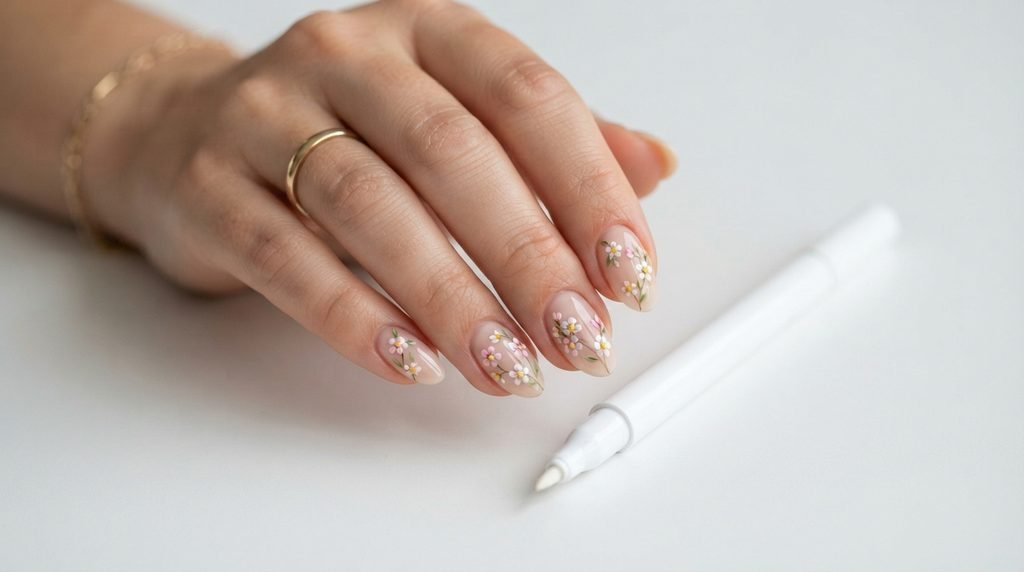
Start with five small dots arranged in a circle.
Add a smaller dot in the middle.
You now have a simple flower.
Try using different colours for the petals and centre.
Minimalist Lines
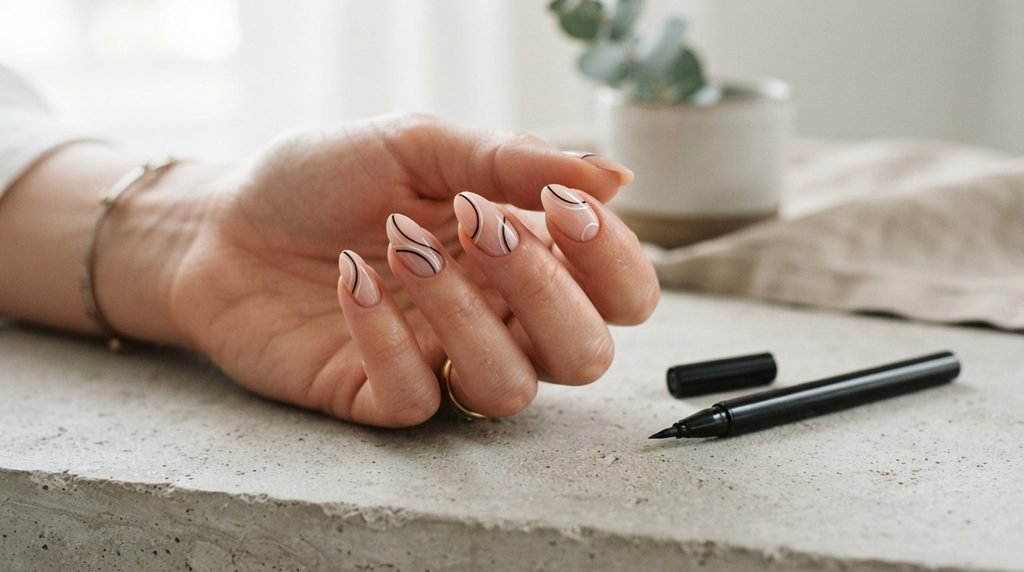
Minimalist nail art is another good option for beginners.
Try one thin line across the nail or a simple curved line from one side to the other.
You can also combine a nude base with black or white lines for a clean look.
A Quick Story: Why Simple Nail Art Often Works Best
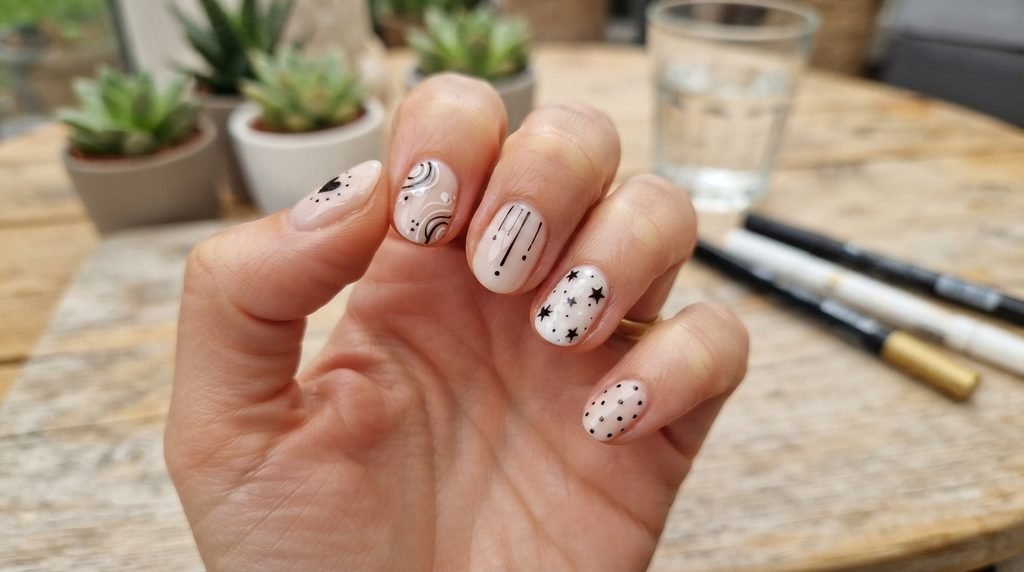
Imagine someone getting ready for a weekend event.
They want something different from their normal single-colour manicure, but they have never used nail art tools before.
Instead of attempting ten complicated designs, they choose a soft pink base and add two tiny white dots and a thin white line to each nail.
The result is simple, but it looks intentional.
That is the real advantage of nail varnish pens for beginners.
You do not have to create salon-level artwork immediately. Start with small details, learn how the pen behaves, and improve with practice.
Tips for Getting Better Results With Nail Polish Pens
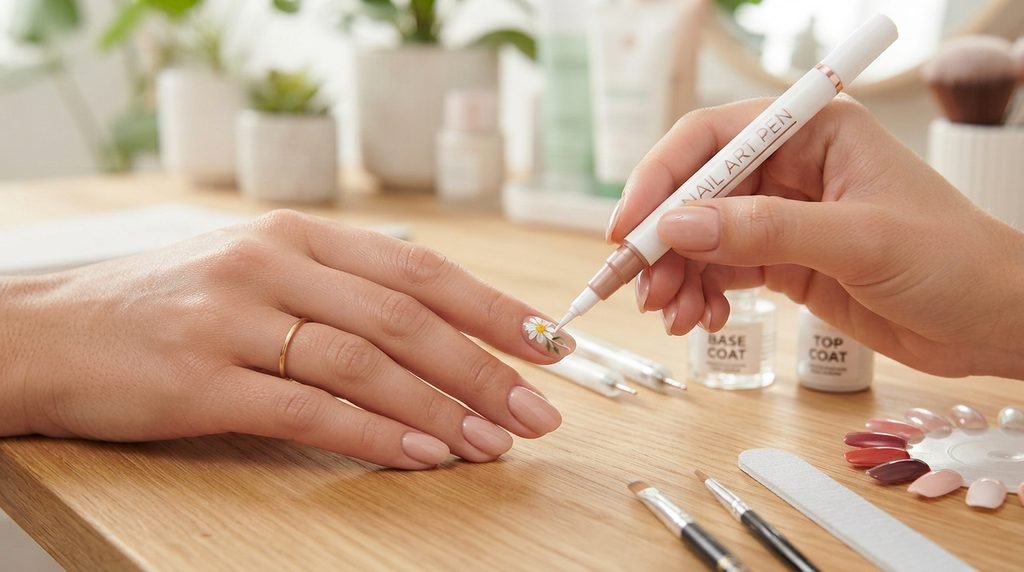
A few small habits can make a noticeable difference.
Use a Completely Dry Base
This is one of the most important tips.
If the base polish is still soft, the pen may drag or leave an uneven line.
Wait until it is properly dry.
Do Not Press Too Hard
You might think pushing harder will produce more colour.
However, depending on the applicator, excessive pressure can release too much product.
Use gentle, controlled movements.
Practise on Paper First
If you are using a new nail art pen, test it before applying it to your nails.
This gives you a better understanding of its flow.
Work One Nail at a Time
Instead of planning an elaborate design across all ten nails, complete one nail first.
If you like the result, repeat it.
This makes it easier to maintain consistency.
Keep Your Movements Slow and Controlled
Fast movements are not always better.
For thin lines, move slowly and steadily.
Your hand will become more confident with practice.
How to Choose the Right Nail Varnish Pens
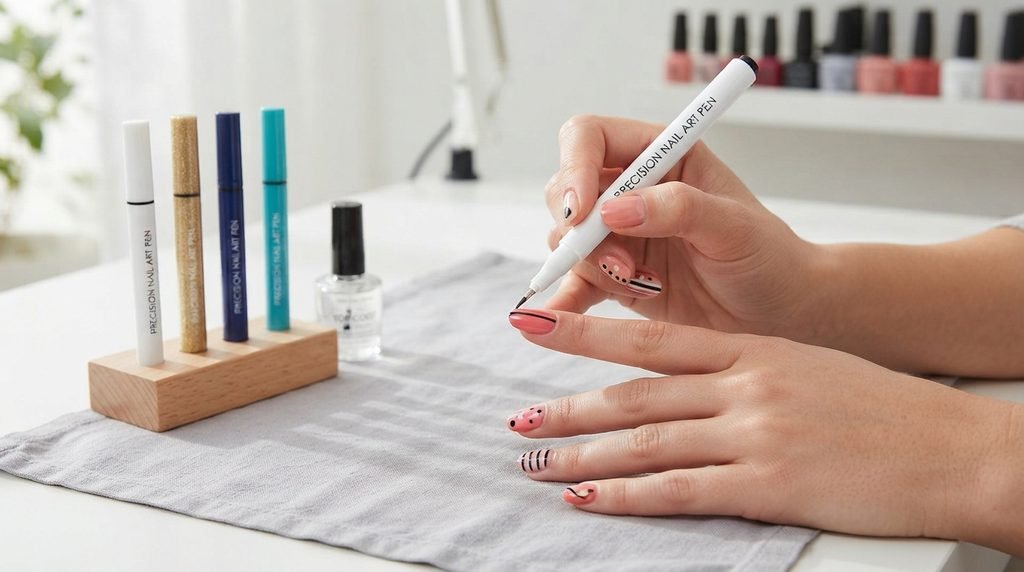
There are many different types of nail art pens, so consider what you actually want to create.
1. Look at the Tip
The applicator matters.
If you want detailed nail art, look for a fine or precision tip.
If you mainly want French tips, choose a product designed specifically for that purpose.
2. Consider the Formula
Some products are water-based nail art markers, while others contain a nail-polish-style formula.
The application and removal process can therefore differ.
Always read the product description and instructions before buying.
3. Check the Drying Instructions
Some products dry quickly, while others may need additional drying time.
Knowing this before you start can help you avoid accidental smudging.
4. Look at Whether a Top Coat Is Needed
A top coat can help protect some nail art products.
However, requirements vary.
For example, Nails.INC specifically recommends sealing its water-based Mani Markers with a top coat.
5. Choose Colours You Will Actually Use
If you are buying a set, think about the designs you want to create.
A basic collection might include:
- White
- Black
- Red
- Pink
- Nude
- Gold
- Silver
From there, you can add brighter or seasonal shades.
Are Nail Varnish Pens Worth Buying?
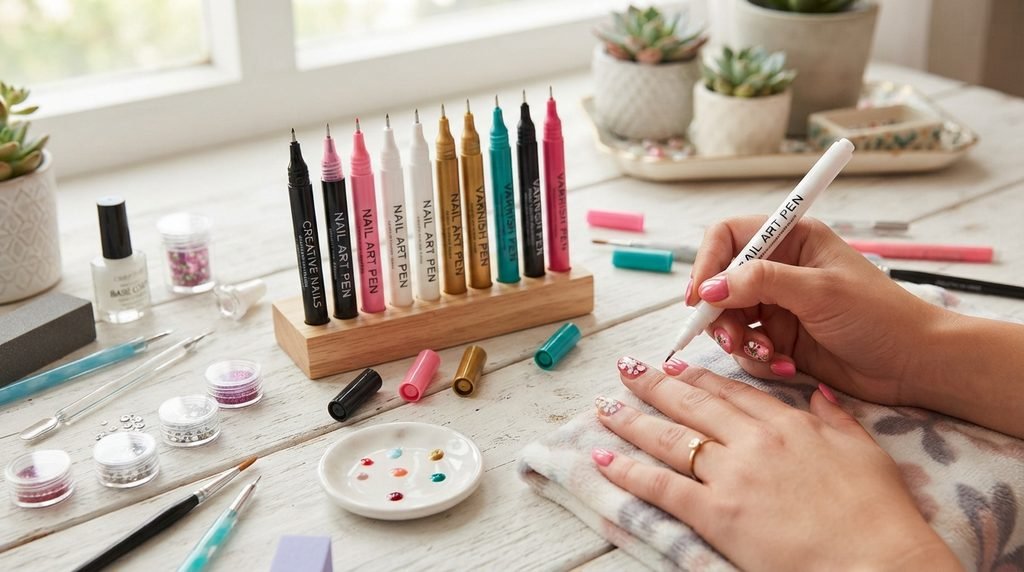
For someone who enjoys simple nail art, nail varnish pens can be a useful addition to a manicure collection.
They are particularly appealing if you want to create small designs without investing in many separate nail-art tools.
However, the value depends on how you plan to use them.
If you only wear one solid nail colour and never create designs, you may not need one.
On the other hand, if you regularly experiment with DIY nail art, French tips, dots, lines, or small decorations, a nail pen can make the process more convenient.
The key is to choose a product that matches your needs rather than buying simply because it looks interesting.
Nail Varnish Pens vs Nail Art Brushes
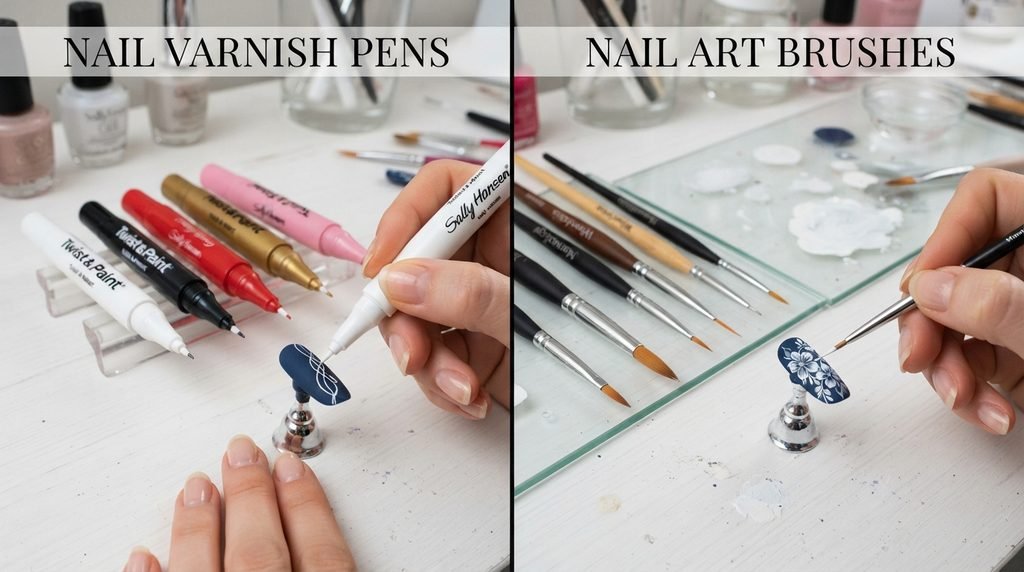
Both options have advantages.
| Feature | Nail Varnish Pens | Nail Art Brushes |
|---|---|---|
| Beginner-friendly | Usually easier | Can require practice |
| Precision | Good for small details | Depends on brush |
| Convenience | Very convenient | Requires separate tools |
| French tips | Excellent for suitable pens | Possible with practice |
| Fine lines | Good | Very good with the right brush |
| Cleaning | Depends on formula | Brushes need cleaning |
| Portability | Easy to carry | More accessories required |
For beginners, nail varnish pens can provide a simpler starting point.
More experienced nail artists may prefer brushes because they offer greater flexibility across different techniques.
Common Mistakes to Avoid
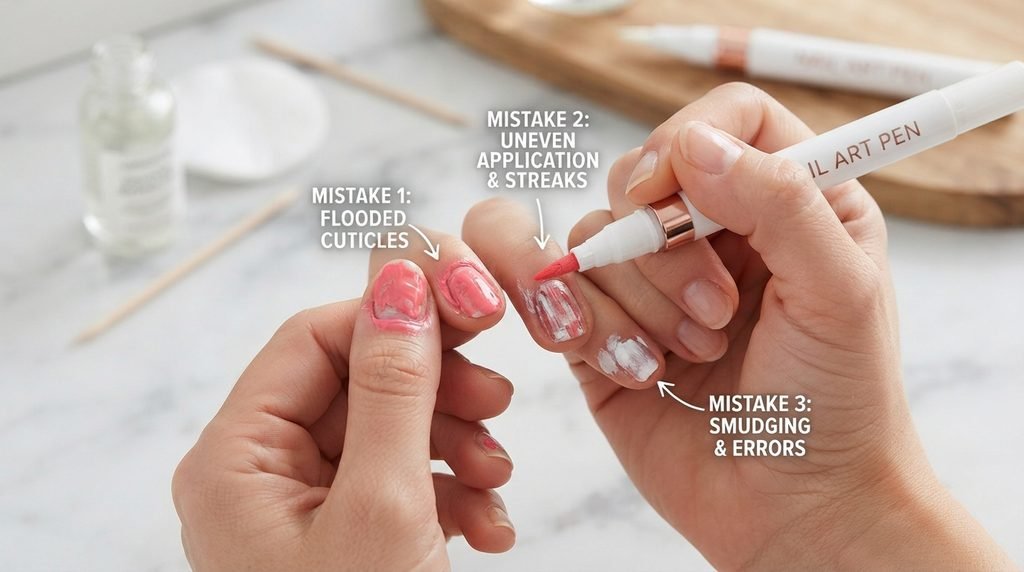
Even an easy product can produce poor results if used incorrectly.
Mistake 1: Drawing on Wet Polish
Always allow the base to dry properly.
Mistake 2: Applying Too Much Product
Too much product can create thick, uneven designs.
Mistake 3: Skipping the Instructions
Different pens work differently.
One may need shaking and activation, while another may work immediately.
Mistake 4: Forgetting the Top Coat
If your particular pen requires a top coat, skipping it can reduce the durability of your design.
Mistake 5: Picking at Your Nail Product
If polish begins to lift, avoid aggressively picking or scraping it away.
The American Academy of Dermatology advises against picking gel polish because this can damage the nails.
How to Remove Nail Varnish Pen Designs
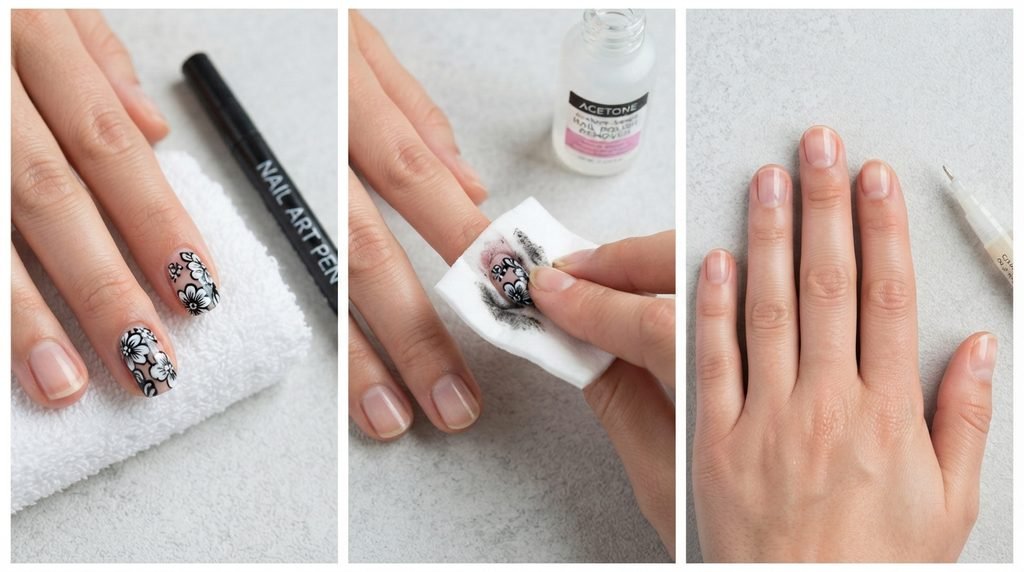
Removal depends on the formula.
Some regular nail-polish-style products can be removed with nail polish remover, while other products may have different instructions.
Do not assume that every nail pen can be removed in exactly the same way.
If you are using a gel-based product, follow the manufacturer’s removal instructions carefully.
The American Academy of Dermatology notes that improper picking or scraping during gel removal can damage the natural nail.
For ordinary polish, use an appropriate remover and avoid aggressively scraping the nail surface.
How to Make Your Nail Art Last Longer
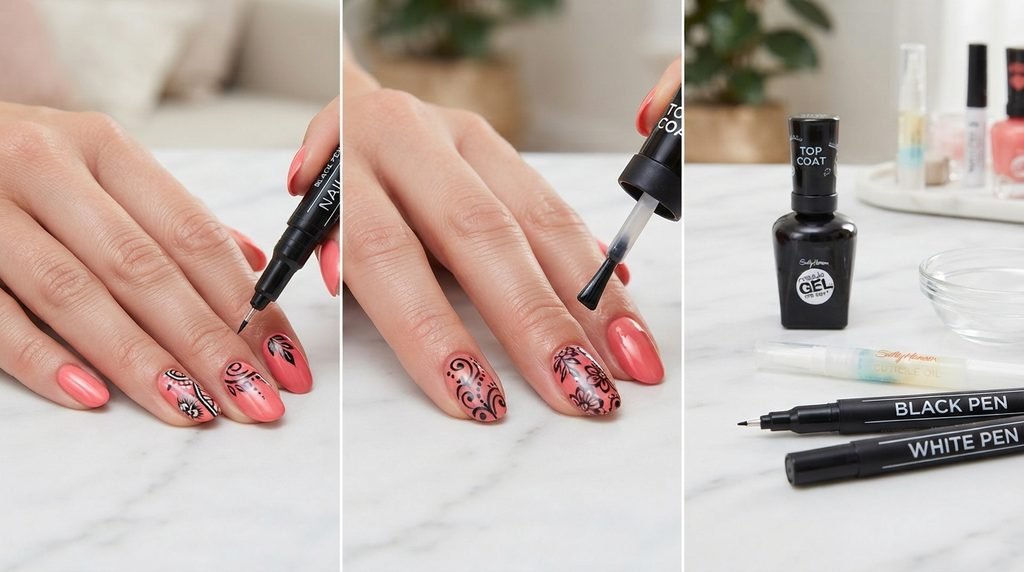
Once you have created a design, you naturally want it to stay looking good.
Here are some simple habits that can help:
- Start with clean nails.
- Allow the base colour to dry completely.
- Apply your design carefully.
- Let the design dry.
- Use a compatible top coat when recommended.
- Avoid picking or scraping the finished polish.
- Keep your nails protected from unnecessary impact.
A top coat is particularly important for certain water-based nail art products.
Frequently Asked Questions About Nail Varnish Pens
Are nail varnish pens good for beginners?
Yes. They can be particularly useful for beginners because the pen-style format can make small designs easier to control.
However, some practice is still required.
Can you use nail varnish pens on natural nails?
Many nail pens are designed for use on natural nails, but always check the manufacturer’s instructions before application.
Can nail varnish pens create French tips?
Yes. Some products are specifically designed for French manicure tips. KIKO Milano, for example, sells a French Manicure Pen designed to create defined white tips.
Can you use nail polish pens over regular nail polish?
Many nail art pens are designed to be used over a dry base colour. Nails.INC, for example, recommends applying the base polish and allowing it to dry before using its Mani Markers.
Always follow the instructions for your specific product.
Do nail varnish pens need a top coat?
It depends on the product.
Some nail art pens recommend a top coat to protect the design, while others may have different instructions.
Can beginners create professional-looking nail art with pens?
With practice, beginners can create very neat designs.
Start with simple patterns such as dots, lines, hearts, and French tips before moving to more complicated artwork.
How long do nail varnish pen designs last?
Wear time depends on the formula, preparation, top coat, and everyday activities.
For example, Nails.INC says its Mani Marker designs can last around 4–6 days when its recommended application tips are followed.
Final Thoughts on Nail Varnish Pens
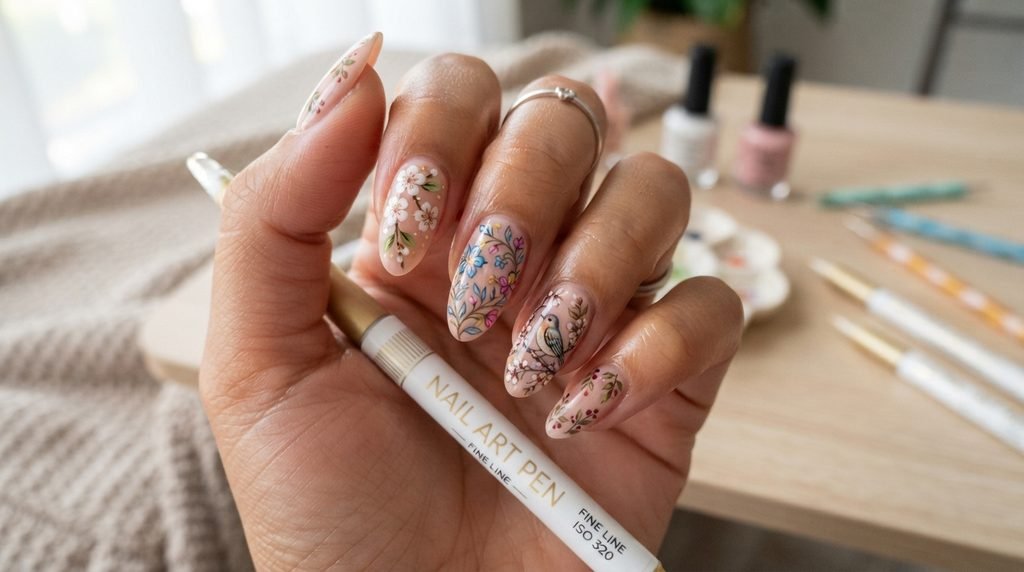
Nail varnish pens are a simple way to make DIY nail art more approachable.
Instead of trying to control a tiny brush immediately, beginners can work with a familiar pen-style format. Whether you want French tips, tiny flowers, dots, hearts, lines, or minimalist designs, a suitable nail polish pen can give you more control over small details.
The best approach is to start small.
Prepare your nails properly, allow your base colour to dry, activate the pen according to its instructions, practise the design on paper, and then work slowly on your nails. If your chosen product recommends a top coat, use one to help protect the finished design.
Most importantly, do not worry if your first attempt is not perfect.
Nail art is a skill, and your control improves with practice. A few simple dots today can become detailed nail designs later.
If you enjoy experimenting with your manicure and want an easy way to add creative details, nail varnish pens are certainly worth considering as part of your nail-art collection.