Nail Polish Pens: A Complete Guide to Easy Nail Art at Home
Creating beautiful nail art at home does not always require professional skills, expensive tools, or hours of practice. If you have ever tried drawing a straight line with a regular nail polish brush, you probably know how difficult it can be. This is where nail polish pens can make your manicure routine much easier.
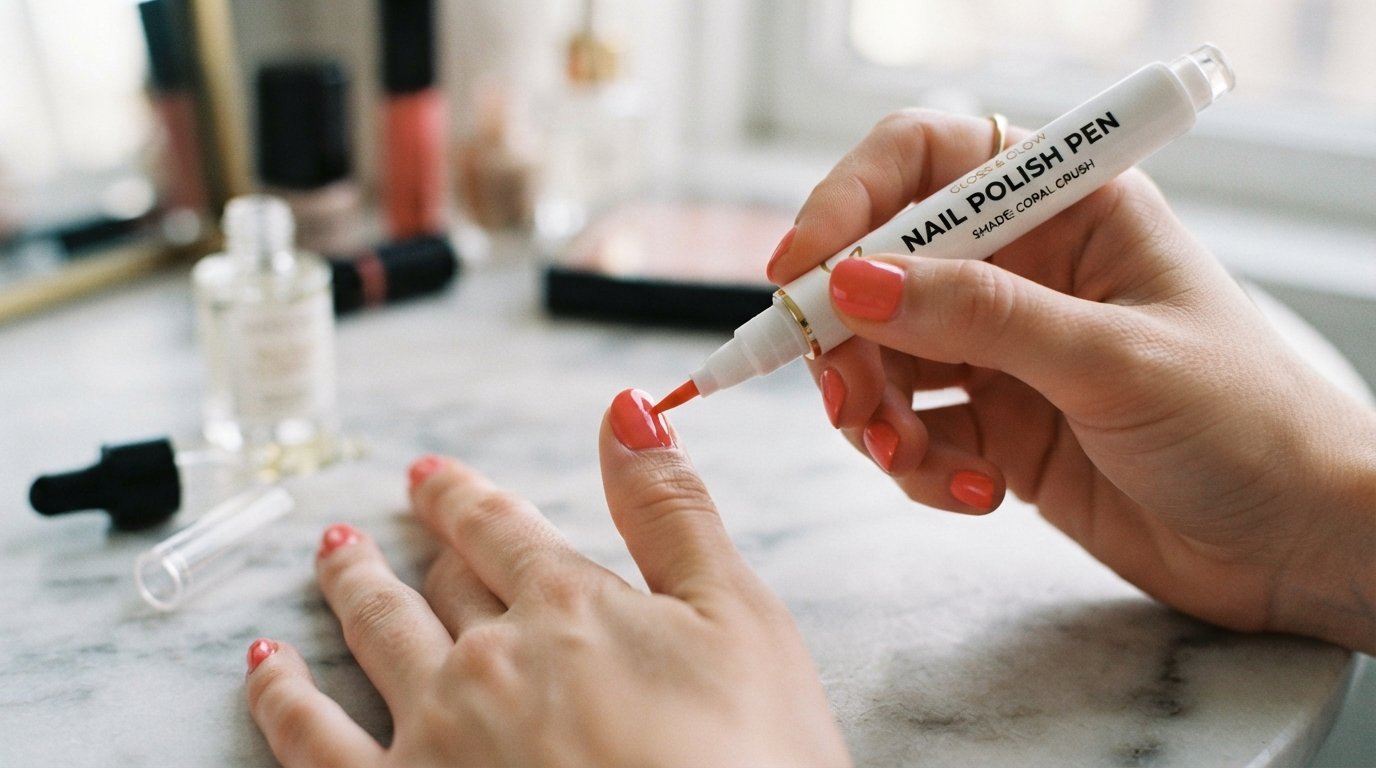
A nail polish pen is designed to give you more control while applying color, drawing patterns, creating French tips, or adding small details to your nails. Instead of working with a bottle and a brush, you can hold the pen much like a normal marker and draw directly onto the nail.
For beginners, this can make DIY nail art feel much less intimidating. You can start with simple dots and lines and gradually move toward flowers, geometric patterns, French tips, and other creative designs.
In this guide, we will explain what nail polish pens are, how they work, how to use them step by step, what designs you can create, how to choose the right pen, common mistakes to avoid, and how to make your nail art last longer.
What Are Nail Polish Pens?
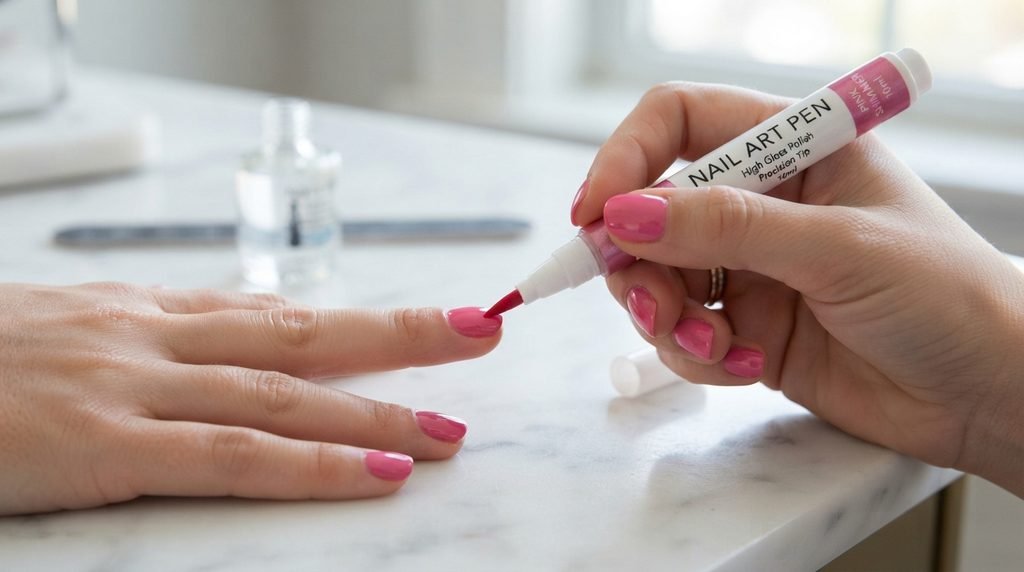
Nail polish pens are pen-shaped nail products designed to apply color or create nail-art details directly onto the nail.
Depending on the product, a nail pen may contain liquid polish, nail-art ink, or a water-based formula. Some products are designed mainly for coloring the nail, while others are made specifically for nail art designs such as lines, dots, flowers, and small patterns.
The main advantage is control.
Instead of loading a brush with polish and trying to guide a wet drop across your nail, you can use the pen tip to draw where you want the product to go.
Some nail-art pens have very fine tips for detailed work, while others use broader tips for larger areas. Certain products also require you to shake the pen or press the tip several times before the color starts flowing.
Nail Polish Pens vs. Nail Art Pens
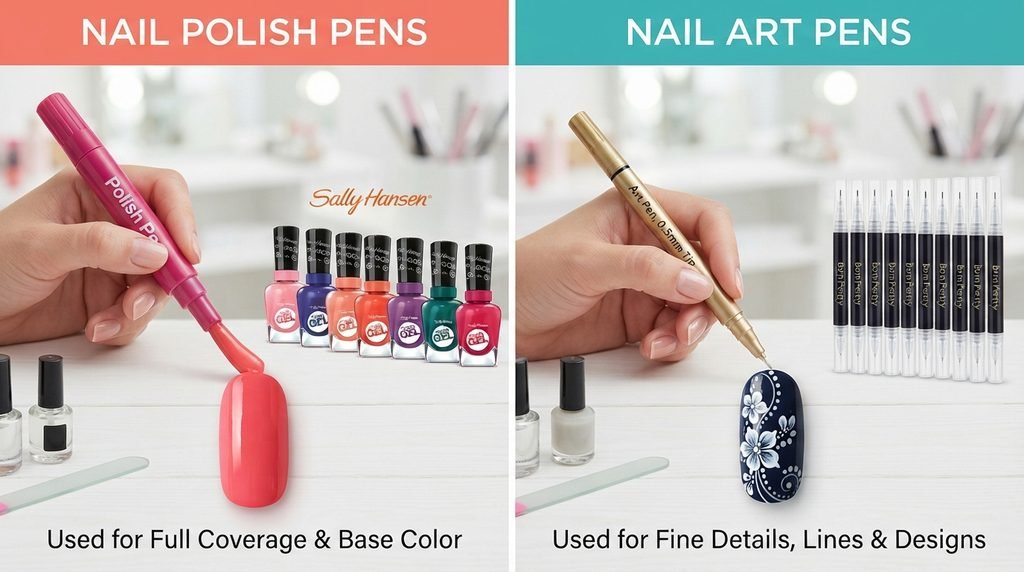
Although the names are sometimes used interchangeably, there can be a difference.
A nail polish pen may be designed to apply polish over a larger part of the nail. A nail art pen, on the other hand, is usually designed for detailed decoration.
For example, you can use a nail-art pen to create:
- Fine lines
- Dots
- Stripes
- French tips
- Flowers
- Hearts
- Stars
- Geometric patterns
- Small lettering
- Accent nail designs
Some pens can also be used on gel nails, acrylic nails, and press-on nails, depending on the manufacturer’s instructions.
Why Use Nail Polish Pens?
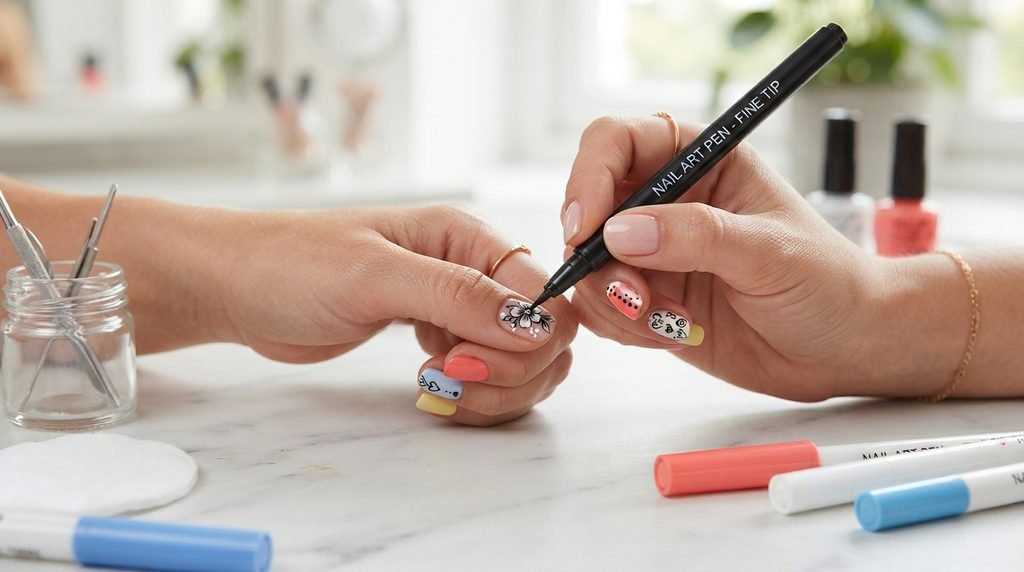
The biggest reason people choose nail polish pens is simple: they can make nail art easier to control.
Imagine that you want to create a thin white line across your nail. With a normal brush, you need to control the amount of polish, brush angle, and pressure at the same time.
With a pen, you can approach the nail more like drawing on paper.
1. Better Control
A fine pen tip gives you a more controlled application. This is particularly useful when creating small nail art designs or working close to the edge of the nail.
2. Beginner-Friendly
You do not need to be an experienced nail technician to start using nail-art pens.
Simple designs such as dots, lines, waves, and small flowers are easy places to begin.
3. Easy for Detailed Nail Art
If you enjoy small details, nail art pens can be especially useful. Fine-tip products are designed for controlled lines and small decorative elements.
4. Convenient to Carry
A pen is usually easier to store and carry than several bottles of polish, brushes, palettes, and other nail-art tools.
This makes a nail art pen set useful for people who like doing their nails while traveling or away from home.
5. Less Messy
Because you are working directly from the pen, you may have less product sitting around your workspace compared with traditional nail-art techniques.
How to Use Nail Polish Pens Step by Step
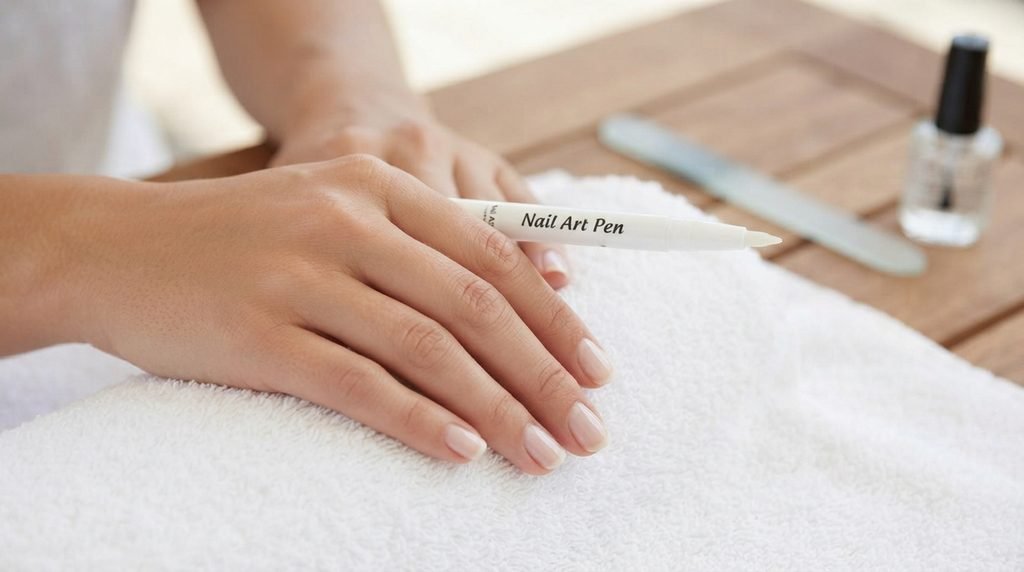
The exact instructions can vary depending on the formula and brand, so always follow the product’s own directions first.
However, the following method works as a useful general starting point.
Step 1: Prepare Your Nails
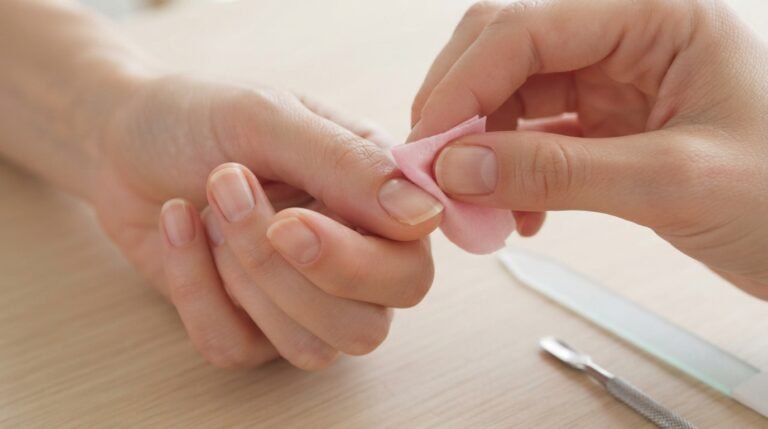
Start with clean, dry nails.
Remove old polish and wash your hands. Make sure there is no excess oil, hand cream, or moisture sitting on the nail surface.
You can also use a nail file to shape the edges and gently tidy your cuticles.
A clean surface is important because oil can interfere with polish or nail-art products. Some nail-pen instructions specifically recommend starting with clean, dry nails.
Quick preparation checklist:
- Remove old nail polish
- Wash and dry your hands
- Shape your nails
- Clean the nail surface
- Make sure the nails are completely dry
Step 2: Apply Your Base Color
If you want a colorful background, apply your regular nail polish first.
For example, you could use:
- Nude polish with white nail art
- Pink polish with red hearts
- Black polish with silver lines
- White polish with colorful flowers
- Pastel polish with simple dots
Let your base color dry completely before using the pen.
This is one of the most important steps. Drawing over wet polish can cause the design to drag, clump, or become uneven.
Some nail polish pens are designed to work directly on clean nails, while others are intended for use over a dry polish layer. Therefore, check the instructions for your specific product.
Step 3: Shake the Nail Polish Pen
Before drawing, shake the pen according to the manufacturer’s instructions.
Some formulas need to be mixed before use so the color flows evenly.
Keep the cap on while shaking to avoid accidentally getting product everywhere.
Step 4: Activate the Tip
Many nail art pens have a tip that needs to be activated before the product flows.
Depending on the design, you may need to:
- Remove the cap.
- Hold the pen in the recommended position.
- Press the tip gently.
- Continue until the product reaches the nib.
- Test the flow on a piece of paper or tissue.
Different pens use different mechanisms, so do not force the tip if it is not designed for repeated pressing. Product-specific instructions should always take priority.
Step 5: Test the Flow
Before touching your nail, test the pen.
Draw a few lines on a piece of paper or practice nail.
This helps you understand how much pressure you need.
If the line is too thick, reduce the pressure.
If the color is not flowing properly, check whether the pen needs to be shaken or activated again.
Step 6: Start With Simple Designs
Now comes the fun part.
Start with something simple instead of trying a complicated design immediately.
Try:
- Straight lines
- Small dots
- Waves
- Tiny hearts
- Simple flowers
- French-tip lines
Hold the pen comfortably, similar to the way you hold a normal writing pen.
Use light pressure and let the tip glide across the nail.
Easy Nail Art Designs You Can Create With Nail Polish Pens
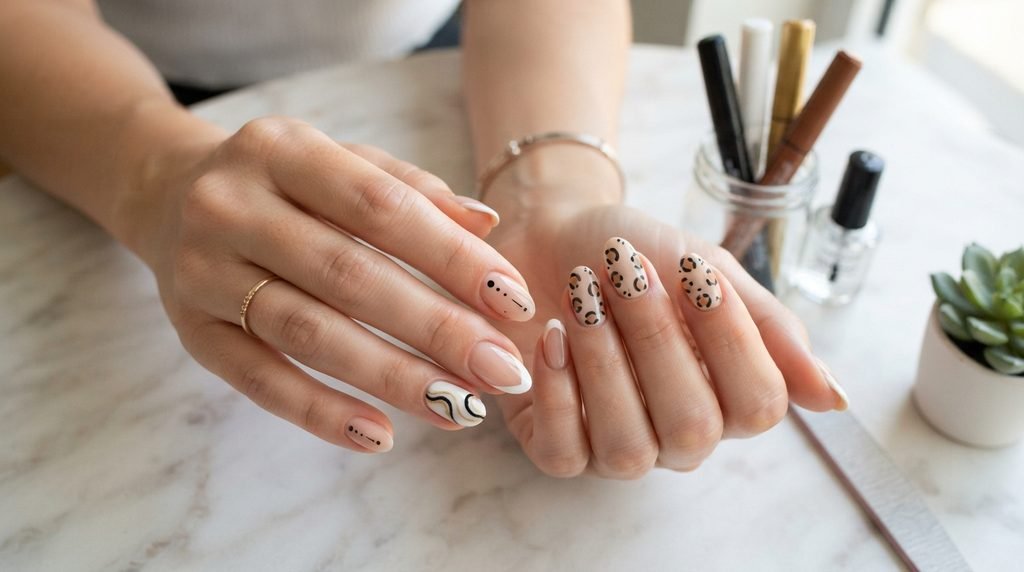
One of the best things about nail polish pens is that you can create many designs without needing advanced nail-art skills.
1. Simple Dots
Dots are one of the easiest designs for beginners.
Apply a dot by gently touching the pen tip to the nail and lifting it away.
You can create:
- One large dot
- Several small dots
- Polka dots
- Flower centers
- Dot patterns around the nail
Try using two or three colors for a playful look.
2. Simple Lines
Use a fine nail art pen to draw straight or curved lines.
You can create vertical lines, horizontal stripes, diagonal patterns, or simple waves.
If your hand is not very steady, rest your wrist on a table while working. You can also move the nail into position instead of trying to move your entire arm.
This small adjustment can make detailed work easier.
3. French Tips
A French manicure pen can be particularly useful for creating a clean white tip.
Instead of trying to control a wide brush along the edge of the nail, you can use the pen to trace the tip more carefully.
Some dedicated French manicure pens are specifically designed to create a white line along the nail tip.
For a simple French manicure:
- Apply your base color.
- Let it dry completely.
- Use the white pen along the free edge.
- Allow the design to dry.
- Apply a clear top coat.
4. Flower Nail Art
Flowers may look complicated, but you can simplify them.
Start with five small dots arranged in a circle.
Then place a contrasting dot in the middle.
For example:
White petals + yellow center
or
Pink petals + white center
This creates a simple floral design without requiring advanced drawing skills.
5. Heart Nail Art
To create a small heart:
- Make two small dots next to each other.
- Pull each dot downward toward a point.
- Connect the lower section.
- Allow it to dry.
Practice the shape on paper first if necessary.
6. Geometric Nail Art
If you prefer modern nail designs, try geometric patterns.
You can combine:
- Lines
- Triangles
- Squares
- Curves
- Dots
A black-and-white design can look clean and minimal, while pastel colors can create a softer appearance.
Nail Polish Pens for Beginners: What Should You Buy?
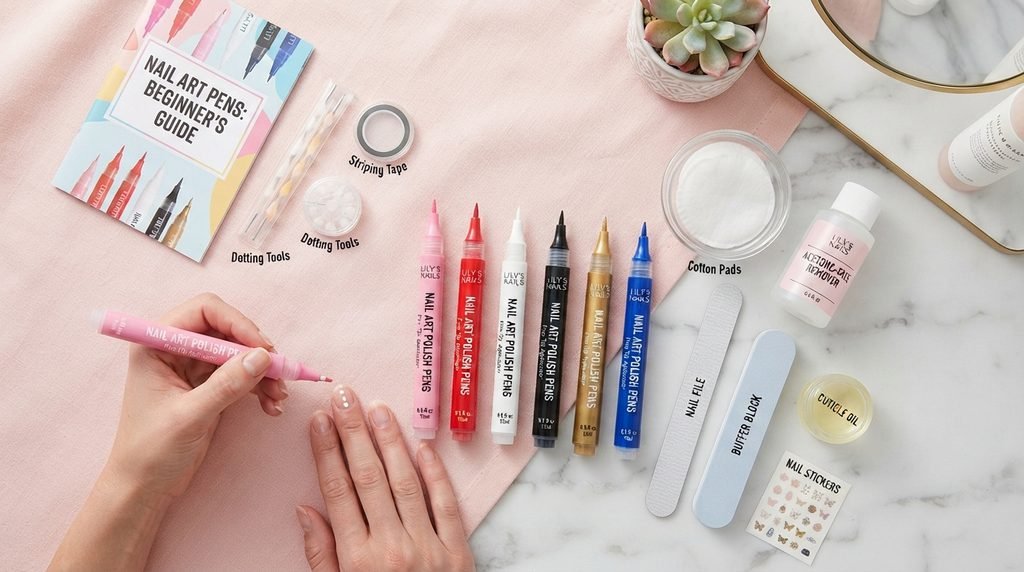
If you are buying your first nail polish pen, do not focus only on the number of colors in a set.
Consider how you actually plan to use it.
Tip Size
A fine tip is useful for detailed designs.
A broader tip may be more suitable if you want to cover larger areas.
If your main goal is nail art, a fine or precision tip is generally more useful for lines and small details. Some nail-art pens advertise tips around 0.5 mm specifically for precision work.
Formula
Check whether the product is:
- Water-based
- Traditional polish-based
- Gel-compatible
- Designed for natural nails
- Designed for artificial nails
Do not assume every nail pen works the same way.
Color Selection
If you are just starting, a small set of useful colors can be better than buying dozens of shades you may rarely use.
A practical beginner collection might include:
- White
- Black
- Red
- Pink
- Gold or silver
- Blue
These colors can be mixed into many different nail-art combinations.
Ease of Activation
Some pens require pressing the nib several times, while others may use a different dispensing system.
Look for clear instructions and an applicator that feels comfortable in your hand.
Top Coat Compatibility
A clear top coat is important for many nail-art pen designs because it can help protect the artwork.
However, always check the manufacturer’s directions because some water-based nail-art products require a suitable top coat to prevent the design from washing away.
Common Mistakes When Using Nail Polish Pens
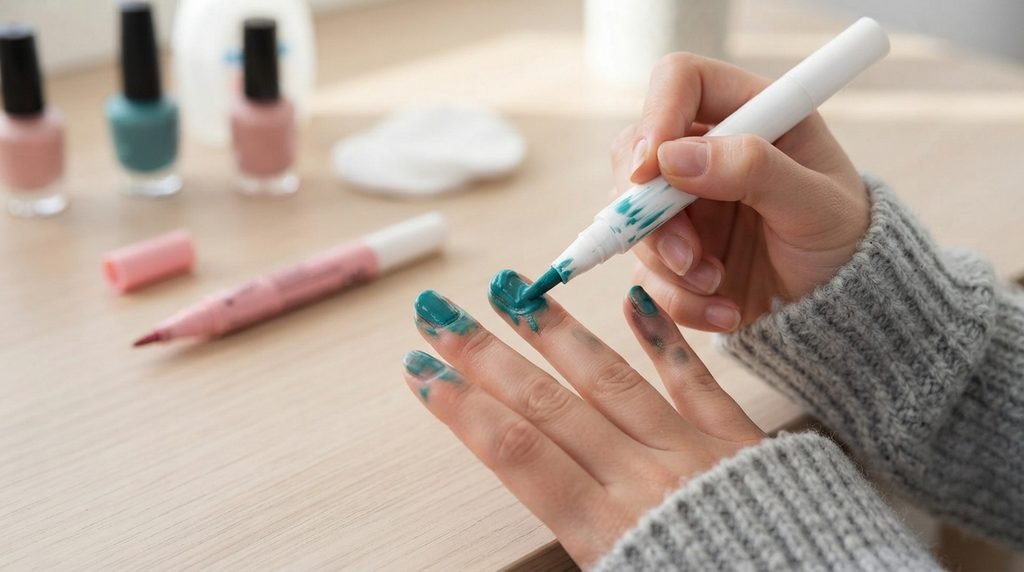
Even an easy nail-art tool can produce messy results if you use it incorrectly.
Here are some common problems to avoid.
Applying Over Wet Polish
This is one of the biggest mistakes.
If your base color has not dried, the pen can pull or mix with it.
Solution: Wait until your base polish is completely dry.
Pressing Too Hard
You may think more pressure means more color.
Usually, it can simply create a thicker or messier line.
Use gentle pressure and allow the product to flow naturally.
Applying Too Much Product
Thick layers can take longer to dry and may smudge.
If you need stronger coverage, several thin layers are often easier to control than one heavy layer.
Skipping the Top Coat
Your beautiful design needs protection.
Once the nail art has dried, apply a suitable top coat to seal the design.
Be gentle while applying it so you do not drag the artwork across the nail.
A top coat is commonly recommended to protect nail-art designs and improve wear.
Leaving the Pen Uncapped
The tip can dry out if the product is left exposed.
After using the pen, close the cap tightly.
This simple habit can help keep the applicator ready for your next manicure.
How to Make Nail Polish Pen Designs Last Longer
A beautiful design is much more enjoyable when it stays neat.
Follow these simple steps:
Start With a Clean Surface
Remove oil and residue before application.
Allow Each Layer to Dry
Do not rush between your base polish, nail-art design, and top coat.
Use Thin Layers
Thin applications are generally easier to control.
Seal the Design
Apply a suitable clear top coat once your nail art has dried.
Protect Your Nails
Repeated exposure to water, cleaning products, and heavy household work can affect how long a manicure lasts.
Wearing gloves during household cleaning can help protect your manicure.
Nail Polish Pens vs. Traditional Nail Polish Brushes
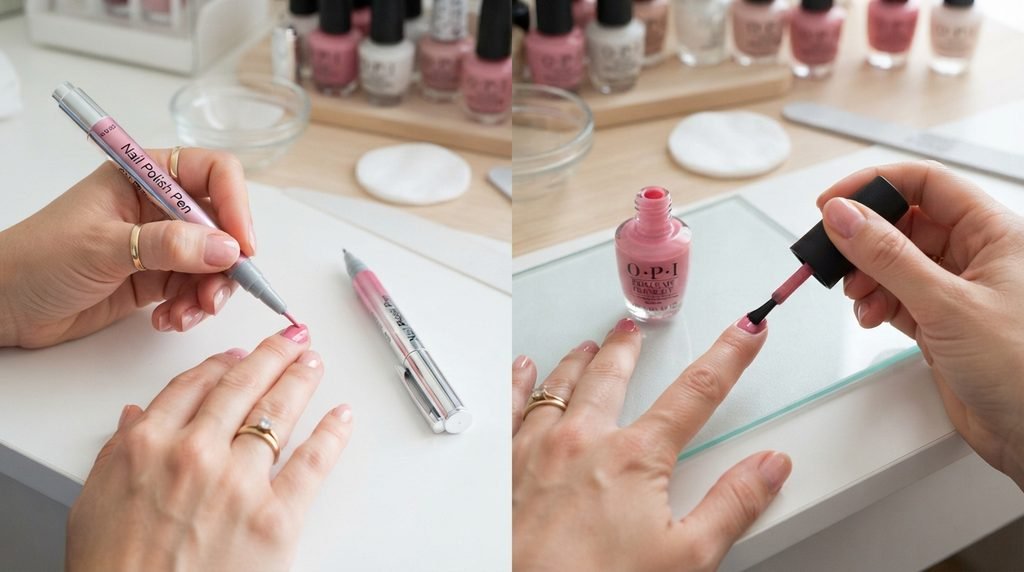
Both tools have their place.
A traditional nail polish brush is excellent for covering the entire nail quickly.
A nail art pen, however, can be more convenient when you need precision.
| Feature | Nail Polish Brush | Nail Polish Pen |
|---|---|---|
| Full nail coverage | Excellent | Depends on product |
| Fine lines | More difficult | Easier |
| Small details | Moderate | Excellent |
| Beginner nail art | Can require practice | Generally easier |
| French-tip details | Requires control | Convenient |
| Portability | Moderate | High |
| Creative designs | Good | Excellent |
The right choice depends on what you want to create.
If you simply want one solid color across every nail, a traditional polish brush may be all you need.
If you want to draw designs, add details, create French tips, or personalize your manicure, a nail-art pen can be a useful addition to your nail kit.
Are Nail Polish Pens Worth Buying?
For people who enjoy DIY nail art, nail polish pens can be a practical tool.
They are particularly useful if you:
- Are new to nail art
- Struggle with traditional brushes
- Want to create small designs
- Like experimenting with different patterns
- Want an easy way to add details
- Enjoy doing your nails at home
- Want a portable nail-art tool
However, remember that not every nail pen is the same.
Some are designed for detailed decoration, while others are intended for applying nail color. Before buying, check the product description, formula, tip type, compatible nail surfaces, and removal instructions.
The right product should match the type of manicure you want to create.
A Simple Nail Polish Pen Routine for Beginners
If you are completely new to nail pens, keep your first manicure simple.
Your first attempt:
Step 1: Clean and dry your nails.
Step 2: Shape your nails with a nail file.
Step 3: Apply your chosen base polish.
Step 4: Wait until the polish is completely dry.
Step 5: Shake and activate your nail polish pen according to its instructions.
Step 6: Test the pen on paper.
Step 7: Create small dots or simple lines.
Step 8: Let the design dry.
Step 9: Apply a suitable clear top coat.
Step 10: Let everything dry completely before using your hands normally.
That is it.
You do not need to start with complicated flowers, portraits, or detailed patterns. Once you become comfortable with the pen, your designs can become more creative.
How to Practice Nail Art With Pens
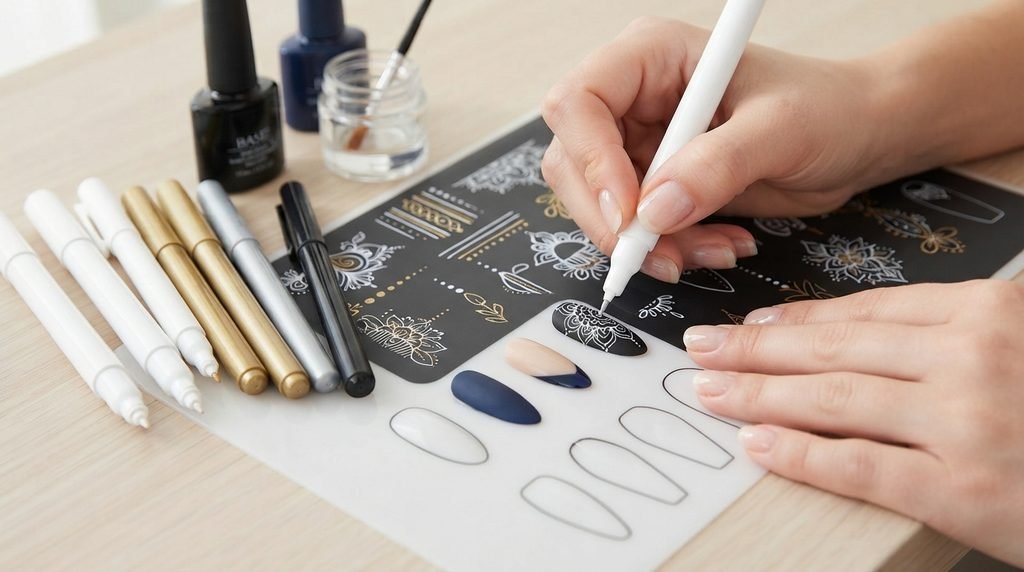
Practice is the easiest way to improve.
Before drawing directly onto your nails, use a nail art practice sheet, paper, or artificial nail tips.
Try drawing:
- 10 straight lines
- 10 dots
- 10 waves
- 5 hearts
- 5 flowers
- 5 French-tip curves
Pay attention to pressure.
If your lines are too thick, use less pressure. If the color does not flow properly, check the pen’s activation instructions.
After a few practice sessions, you will understand how the pen responds to your hand.
Frequently Asked Questions About Nail Polish Pens
Can beginners use nail polish pens?
Yes. The pen-style format can make detailed nail art easier for beginners because you can hold it similarly to a regular writing pen.
Start with simple dots, lines, and small patterns before moving to more detailed designs.
Do nail polish pens work on natural nails?
Many products are designed for natural nails, but the exact answer depends on the formula. Always check the product instructions before application.
Can you use nail polish pens on gel nails?
Some nail-art pens can be used over gel manicures, while others may have specific requirements. Check the manufacturer’s instructions for compatibility. Some products specifically state that they can be used on gel, acrylic, and press-on nails.
Do nail polish pens need a top coat?
A top coat is often recommended because it helps protect the design and can improve its durability. However, the exact requirements depend on the formula.
How do you stop nail polish pens from drying out?
Keep the cap tightly closed whenever you are not using the pen. Follow the storage instructions provided by the manufacturer.
Can nail polish pens create French tips?
Yes. Dedicated French manicure pens are available, and regular fine-tip nail-art pens can also be used to create French-tip lines depending on the product.
Are nail polish pens better than brushes?
Neither is universally better.
A traditional brush is useful for applying polish over the whole nail, while a nail art pen can provide more control for detailed designs.
Your choice should depend on the type of manicure you want.
Final Thoughts
Nail polish pens are a simple way to make DIY nail art more approachable.
You do not need to be a professional nail artist to start. With a clean nail surface, a suitable pen, a little practice, and a good top coat, you can create everything from basic dots and lines to French tips, flowers, hearts, and modern geometric designs.
The most important thing is to choose a pen that matches your needs. Look at the tip size, formula, color selection, nail compatibility, activation method, and top-coat requirements before buying.
And remember: your first design does not need to be perfect.
Start with a few simple lines or dots. Once your hand becomes comfortable with the pen, you can experiment with more detailed nail art designs.
For anyone who enjoys doing manicures at home, a good nail polish pen set can be a useful addition to a nail-care collection—especially when precision and creativity matter more than complicated equipment.
Useful Nail-Art Resources
- Nail art pen application guide – beginner-friendly instructions for using nail-art pens.
- Nail polish pen step-by-step guide – practical application and drying guidance.
- Nail-art pen guide – information about precision tips and common nail-art techniques.

3 Comments