Nail Tool: 9 Essential Tools for Easy Nail Care at Home
A good nail tool can make everyday nail care easier, whether you enjoy doing your own manicure at home or want to build a professional nail kit. The right tools help you trim your nails, smooth rough edges, tidy the cuticle area and prepare your nails for polish. You do not need a large collection to get started. A few well-made essentials can cover most basic nail-care needs.
Choosing the right tools can feel confusing at first. Online shops offer manicure kits with different sizes, shapes and accessories, and some sets contain far more items than you will ever use. The best approach is to understand what each tool does before spending your money.
In this guide, you will learn about the main types of nail tools, how to use them, what to look for when buying a set, and how to keep your tools clean. You will also find practical buying advice and answers to common questions to help you choose with confidence.
What Is a Nail Tool?
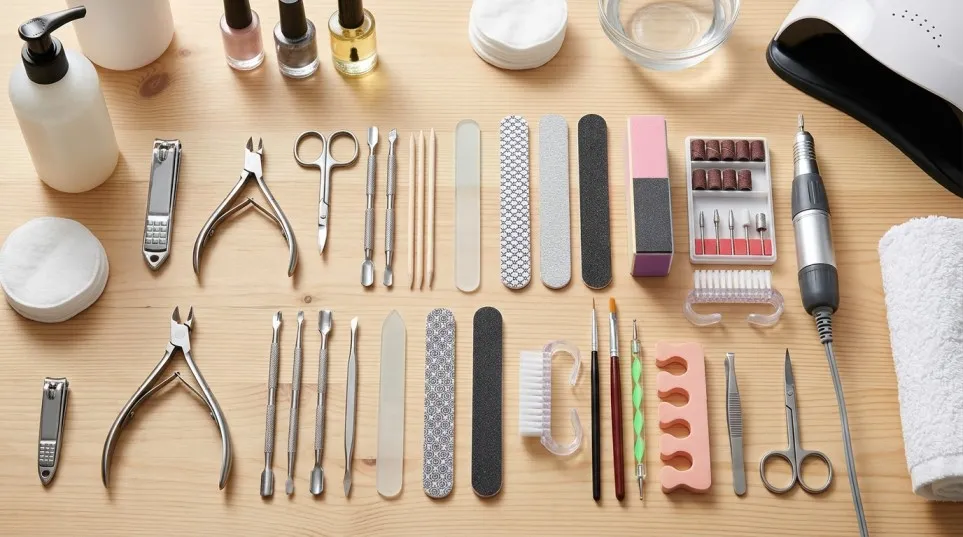
A nail tool is an instrument or accessory used to trim, shape, clean, prepare or decorate fingernails and toenails. These tools range from simple nail clippers to specialised equipment used by professional nail technicians.
For example, nail clippers shorten the nail, a file smooths its edges, and a cuticle pusher helps gently move back loose skin around the nail plate. Other tools, such as nail art brushes and dotting tools, help create decorative designs.
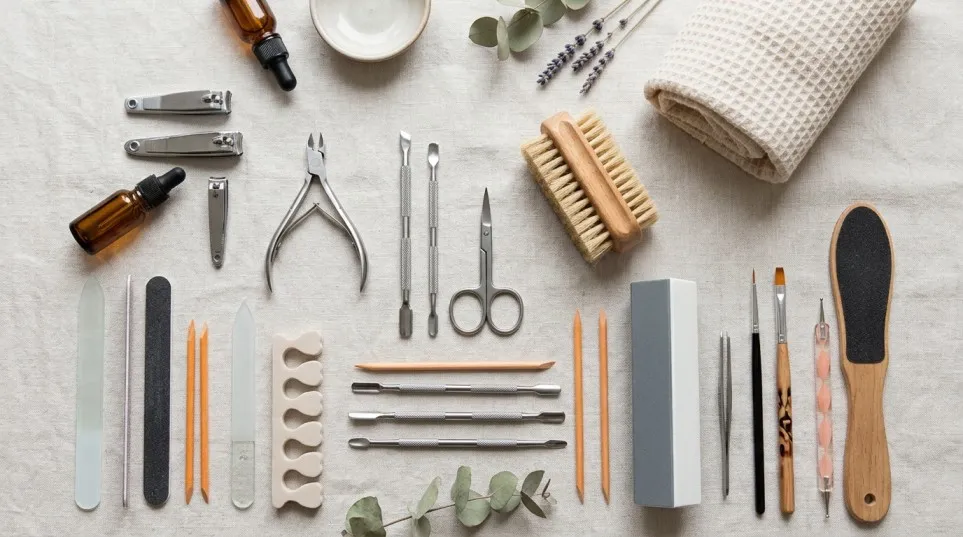
You can purchase individual tools or choose a complete nail kit set that keeps several essentials together.
The right choice depends on your routine. Someone who wants neat, natural nails may need only a few basic items, while a person who regularly applies gel polish, BIAB or nail extensions may need additional equipment.
9 Essential Nail Tools You Should Know About
You do not have to buy every tool available. Instead, start with the items that match your needs and add more as you become comfortable with your routine.
1. Nail Clippers
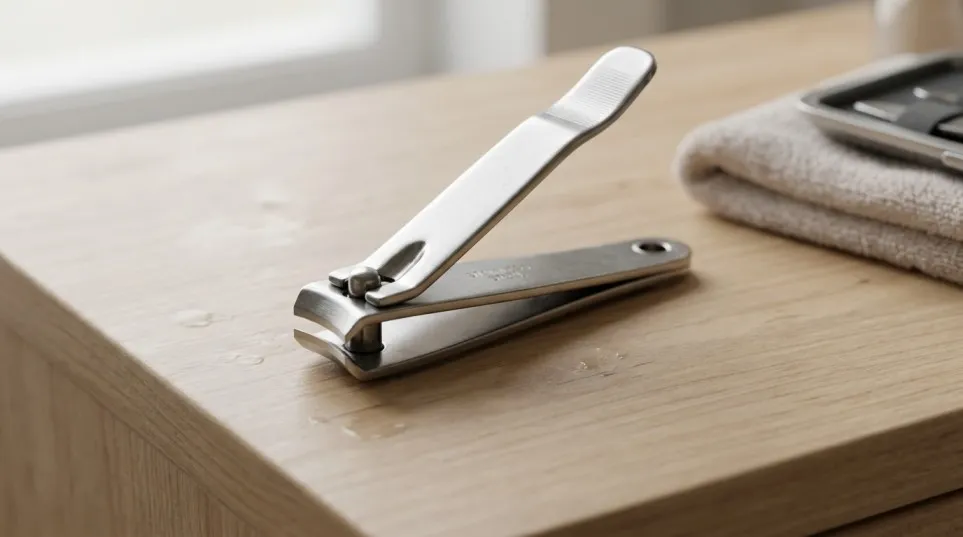
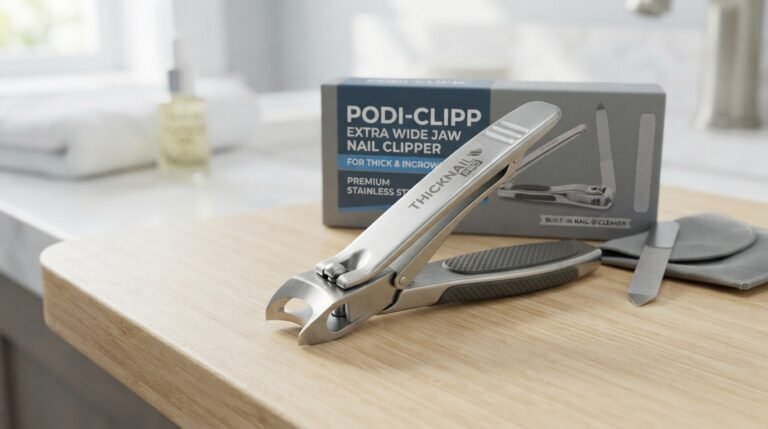
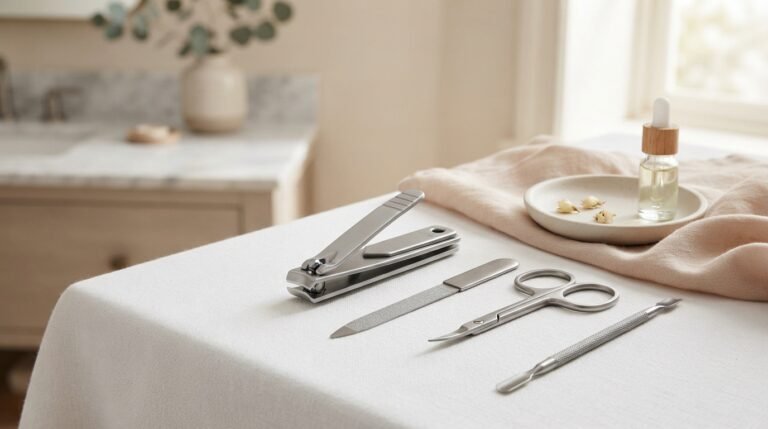
Nail clippers are among the most useful tools for everyday nail care. They help shorten nails quickly and give you a manageable length before filing.
Most clippers have a curved cutting edge for fingernails, while larger models may be designed for thicker toenails.
Why they are useful:
- They shorten nails without requiring extensive filing.
- They are compact and easy to store.
- They make regular nail maintenance quicker.
- Separate clippers can be kept for fingernails and toenails.
When buying nail clippers, look for blades that meet evenly and a lever that feels comfortable to press. Stainless steel is a practical option because it is generally durable and easy to clean when properly maintained.
Avoid cutting your nails too short, particularly around the corners of your toenails. If you have thick, painful or ingrown nails, seek advice from a qualified healthcare professional rather than trying to correct the problem with sharp tools.
2. Nail File
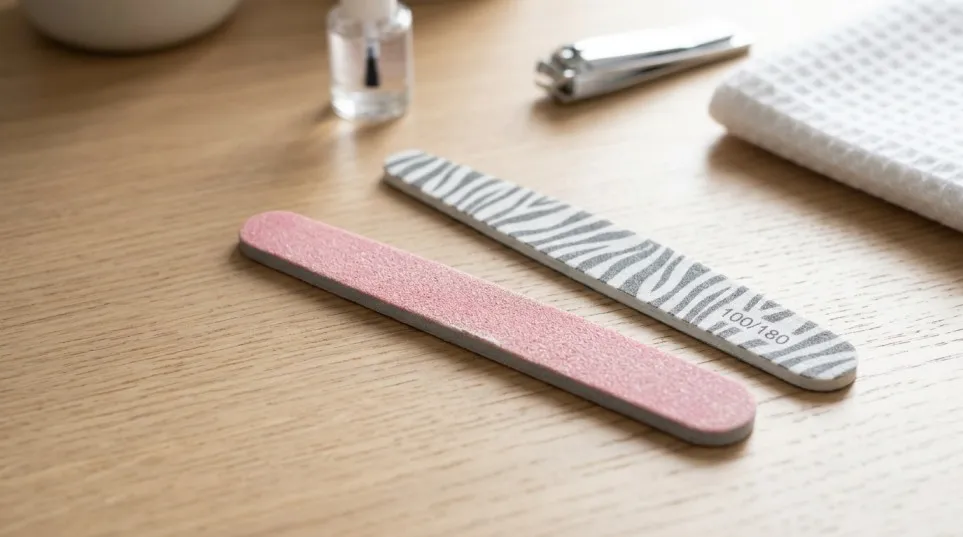
A nail file helps shape the free edge and smooth rough areas left after clipping. It is particularly useful when you want a rounded, square or oval nail shape.
Files come in several materials, including emery board, glass and metal. Each type has different characteristics, so choose one that suits your nail condition and experience.
A glass file can be a useful option for home manicures because it can usually be washed and reused according to the manufacturer’s instructions. Emery boards are convenient, inexpensive and easy to replace.
How to choose a nail file:
- Choose a file designed for natural nails if you are maintaining your own nails.
- Check the grit rating and follow the manufacturer’s guidance.
- Use gentle pressure instead of forcing the file across the nail.
- Replace disposable files when they become worn or difficult to clean.
For many people, a nail clipper and a suitable file work well together. The clipper removes excess length, while the file refines the final shape.
3. Cuticle Pusher
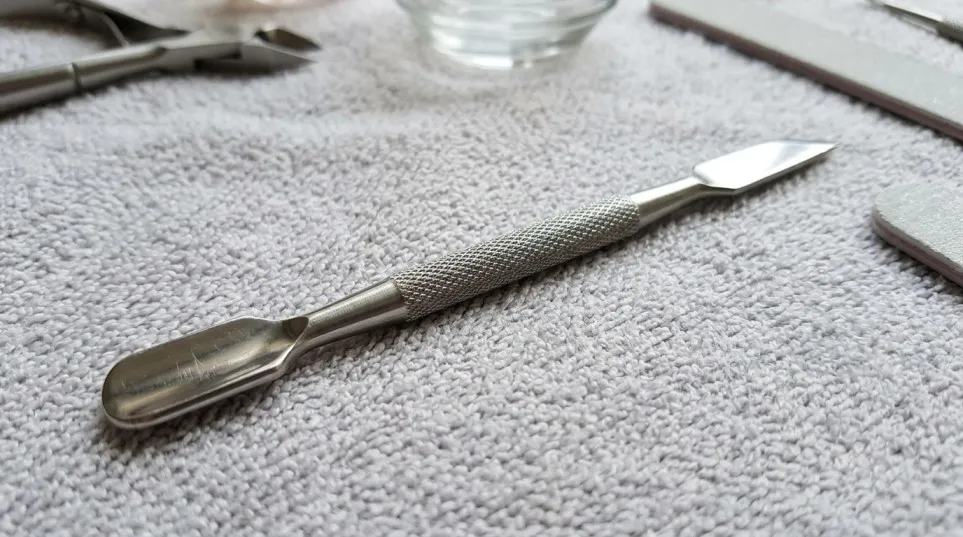
A cuticle pusher is designed to gently move loose cuticle tissue away from the nail plate. It is commonly used during manicure preparation, including some professional gel and BIAB services.
You will find metal and wooden versions. Metal pushers are reusable when the material and design allow proper cleaning, while wooden manicure sticks are generally inexpensive and intended for single use.
A double-ended cuticle pusher may have a rounded end for gentle pushing and a narrower end for more detailed work.
However, the cuticle area is delicate. Aggressive pushing can irritate the surrounding skin and damage the nail surface.
Safe-use tips:
- Make sure your hands and tool are clean.
- Follow the product instructions if a cuticle-softening product is used.
- Work gently without digging into the nail plate.
- Never force the tool underneath attached skin.
- Stop if you experience pain, bleeding or irritation.
It is also important to distinguish the visible cuticle from the living skin around the base of the nail. Do not cut or aggressively remove the living protective tissue.
4. Cuticle Nippers
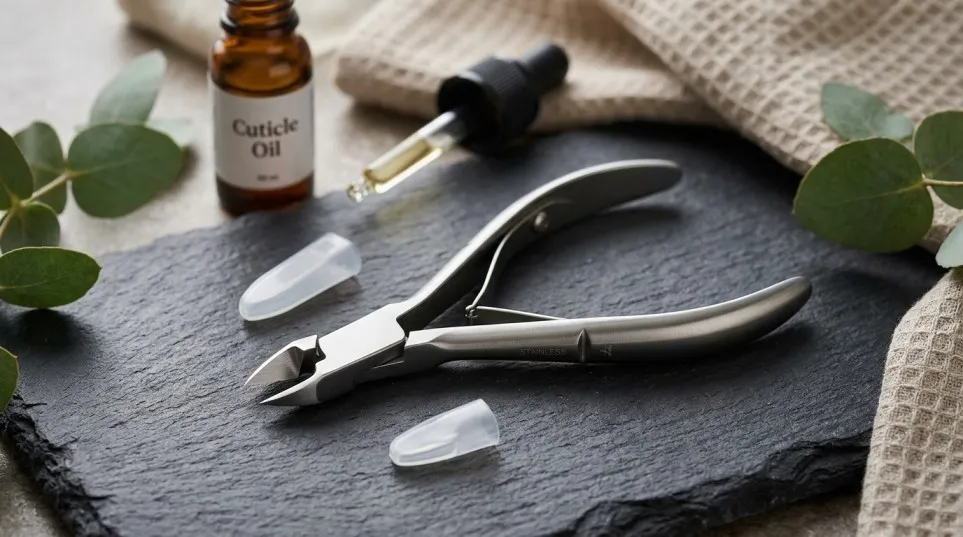
Cuticle nippers are small, sharp tools designed to trim loose dead skin and hangnails. They are often included in professional manicure sets.
Although they can help tidy the nail area, they require more care than a basic nail file or clipper. Cutting living skin can cause bleeding and increase the risk of infection.
If you are a beginner, you may not need cuticle nippers immediately. A gentle routine with moisturiser and a suitable cuticle pusher may be enough for your needs.
When selecting nippers, check that the cutting edges meet cleanly, the joint moves smoothly and the handles are comfortable to hold.
For professional use, buy tools that are suitable for your salon’s cleaning and sterilisation procedures. A quick wipe alone is not a substitute for appropriate reprocessing between clients.
5. Nail Buffer
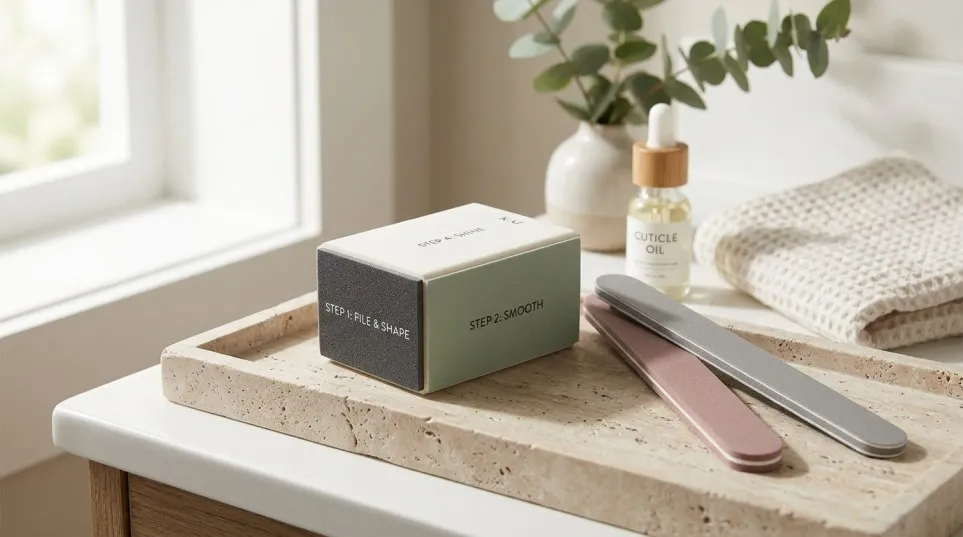
A nail buffer is used to smooth the nail surface or refine minor surface irregularities when appropriate. Some buffers have different abrasive sides for different tasks.
However, buffing is not necessary for every manicure. Excessive buffing removes layers of the natural nail plate, which can leave nails thin, weak or sensitive.
For a simple home manicure, choose a gentle buffer and use it sparingly. Follow the instructions for your nail treatment, especially if you are preparing nails for gel polish or builder gel.
If your nails are already thin, peeling or damaged, avoid aggressive surface buffing. A smooth-looking finish is not worth weakening the natural nail.
6. Nail Scissors
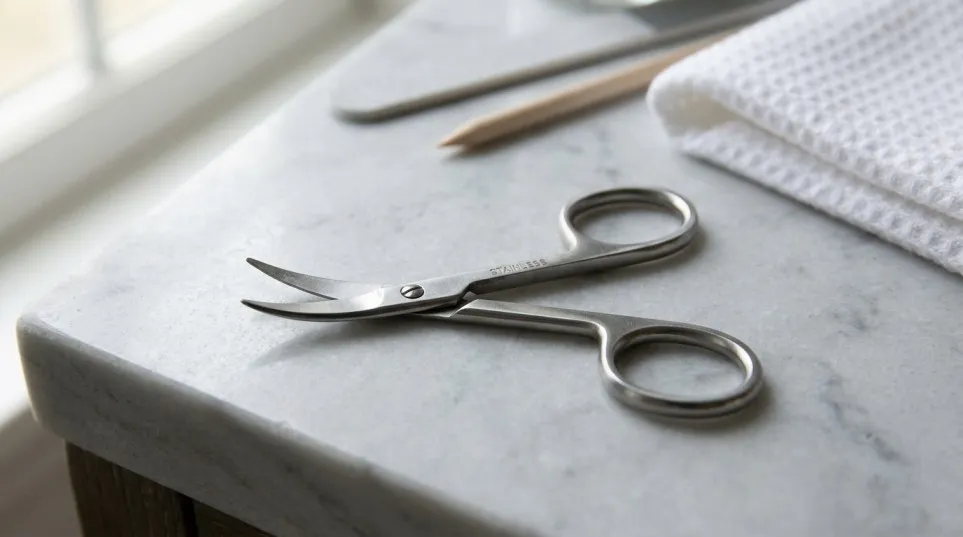
Nail scissors offer more control when trimming small areas or carefully adjusting nail length. Some models have curved blades for fingernails, while others have straighter blades for different grooming tasks.
The best scissors should open and close smoothly without catching or wobbling. Handles should also feel comfortable, especially if you perform manicures regularly.
Use nail scissors only for their intended purpose. Do not use them to cut thick skin or attempt to remove an ingrown nail.
For most beginners, nail scissors are an optional extra rather than an essential purchase. If your clippers already meet your needs, there is no reason to buy another cutting tool simply to make your kit larger.
7. Nail Brush
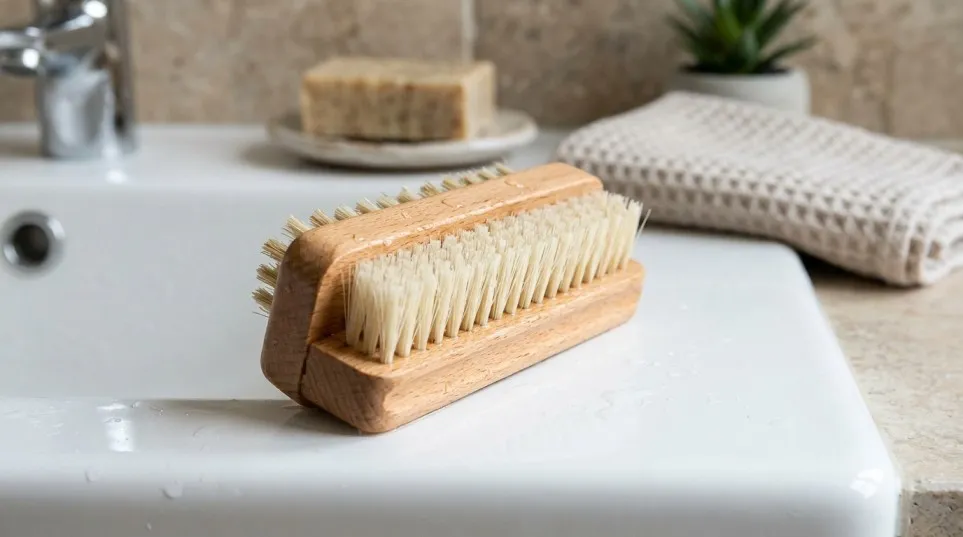
A nail brush helps remove surface dirt and loose debris from around and underneath the free edge of your nails.
It is a simple but useful addition to a personal manicure kit. Choose a brush with comfortable bristles that clean effectively without scratching or irritating the surrounding skin.
To use it, wet the brush, apply a little soap if appropriate, and clean gently. Avoid vigorous scrubbing, particularly if your skin is cracked or irritated.
After use, rinse the brush thoroughly and let it dry completely before putting it away.
Keep your nail brush personal rather than sharing it with other people. For salon use, follow appropriate hygiene procedures and replace brushes when they can no longer be cleaned effectively.
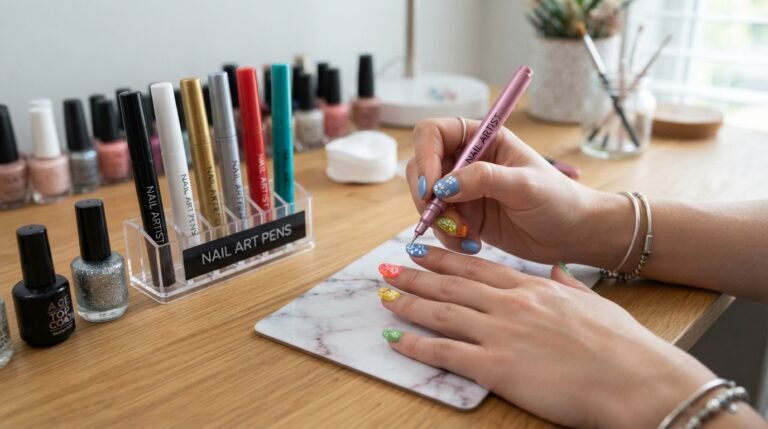
8. Nail Art Brushes
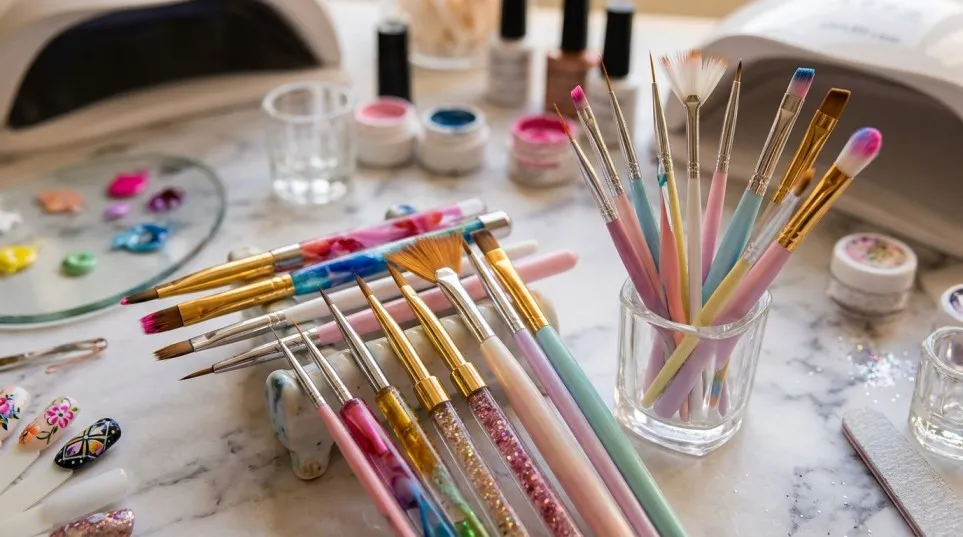
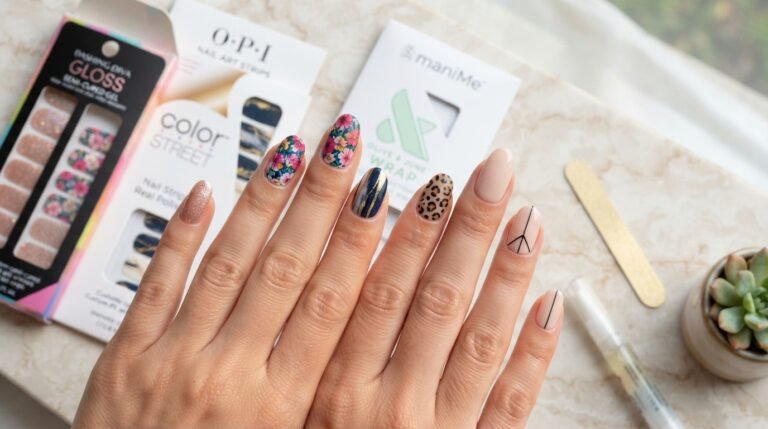
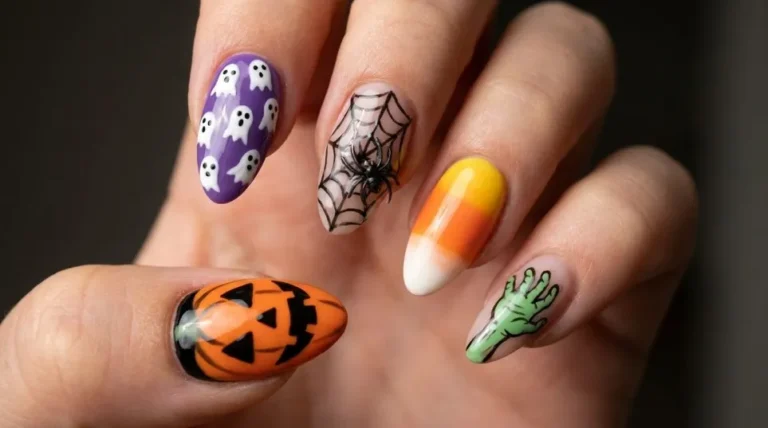
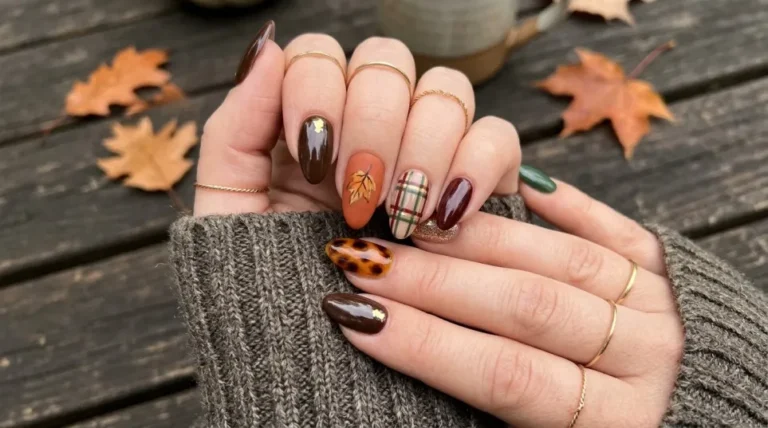
If you enjoy creative manicures, nail art brushes can help you produce more detailed designs. They come in different shapes and sizes to support different techniques.
Common types include:
- Liner brushes: Useful for fine lines, stripes and delicate details.
- Detail brushes: Helpful for small patterns and precise artwork.
- Flat brushes: Useful for applying or blending certain nail products.
- Fan brushes: Can create selected texture and decorative effects.
- Angled brushes: Useful for some angled designs and controlled strokes.
A beginner does not need every brush type. A small set with a fine liner brush and a detail brush is a sensible starting point.
Choose brushes that retain their shape and suit the product you intend to use. Clean them according to the product manufacturer’s directions, and avoid leaving gel products on the bristles.
For more inspiration, explore different nail art techniques and practise simple designs before moving on to more complex patterns.
9. Cuticle Oil Applicator
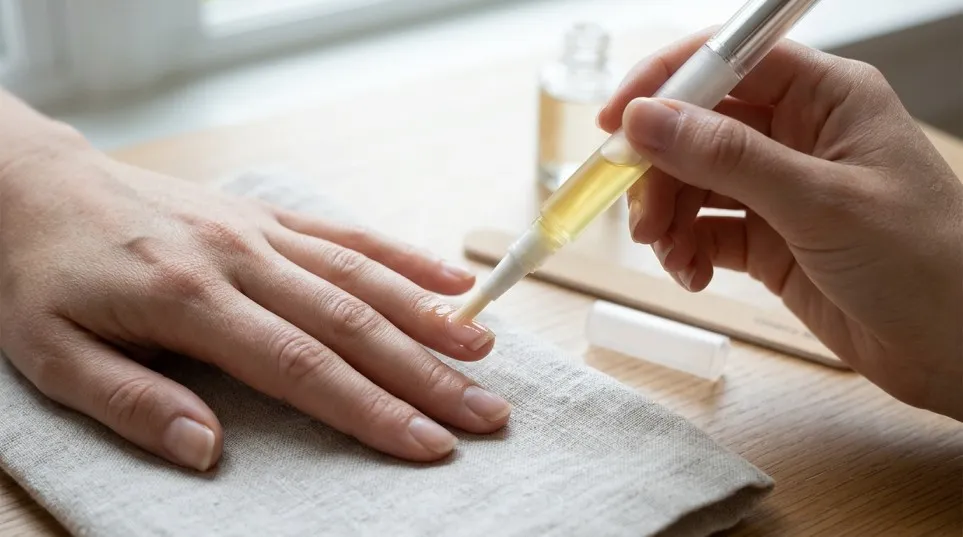
A cuticle oil applicator is a useful accessory for applying oil around the nail and surrounding skin. Depending on the product, it may take the form of a brush, dropper or pen.
Regular moisturising can help keep the skin around your nails comfortable and reduce the appearance of dryness. It is particularly useful after washing your hands frequently or completing a manicure.
Choose an applicator that is easy to control and does not leak during storage. A pen-style product can be convenient if you want to keep one in your handbag or at your desk.
Remember that cuticle oil supports skin conditioning; it does not repair every type of nail damage or treat a fungal infection.
How to Choose the Best Nail Tool Set
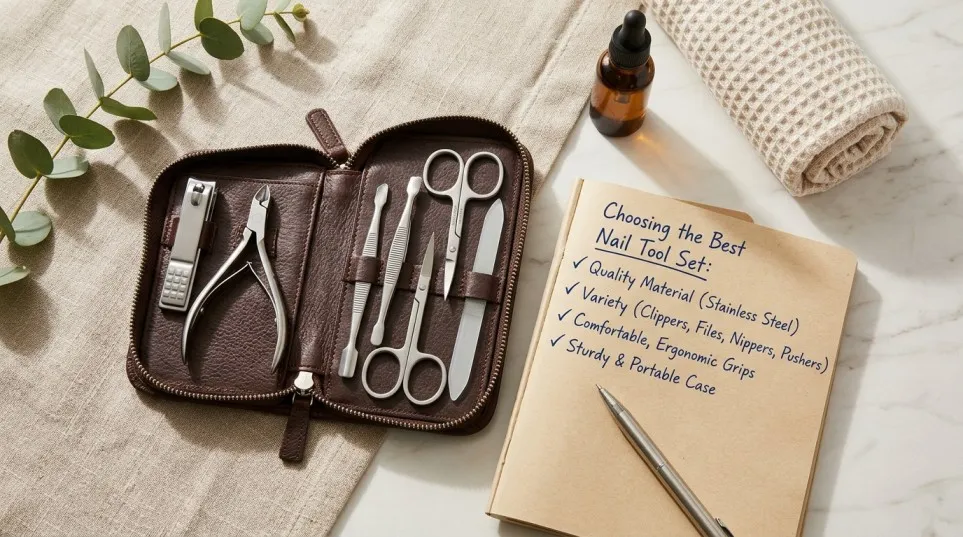
A good manicure set should make nail care simpler rather than leave you with a drawer full of unused accessories.
Before purchasing a nail tool or complete kit, consider these five factors.
1. Check the Materials
Stainless steel is a common choice for reusable metal tools because it offers durability and resistance to corrosion when cared for properly.
However, a stainless steel label alone does not guarantee good quality. Check the finish, cutting edges, joints and overall construction.
Files and buffers also need attention. Their abrasive surfaces should suit the task, and reusable products should be suitable for the cleaning method you plan to use.
2. Choose Tools for Your Routine
Your kit should reflect what you actually do.
For basic nail maintenance, start with clippers, a nail file, a gentle buffer if needed and a nail brush.
If you regularly perform manicures, you may benefit from adding a cuticle pusher and suitable scissors.
If you enjoy nail art, consider detail brushes and dotting tools. If you work professionally, follow the requirements of your training, services, insurance and local hygiene guidance.
3. Look for Comfortable Handling
Tools should feel secure in your hand and be easy to control. Slippery handles, awkward joints and poorly aligned blades can make nail care more difficult.
If you have limited hand strength or dexterity, look for ergonomic handles and tools designed for easier gripping.
4. Check What the Kit Actually Includes
A set advertised as having 20 pieces may sound like better value than a smaller kit. However, some of those pieces may be duplicates or accessories you rarely use.
Read the product description carefully and check whether the set includes the essentials you need.
A compact kit with dependable tools may be a better purchase than a large collection with inconsistent quality.
5. Read Reviews Carefully
Customer reviews can help you understand whether tools are comfortable, durable and easy to clean.
Look for repeated comments about blade alignment, rust, loose joints, sharpness and the quality of the storage case. Recent reviews can also help you identify changes in product quality.
Do not rely on star ratings alone. Check the product dimensions, included accessories and return policy before ordering.
Recommended Buying Option: A Manicure and Pedicure Kit
If you are starting from scratch, a manicure and pedicure kit can be a convenient way to obtain several basic tools in one purchase.
Instead of buying every item separately, you can compare complete sets and choose one that suits your routine and budget.
Browse nail tool sets on Amazon UK:
- Shop manicure and pedicure tool kits
- Shop stainless steel nail care tools
- Shop nail art brush sets
- Shop glass nail files
These links open Amazon UK search results rather than a specific tested product. Compare current prices, product specifications, reviews and delivery details before buying.
For most beginners, a kit containing nail clippers, a file, a gentle buffer and a suitable cuticle pusher is a practical starting point. You can add specialised tools later when you know which ones you genuinely need.
How to Use Nail Tools at Home: A Step-by-Step Guide
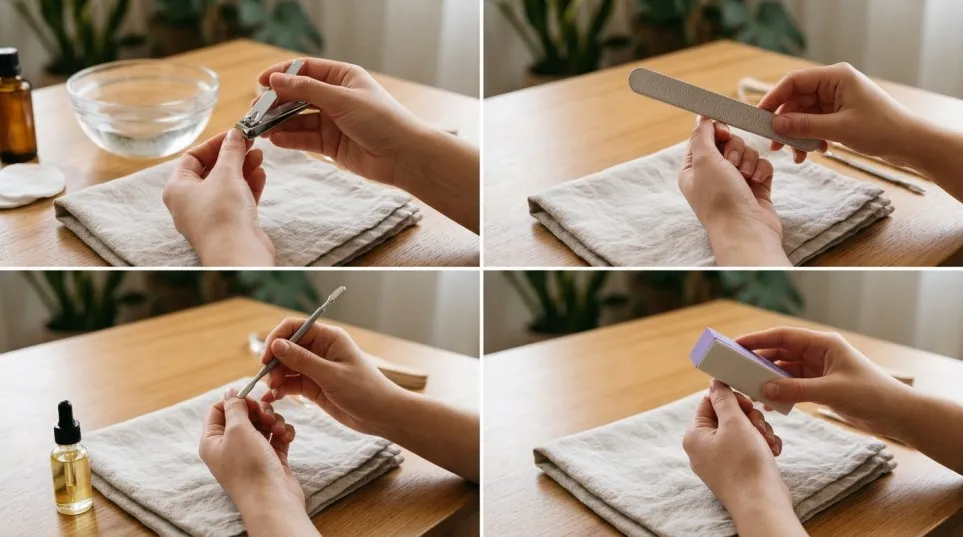
You can complete a simple manicure at home without using every tool in your collection. The key is to work carefully and avoid unnecessary cutting or filing.
Step 1: Prepare Your Hands
Wash your hands with soap and water, then dry them thoroughly. Clean your tools according to the manufacturer’s instructions before use.
Set everything on a clean surface so you can reach it easily.
Step 2: Check Your Nails
Look for broken edges, cracks, unusual discolouration, swelling or soreness around the nail.
Do not work over irritated or infected skin. If you notice a persistent change or a painful nail problem, seek appropriate medical advice.
Step 3: Trim the Length
Use nail clippers if your nails need shortening. Make small, controlled cuts rather than trying to remove too much length in one movement.
Avoid cutting down into the corners, especially on your toenails.
Step 4: Shape the Edges
Use a suitable nail file to smooth rough edges and refine the shape.
Work gently and avoid excessive back-and-forth filing. Stop when the edge feels smooth rather than continuing to remove material unnecessarily.
Step 5: Care for the Cuticle Area
If needed, gently push back loose cuticle tissue with a suitable tool. Do not dig underneath the nail fold or force the pusher against attached skin.
Leave any skin that resists movement alone. Cutting living tissue is unnecessary for a basic home manicure.
Step 6: Apply Polish or Nail Art
If you want to wear regular nail polish, follow the polish manufacturer’s instructions.
For nail art, use an appropriate brush or dotting tool and practise on a nail tip or spare surface first.
If you use gel products, follow the exact manufacturer’s preparation and curing instructions. Avoid skin contact with uncured gel, and use a compatible curing lamp where required.
Step 7: Finish With Moisturiser
Apply cuticle oil or hand moisturiser to help condition the surrounding skin.
Let the products absorb before returning to your normal activities.
Step 8: Clean and Store Your Tools
Remove visible debris, wash and disinfect reusable tools as appropriate, and dry them completely before storage.
Professional tools that may contact broken skin require appropriate cleaning and sterilisation between clients. Follow the relevant professional guidance and product instructions.
Disposable files, wooden sticks and other single-use items should not be reused where they are intended for one use.
How to Clean and Maintain Your Nail Tools
Regular cleaning helps keep tools in good condition and reduces the risk of transferring germs.
Start by removing visible dirt and debris. Wash reusable tools when their instructions permit it, then use a suitable disinfectant according to its specified contact time.
Dry tools thoroughly, including hinges and joints, before storing them in a clean, dry case.
For salon use, cleaning and disinfection alone may not be enough. Tools that can penetrate skin or contact blood need appropriate sterilisation procedures. Follow your training, applicable professional requirements and the manufacturer’s instructions.
A UV storage cabinet should not automatically be treated as a substitute for validated sterilisation.
You should also inspect your kit regularly. Replace tools that are rusty, damaged, blunt, difficult to clean or no longer working correctly.
For further background on professional tool selection, read this manicure tool kit guide.
Common Nail Tool Mistakes to Avoid
Even a good set of tools can cause problems if you use it incorrectly. Keep these common mistakes in mind.
Buying too many tools at once: Start with the essentials and add specialised equipment only when you need it.
Using blunt clippers: Worn or poorly aligned blades may crush or split the nail rather than cut it cleanly.
Over-filing the nail plate: Excessive filing can thin natural nails. Use gentle pressure and stop when you achieve the desired shape.
Cutting living cuticle tissue: Avoid cutting the protective skin around the base of the nail. Remove only loose dead skin when appropriate.
Sharing personal tools: Sharing inadequately cleaned tools can spread germs. Keep your personal kit separate from other people’s tools.
Storing tools while damp: Moisture can encourage corrosion and affect some tool materials. Dry reusable tools before storage.
Using professional equipment without training: Electric nail files and sharp cuticle instruments require appropriate knowledge and technique. Learn how to use them safely before attempting advanced services.
Are Expensive Nail Tools Worth Buying?
Not always. The best purchase is the one that performs its intended job reliably and suits your experience.
For occasional home use, an affordable set with well-made essentials may be enough. You may not need salon-grade nippers, specialised cuticle instruments or electric equipment.
For a professional nail technician, quality, comfort, precision and suitability for repeated cleaning become more important. A tool that holds its edge and remains comfortable throughout a working day may provide better long-term value than a cheaper alternative that needs frequent replacement.
Think about cost per use rather than the number of items in the box. If you use the same file and clippers every week, those essentials deserve more attention than accessories you may never touch.
The goal is not to own the biggest collection. It is to choose reliable tools that make your routine easier while protecting the health of your natural nails.
Frequently Asked Questions About Nail Tools
Beginners can start with nail clippers, a nail file, a nail brush and a gentle buffer if required. A suitable cuticle pusher can be added if you are comfortable using it safely. You do not need an extensive professional kit for basic nail maintenance.
Nail clippers and a nail file are among the most useful everyday tools. Clippers shorten the nail, while a file smooths the edges and helps create the desired shape. The best choice depends on your particular nail-care routine.
To clean nail tools at home, first remove visible dirt and nail residue with warm water, soap, and a small cleaning brush. Rinse the tools and dry them completely with a clean towel. Cleaning removes dirt, but it does not fully disinfect or sterilize the tools.
Stainless steel can be a practical choice because it is durable and generally resists corrosion. However, construction quality still matters. Check the blade alignment, joints, finish and manufacturer’s cleaning instructions before purchasing.
To sanitize nail tools, wash them thoroughly first and then use a suitable product according to its label. For tools that may come into contact with broken skin or blood, basic sanitizing is not enough. Follow the appropriate disinfection procedure and the tool manufacturer’s instructions.
Clean your tools after each use and before storing them. Follow the manufacturer’s instructions for washing and disinfection. In professional settings, follow the required cleaning, disinfection and sterilisation procedures between clients.
A fine liner brush is useful for thin lines, while a detail brush helps create small patterns. Dotting tools are helpful for dots and simple floral designs. Beginners can start with a small nail art brush set rather than buying every type.
Sterilization destroys all forms of microbial life, including bacterial spores. Reusable metal nail tools that require sterilization should be processed using a validated method, such as an appropriate autoclave, if the tools are compatible with it. Follow the manufacturer’s instructions and local professional hygiene requirements. Do not describe ordinary washing or wiping as sterilization.
Removing acrylic nails completely without tools can be difficult because acrylic products are designed to adhere firmly to natural nails. Avoid pulling, biting, or forcing the acrylic off, as this can damage your natural nails. If you have no suitable removal supplies, the safest option is to visit a qualified nail technician rather than peel the acrylic away. If you choose an at-home removal method, use products intended for acrylic removal and follow their instructions carefully.
You can compare manicure kits, nail files, cuticle pushers and nail art brushes through Amazon UK. Read the product details and recent reviews, check the seller and return policy, and select tools that match your experience and needs.
Final Thoughts
Choosing the right nail tool does not have to be complicated. Start with a reliable clipper, a suitable file and a few other essentials that support your normal routine. Add cuticle tools or nail art accessories only when you understand how to use them properly.
Before buying, consider the quality of the materials, comfort, ease of cleaning and whether you will genuinely use each item. A smaller, carefully selected kit can be more practical than a large collection filled with unnecessary accessories.
Most importantly, make safety part of your routine. Keep tools clean, avoid aggressive cuticle work and never use sharp instruments to treat a painful or infected nail.
With the right equipment and a little practice, you can make everyday nail care easier and enjoy neat, well-maintained nails at home.