Nail Stickers: The Easy Way to Create Beautiful Nails at Home
If you love beautiful nails but do not have the time or patience to spend an hour creating detailed nail art, nail stickers can make your manicure much easier. You can add flowers, hearts, French tips, stars, lines, glitter effects, and many other designs without needing a professional nail artist or a perfectly steady hand.
The best part is that nail stickers are simple to use. With clean nails, the right size, careful application, and a good top coat, you can create a neat manicure at home in just a few minutes.
Whether you have short nails, long nails, natural nails, or already wear nail polish, there are many types of nail art stickers available to match your style.
In this guide, we will look at what nail stickers are, the different types available, how to apply them step by step, how to make them last longer, how to remove them safely, and what to look for when buying a good set.
What Are Nail Stickers?
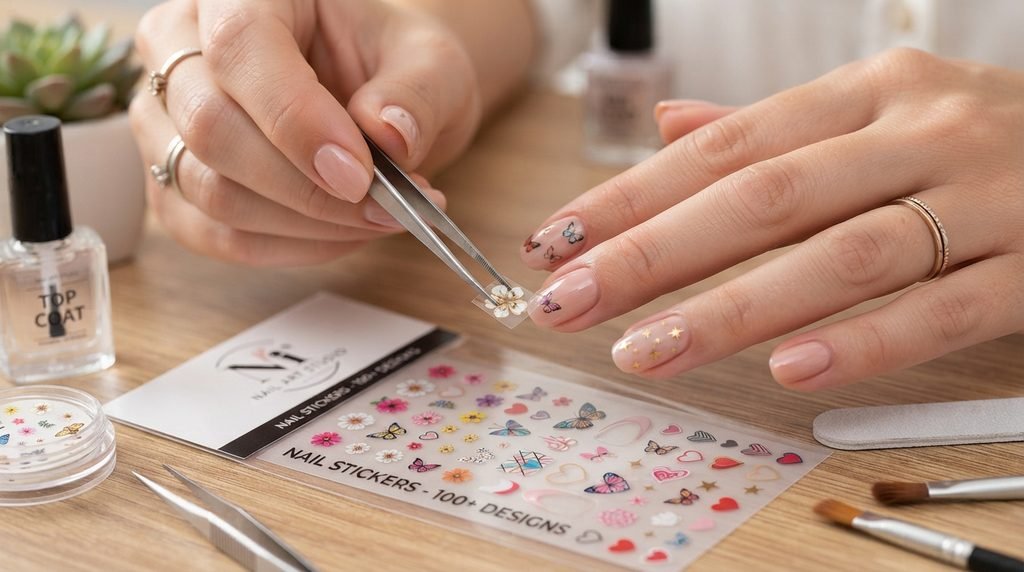
Nail stickers are small adhesive designs made specifically for decorating the surface of your nails. They are usually supplied on a sheet with different designs and sizes.
Depending on the product, they may be used directly on natural nails or over nail polish.
Some stickers are small decorations, while others are designed to cover most or all of the nail. Full-cover products are often called nail wraps or nail wraps stickers.
You can find designs such as:
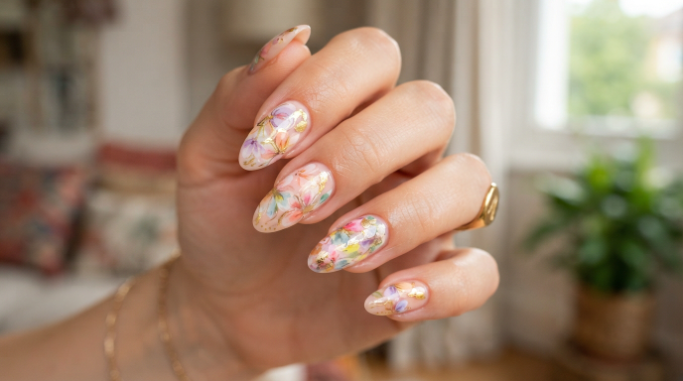
- Floral nail stickers
- Butterfly stickers
- Heart stickers
- Star designs
- French tip stickers
- Glitter designs
- Minimal line art
- Cartoon designs
- Seasonal designs
- Wedding nail stickers
- Christmas nail stickers
- Halloween nail stickers
- 3D-style nail decorations
Because the designs are already printed, you do not need to paint every detail yourself.
For beginners, that can make a huge difference.
Why Are Nail Stickers So Popular?
One reason nail stickers have become popular is convenience.
Think about a normal nail-art session. You need nail polish, small brushes, several colors, a steady hand, and enough time to let everything dry.
Now imagine choosing a design from a sheet, placing it on your nail, smoothing it down, and finishing with a clear top coat.
That is much simpler.
1. They Save Time
One of the biggest advantages of nail art stickers is that they can create detailed-looking designs quickly.
Instead of trying to paint a tiny flower yourself, you can simply choose a floral sticker and apply it.
2. They Are Beginner-Friendly
You do not need professional nail-art skills.
If you can carefully place a sticker, you can create a decorated manicure.
3. There Are Many Designs
You are not limited to one style.
You can choose something simple for everyday wear or a more detailed design for a party, wedding, holiday, or special event.
4. They Work With Different Nail Styles
Nail stickers for short nails can be especially useful because small designs do not require much space.
For longer nails, you can experiment with larger patterns, French tips, flowers, or full-cover designs.
5. They Can Upgrade Simple Nail Polish
Sometimes a plain manicure looks good but feels a little boring.
Adding one or two nail stickers can completely change the look.
For example, you could use nude nail polish and add tiny white flowers to create a clean and soft design.
Different Types of Nail Stickers
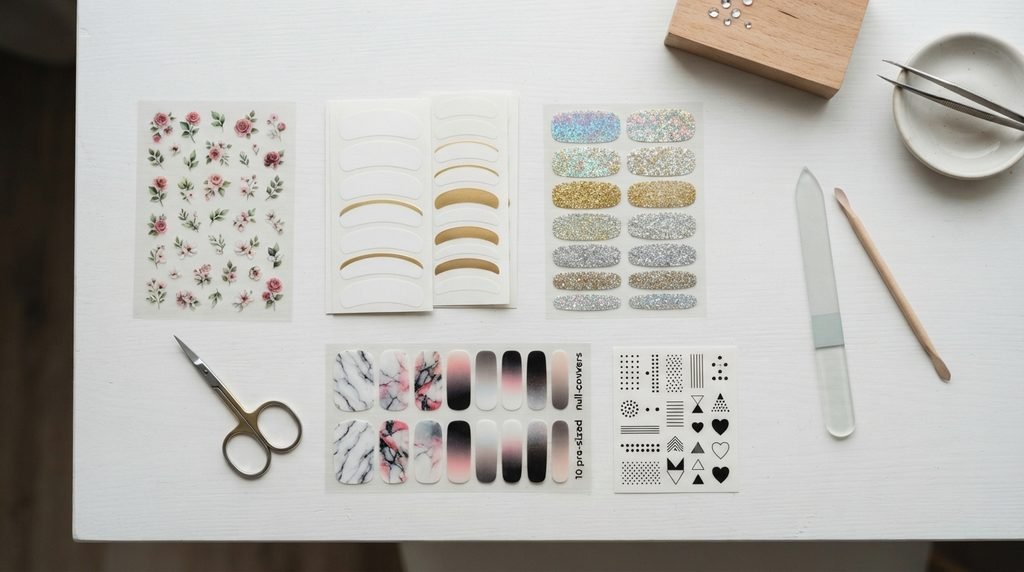
Not every sticker works in exactly the same way. Understanding the difference can help you choose the right product.
1. Nail Art Stickers
These are small decorative designs that you place on top of your manicure.
They are perfect for adding small details such as flowers, hearts, stars, leaves, or abstract patterns.
They work especially well when you already have a base color.
2. Full-Cover Nail Stickers
Full-cover nail stickers are designed to cover most or all of the nail.
Instead of applying regular nail polish, you apply the sticker directly to the nail.
These products can create a polished look without waiting for multiple layers of polish to dry.
3. Nail Wraps
Nail wraps are similar to full-cover stickers but are usually made specifically to fit over the entire nail.
The application normally involves selecting the correct size, placing the wrap near the cuticle, smoothing it over the nail, and filing away the excess.
Many nail-wrap instructions recommend choosing a wrap slightly smaller than the nail so that it does not sit on the skin or cuticle.
4. Water Decals
Water decals are another type of nail decoration.
Instead of simply peeling off a sticker and pressing it onto the nail, the design is transferred from a thin backing using water.
These can be useful when you want very detailed nail art.
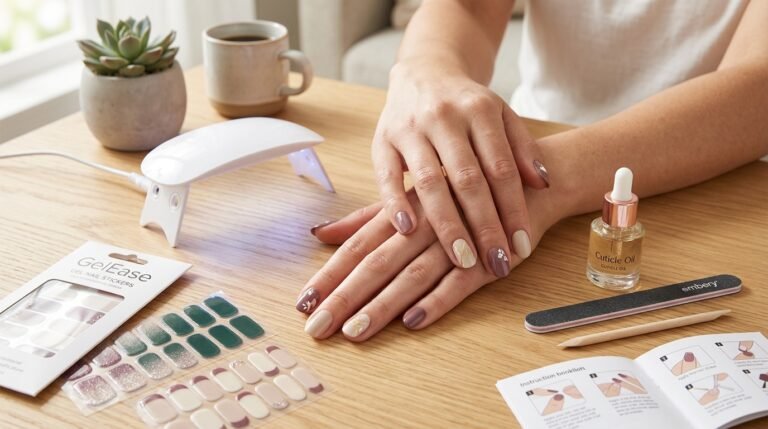
5. Gel Nail Stickers
Gel nail stickers or gel nail strips are designed to give a more polish-like finish.
Some products are semi-cured and require a UV or LED nail lamp to finish curing. Always follow the instructions supplied with the specific product because application and curing requirements can vary.
What You Need Before Applying Nail Stickers
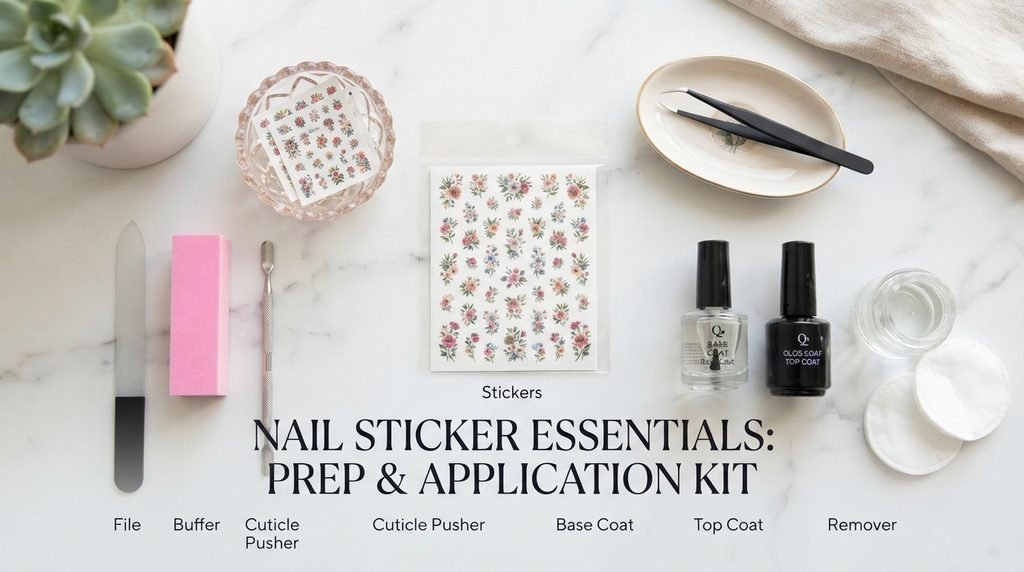
You do not need a large collection of nail tools.
For basic nail stickers, prepare:
- Nail stickers
- Nail file
- Nail buffer
- Alcohol wipe or nail cleanser
- Tweezers, if needed
- Cuticle pusher
- Clear top coat
- Cuticle oil for aftercare
The most important part is having clean, dry, oil-free nails.
Oil, lotion, dust, or moisture on the nail can make it harder for the adhesive to grip properly. Nail-wrap application guides commonly recommend cleaning and degreasing the nail before application.
How to Apply Nail Stickers Step by Step
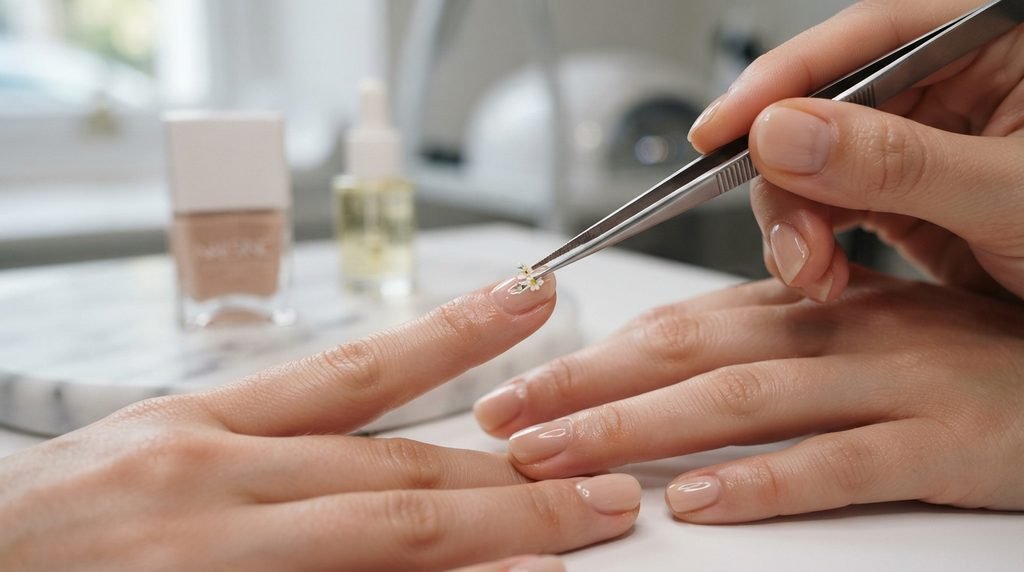
Now comes the fun part.
If you have never used nail stickers before, do not worry. The process is much easier once you understand the basic steps.
Step 1: Clean Your Nails
Start with clean hands and nails.
Remove old polish and wash your hands. Dry your nails completely.
If necessary, use an alcohol wipe to remove excess oil and residue.
Avoid applying hand cream or cuticle oil immediately before applying the stickers because oily nails can reduce adhesion.
Step 2: Shape Your Nails
Use a nail file to create the shape you want.
You can choose:
- Round
- Square
- Squoval
- Almond
- Short natural
There is no single correct nail shape.
Choose the shape that suits your natural nails and your personal style.
Step 3: Gently Push Back the Cuticles
Use a clean cuticle pusher to gently move the cuticle area back.
Do not aggressively cut or damage the cuticle.
The goal is simply to create a clean surface around the base of the nail.
Keeping the sticker slightly away from the skin also helps reduce lifting. Professional nail-sticker guides recommend placing the sticker close to the cuticle without covering the skin or cuticle itself.
Step 4: Choose the Correct Sticker Size
This step is more important than it looks.
Before removing a sticker from the sheet, hold it over your nail.
Choose a sticker that fits the nail surface without touching the surrounding skin.
If the sticker is too large, it may overlap the skin and start lifting around the edges.
If you are between two sizes, a slightly smaller sticker is generally easier to manage.
Step 5: Carefully Peel the Sticker
Remove the sticker from its backing carefully.
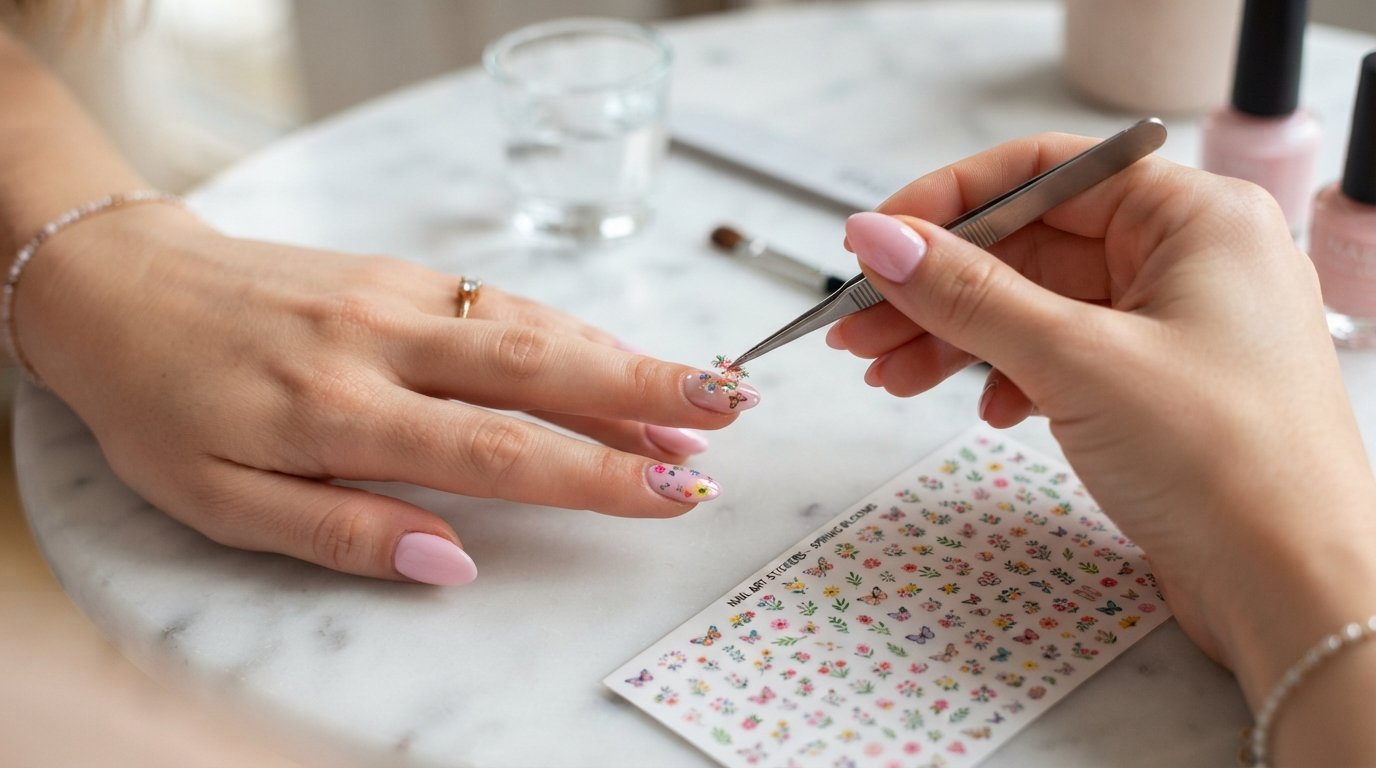
If the sticker is very small, you can use tweezers to make handling easier.
Try not to touch the adhesive side too much.
The less you disturb the adhesive, the easier it is to get a clean application.
Step 6: Place the Sticker on Your Nail
Start near the base of the nail, leaving a tiny gap between the sticker and the cuticle.
Then gently press it toward the tip.
Do not rush this step.
If the sticker is slightly misaligned, correct it carefully before pressing it firmly.
Step 7: Smooth Out Air Bubbles
Once the sticker is positioned correctly, press it down.
Start from the middle and move toward the sides.
This helps remove small air bubbles and wrinkles.
A wooden stick or your fingertip can help you smooth the sticker around the nail.
For nail wraps, application guides recommend firmly smoothing the material and pushing out wrinkles or bubbles before filing away the excess.
Step 8: Remove the Extra Material
If you are using a full-cover nail sticker or wrap, you may have extra material extending beyond the nail.
Fold the excess over the free edge.
Then use a nail file to remove it.
File downward rather than repeatedly filing upward, as upward filing can lift the sticker from the nail. This technique is also recommended in Canon’s nail-sticker application instructions.
Step 9: Apply a Clear Top Coat
This is an optional step for some products, but it can give your manicure a smoother and more finished appearance.
A clear top coat can also help seal certain nail stickers and protect the design.
However, always check the instructions for your specific stickers because some products have different requirements.
Several nail-sticker guides recommend a top coat for a longer-lasting or more polished finish.
How to Make Nail Stickers Last Longer
Applying the sticker correctly is only half the job.
Your everyday habits also affect how long your manicure stays neat.
Keep Your Nails Dry After Application
Give the adhesive enough time to settle.
Some nail sticker brands recommend avoiding water for several hours after application. For example, The Nails Angels recommends avoiding water for three hours after application.
If possible, apply your stickers after your shower or before going to bed.
That gives them more time without constant water exposure.
Avoid Picking at the Edges
This is probably one of the biggest mistakes people make.
You notice a tiny lifted corner.
You touch it.
Then you pull it.
Five minutes later, half the sticker is gone.
Instead, leave the sticker alone or remove it properly if it has started lifting significantly.
Use a Good Top Coat
A quality top coat can help create a smoother finish and protect the edges.
Apply it evenly over the sticker and, when appropriate for the product, slightly over the free edge of the nail.
Choose the Correct Size
A sticker touching your skin or cuticle is more likely to lift.
The cleaner the fit, the better the finished result.
Can You Use Nail Stickers on Short Nails?
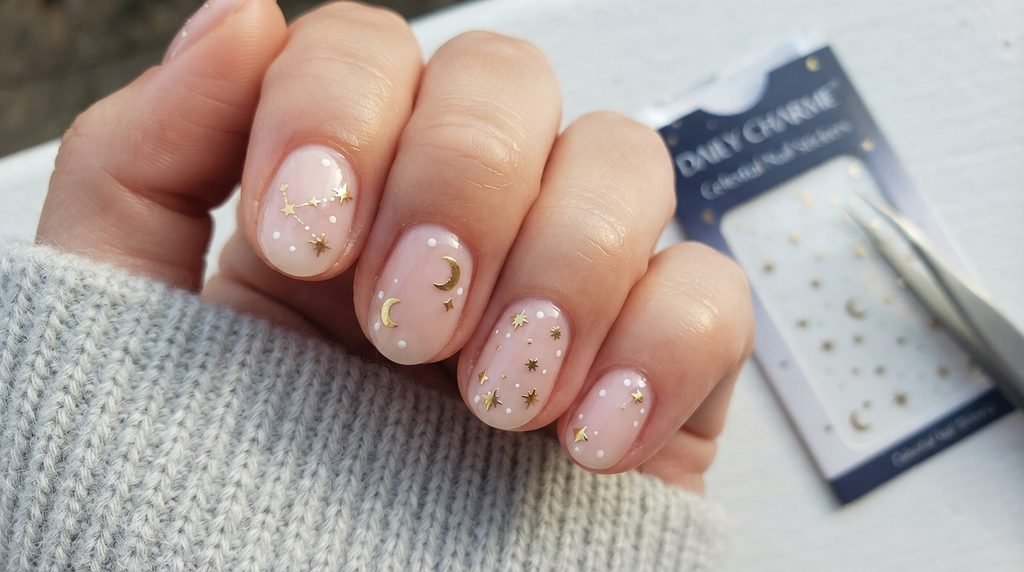
Absolutely.
In fact, nail stickers for short nails can create a very clean and attractive manicure.
The key is choosing designs that fit the available space.
For short nails, try:
- Small flowers
- Tiny hearts
- Minimal lines
- Small stars
- French-tip designs
- Simple geometric patterns
- Small leaves
- Tiny dots
Large designs can sometimes look crowded on a short nail, so simple patterns are often easier to balance.
Short nails do not mean you have to give up on nail art.
You simply need to choose designs that work with the space you have.
Can Nail Stickers Be Used Over Nail Polish?
Yes, many nail art stickers are specifically designed to be placed over nail polish.
A simple combination is:
Base color → Dry completely → Nail sticker → Clear top coat
For example, imagine a soft nude manicure.
Add a tiny white flower to the ring finger.
Then add a clear top coat.
The result can look much more detailed than the amount of work involved.
This is one reason nail stickers are useful for people who enjoy DIY manicures but do not feel confident painting designs by hand.
Do Nail Stickers Damage Your Natural Nails?
Generally, the sticker itself is not necessarily the main problem.
The bigger concern is how you apply and remove it.
Do not aggressively scrape, pick, or rip stickers away from the nail.
Some nail-care guidance specifically warns against tearing adhesive products off because aggressive removal can pull at the natural nail surface.
If a sticker does not come away easily, soften the adhesive according to the instructions for that product.
Different products require different removal methods, so always check the manufacturer’s directions.
How to Remove Nail Stickers Safely
Eventually, you will want to change your design.
This is where patience matters.
Step 1: Do Not Rip the Sticker Off
If the sticker is firmly attached, do not force it.
Pulling aggressively can damage the surface of your natural nail.
Step 2: Soften the Adhesive
Depending on the product, you may use warm water, nail polish remover, or acetone.
For example, some nail-wrap products recommend soaking the nails in warm water before gently removing the wraps.
Other products recommend acetone or nail polish remover.
Always follow the instructions provided with your specific sticker.
Step 3: Gently Lift the Edge
Once the adhesive has softened, gently lift the edge.
You can use your fingertip or an appropriate wooden cuticle stick.
If the sticker resists, stop and soften it again.
Do not force it.
Step 4: Clean Your Nails
After removal, clean away any remaining adhesive.
Then wash your hands.
Step 5: Apply Cuticle Oil
Finish with cuticle oil or a suitable nail moisturizer.
This helps keep the nail area comfortable after removal.
Common Nail Sticker Mistakes to Avoid
Even though nail stickers are easy to use, a few common mistakes can affect the final result.
Applying Them to Oily Nails
Oil can interfere with adhesion.
Always start with clean, dry nails.
Covering the Cuticle
Do not place the sticker directly over the skin or cuticle.
Leave a tiny gap.
Choosing a Sticker That Is Too Large
A sticker that reaches onto the skin may lift more easily.
Touching the Adhesive Too Much
Try to handle the sticker by its non-sticky edges whenever possible.
Filing in the Wrong Direction
For full-cover wraps, follow the manufacturer’s filing instructions. Some guides specifically recommend filing downward to avoid lifting.
Skipping the Top Coat When Recommended
If your product recommends a top coat, use one.
It can help give your manicure a cleaner and more finished appearance.
Peeling Them Off Dry
This is one of the biggest mistakes.
If the sticker is difficult to remove, soften the adhesive instead of forcing it.
How to Choose the Best Nail Stickers
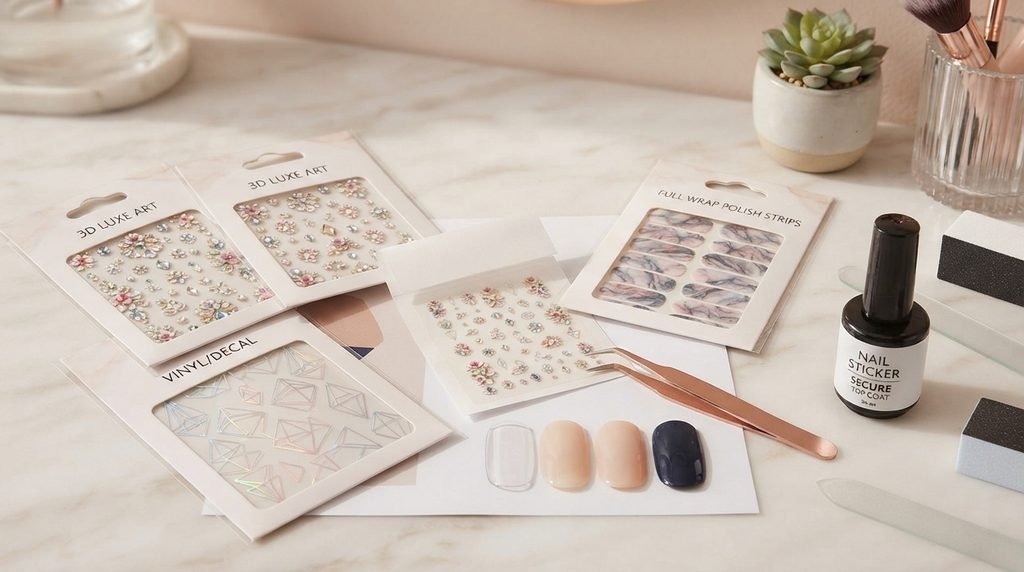
With so many options available, choosing a good set can feel confusing.
Before buying nail stickers, consider these factors.
1. Check the Size Range
Look for a sheet with multiple sizes.
This makes it easier to find a sticker that fits your natural nail.
2. Consider Your Nail Length
If you have short nails, choose smaller patterns or stickers specifically designed for short nails.
3. Check the Adhesive
A good sticker should stay in place without constantly lifting at the edges.
4. Look at the Design Quality
The design should be sharp and clean.
Poorly printed designs can make the manicure look less polished.
5. Read the Application Instructions
Different products have different requirements.
Some are simple peel-and-stick decals.
Others are full-cover wraps.
Some gel strips require curing under a lamp.
Understanding the product before buying can save you frustration later.
Are Nail Stickers Worth Buying?
If you enjoy doing your nails at home, nail stickers can be a practical addition to your manicure collection.
They are particularly useful if:
- You do not have strong nail-art skills.
- You want a quick manicure.
- You like changing nail designs regularly.
- You want detailed designs without painting them yourself.
- You prefer DIY nail care.
- You want an easy way to decorate short nails.
- You enjoy seasonal or themed nail art.
Imagine getting ready for a dinner or event.
You already have your outfit planned, but your nails look plain.
Instead of spending a long time trying to create a detailed design with a tiny brush, you can choose a suitable sticker, apply it carefully, and finish with a top coat.
That is the real appeal of nail stickers: they make detailed nail art much more approachable.
Final Thoughts on Nail Stickers
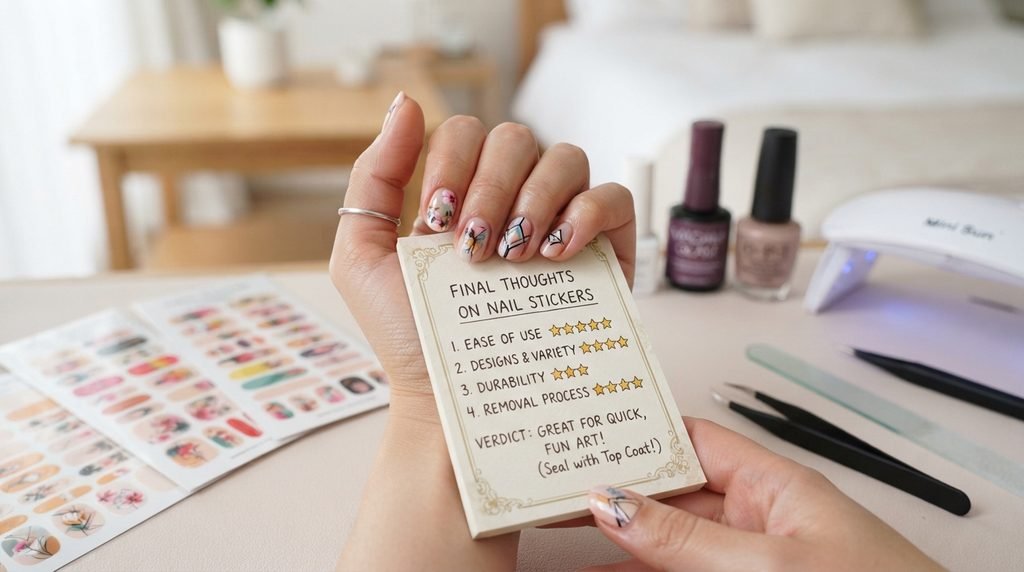
Nail stickers are one of the easiest ways to add personality to your manicure without needing advanced nail-art skills.
The process is simple:
Clean your nails → Choose the right size → Apply carefully → Smooth the sticker → File the excess → Seal when recommended → Remove gently
The biggest secret is not complicated.
Take your time during application and do not rush the removal process.
When you choose a good-quality product and follow its instructions, nail art stickers can help you create beautiful designs from the comfort of your home.
Whether you prefer soft floral designs, simple French tips, cute patterns, bold graphics, or elegant minimal nail art, there is a style for almost everyone.
And perhaps the best part?
You do not need to be a professional nail artist to make your nails look beautifully finished.
All you need is the right design, a little patience, and a few minutes to create a manicure that feels like your own.
Frequently Asked Questions About Nail Stickers
How long do nail stickers last?
The wear time depends on the type of sticker, nail preparation, adhesive, top coat, and your daily activities. Follow the manufacturer’s instructions for the specific product.
Can I use nail stickers on natural nails?
Yes. Many nail stickers and nail decals are designed to be applied directly to natural nails.
Can I put nail stickers over nail polish?
Yes, many decorative nail art stickers can be applied over completely dry nail polish.
Are nail stickers good for short nails?
Yes. Nail stickers for short nails can look especially neat when you choose small designs that fit the available nail space.
Do nail stickers need a top coat?
Not always. Some products recommend a clear top coat for better protection and a smoother finish, while others are designed to be used without one. Always check the product instructions.
How do I remove nail stickers?
Removal depends on the product. Some can be softened with warm water, while others may require nail polish remover or acetone. Never forcefully pull a firmly attached sticker from your nail.
Can beginners use nail stickers?
Yes. One of the main advantages of nail stickers is that they make detailed nail art much easier for beginners.
What is the difference between nail stickers and nail wraps?
Small nail stickers are usually decorative elements placed on part of the nail, while nail wraps or full-cover stickers are designed to cover most or all of the nail.
Helpful resources:
For additional application guidance, see L’Oréal Paris’ nail sticker guide, Emery & Co.’s nail-wrap application guide, and Canon’s printable nail-sticker instructions. These sources provide practical information about sizing, application, filing, and finishing.