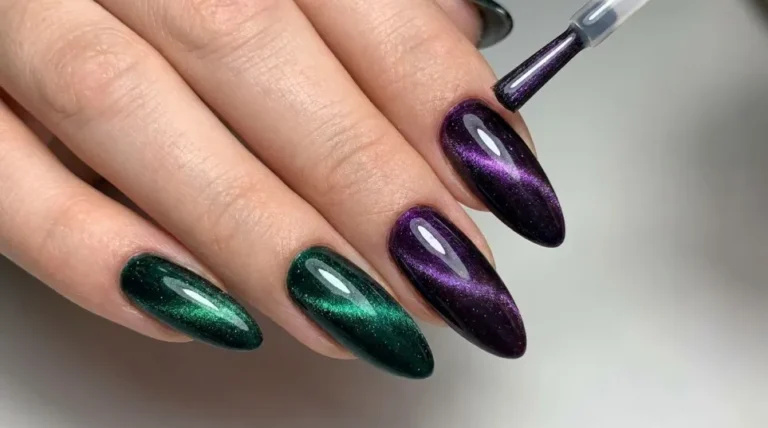
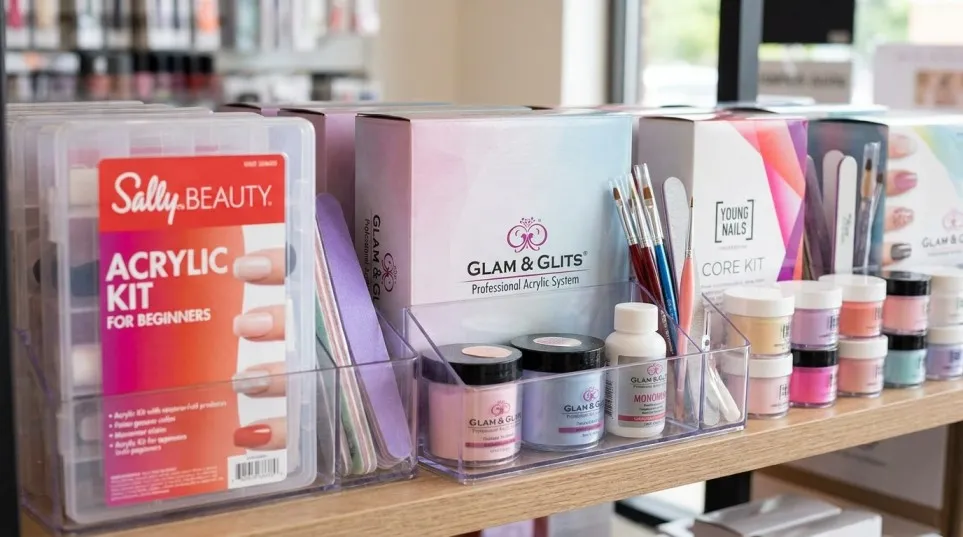
Acrylic Nail Kits: A Complete Beginner’s Guide to Choosing and Using the Best Kit
Acrylic nail kits are a convenient way to create beautiful nail extensions at home without booking a salon appointment every time you want a fresh manicure. Whether you love classic French tips, natural-looking nude nails or longer coffin-shaped extensions, the right kit can help you explore different styles while learning a new beauty skill.
However, choosing your first kit can feel confusing. Some sets include acrylic powder, liquid monomer and brushes, while others come with nail tips, glitter, an electric nail drill and extra manicure tools. The cheapest kit is not always the best choice, especially if important supplies are missing.
In this guide, you will learn what to look for when buying acrylic nail kits, which tools you actually need, how to apply acrylic nails step by step, and how to avoid common mistakes. You will also find helpful shopping links, maintenance advice and answers to frequently asked questions.
What Are Acrylic Nail Kits?
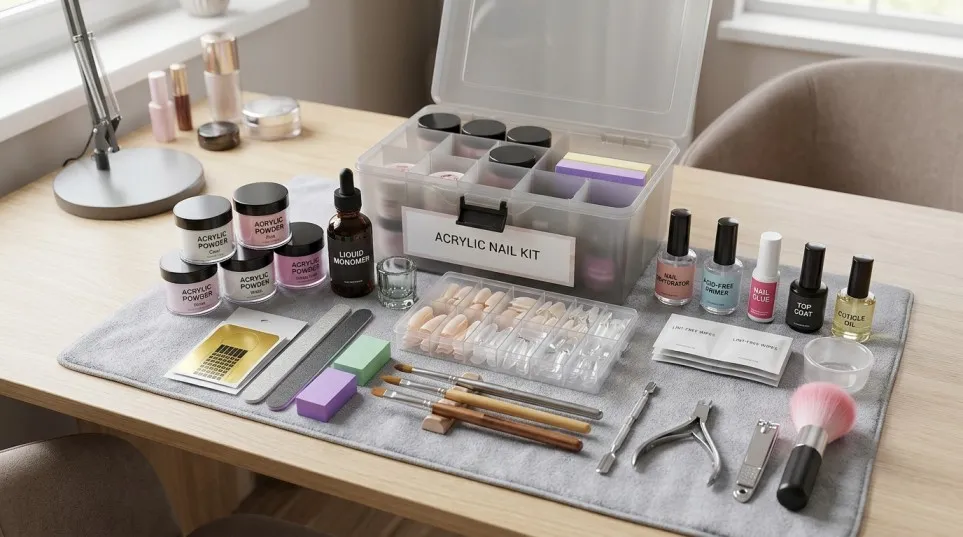
Acrylic nail kits are collections of nail products and tools designed to help you create acrylic nail extensions or strengthen the appearance of your natural nails. Most traditional kits use a combination of acrylic powder and liquid monomer to create a workable mixture that hardens after application.
Depending on the set, you may receive everything needed to prepare, shape and finish your nails in one package.
A typical kit may include:
- Acrylic powder in clear, pink, white or nude shades
- Liquid monomer for mixing with the powder
- An acrylic nail brush
- Nail tips or nail forms for creating extensions
- Nail glue, primer and preparation products
- A nail file and buffer
- A small dish for holding acrylic liquid
- A top coat or additional nail art accessories
Some larger kits also contain an electric nail drill, practice fingers, glitter powders and decorative pieces.
Before buying, remember that not every product labelled as a complete acrylic nail kit contains all these items. Always check the product description and included accessories.
Why Choose Acrylic Nail Kits for Home Use?
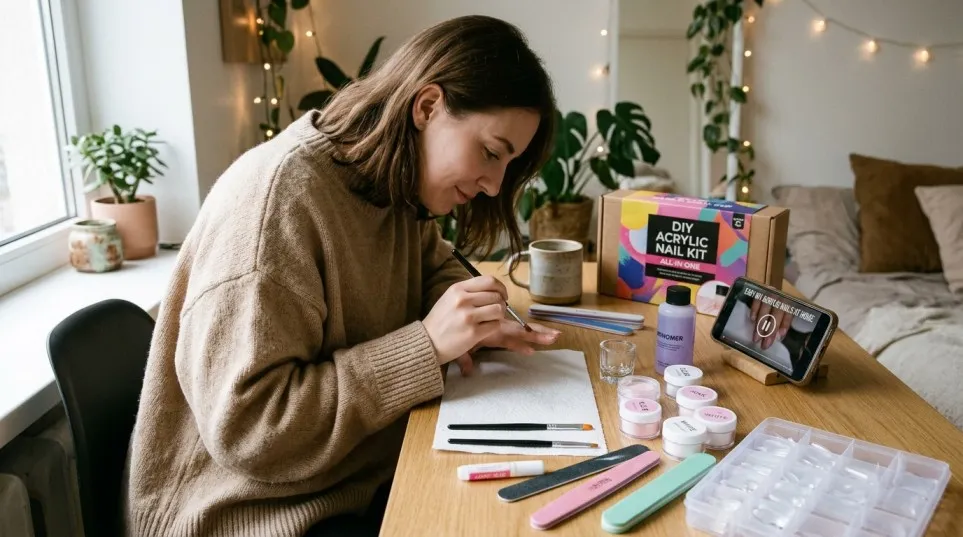
One of the main reasons people buy acrylic nail kits is the freedom to experiment with different nail styles at home. Instead of relying on a salon appointment, you can practise your technique and learn which shapes, lengths and colours suit you best.
1. Save Money Over Time
Salon appointments can become expensive if you regularly get extensions, infills and nail art. A home kit allows you to reuse certain tools and purchase replacement products when needed.
However, the initial cost is not your only expense. You may also need extra files, preparation products, suitable ventilation and removal supplies. Good technique matters just as much as the kit itself.
2. Experiment With Different Nail Designs
Acrylic products can be shaped into a wide range of styles, from short square nails to long almond and coffin extensions.
You can explore French tip nails, soft pink manicures, glitter finishes and colourful nail art.
Clear, pink and white acrylic powders are especially useful because they work well for many classic designs.
3. Practise at Your Own Pace
Learning acrylic application takes patience. You need to understand how much liquid to use, how to control the powder mixture and how to shape the product before it hardens.
A beginner-friendly kit with clear instructions can make the learning process easier. You can practise on artificial tips or training fingers before attempting a complete set on your own nails.
4. Create Your Preferred Nail Length
Acrylic extensions can help you achieve longer nails even if your natural nails are short. Nail tips or sculpting forms provide the base for creating the desired length.
Nevertheless, longer nails require more careful application and maintenance. Beginners often find short or medium extensions easier to control.
Types of Acrylic Nail Kits Available in the UK
Not every kit is designed for the same person. Understanding the main options can help you choose a set that matches your experience and budget.
Acrylic Nail Kits for Beginners
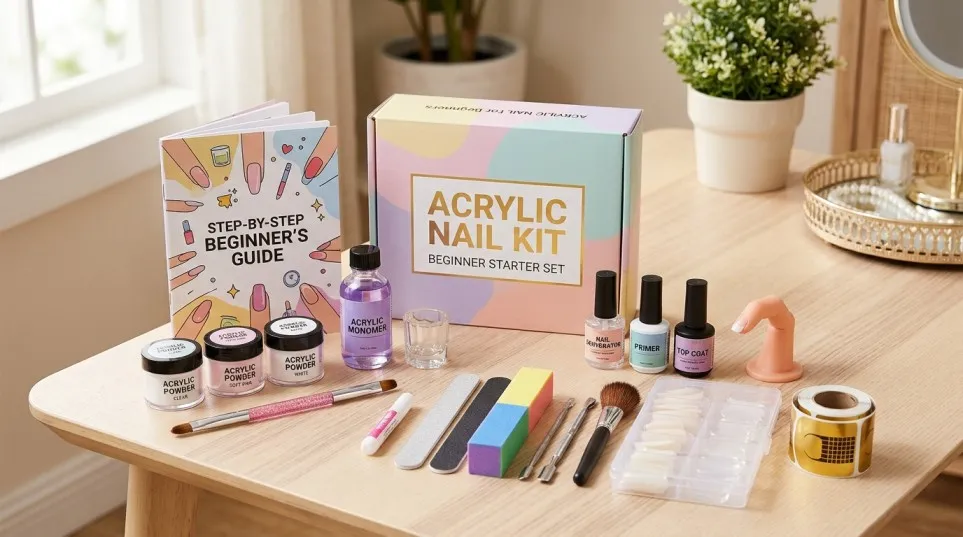
Beginner kits usually include the essential liquid-and-powder system, an acrylic brush, files and nail tips or forms.
Some also provide practice fingers, instruction booklets and a selection of nail art accessories.
If this is your first attempt, prioritise clear instructions and essential tools rather than buying the biggest set available.
Professional Acrylic Nail Kits
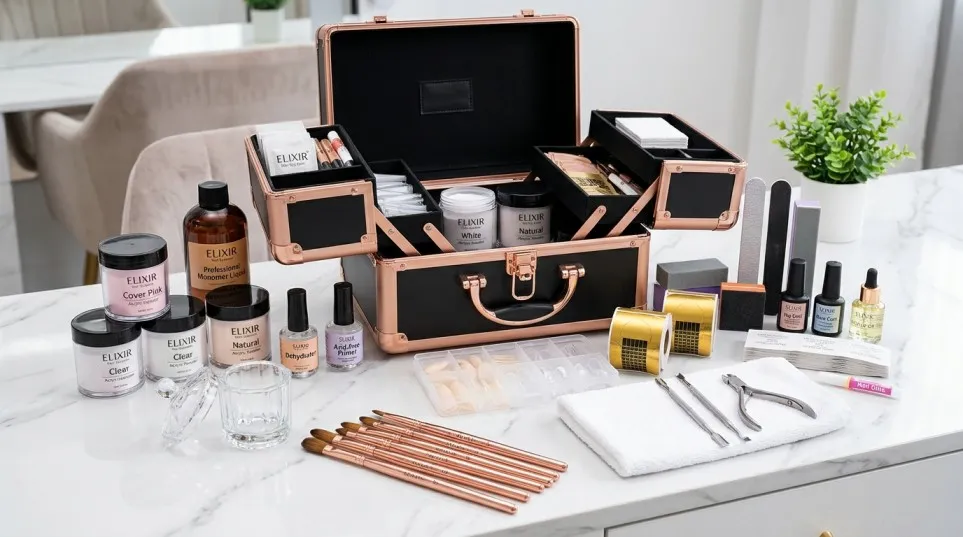
Professional kits are generally designed for people who already understand nail preparation, bead control and product application.
They may include larger powder containers, higher-quality brushes and a wider choice of nail products.
These kits can be useful for regular practice or trained nail technicians. However, a professional label does not automatically guarantee better quality, so check the ingredients, manufacturer information and customer feedback.
Acrylic Nail Kits With an Electric Drill
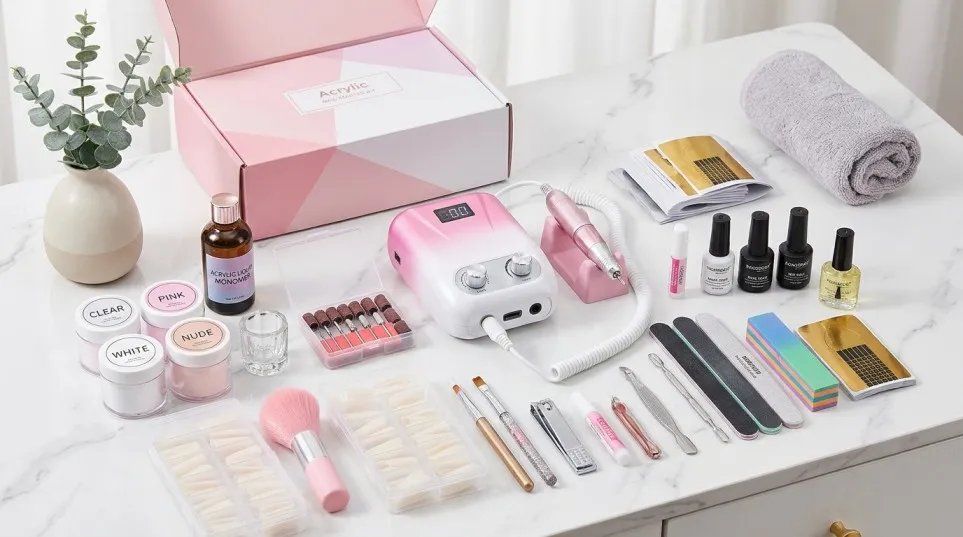
Some acrylic nail kits include an electric nail file, also called an e-file. It can help experienced users refine acrylic surfaces and remove excess product during maintenance.
An electric drill is not essential for learning basic acrylic application. Incorrect use can thin the natural nail or damage the surrounding skin.
If you are a beginner, start with manual files and learn safe filing techniques before considering powered tools.
Acrylic Nail Kits With Multiple Colours
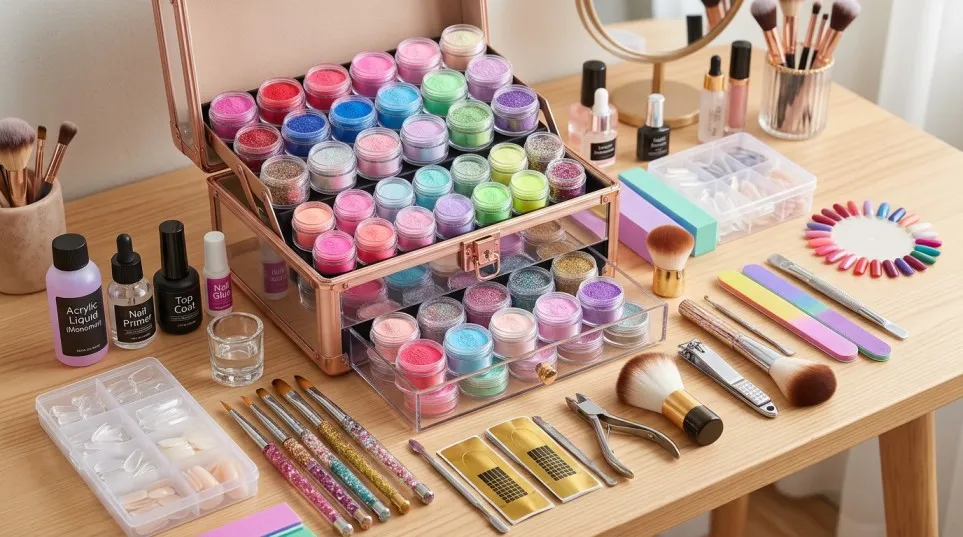
Multi-colour kits are ideal if you enjoy changing your manicure regularly.
Depending on the set, you may find clear, white, pink, nude, glitter or coloured acrylic powders. These shades can be used for French manicures, ombré effects and creative nail art.
Before purchasing, check whether the extra colours are acrylic powders or ordinary gel polishes. They are different products and cannot automatically be used interchangeably.
Acrylic Nail Kits With Practice Hands
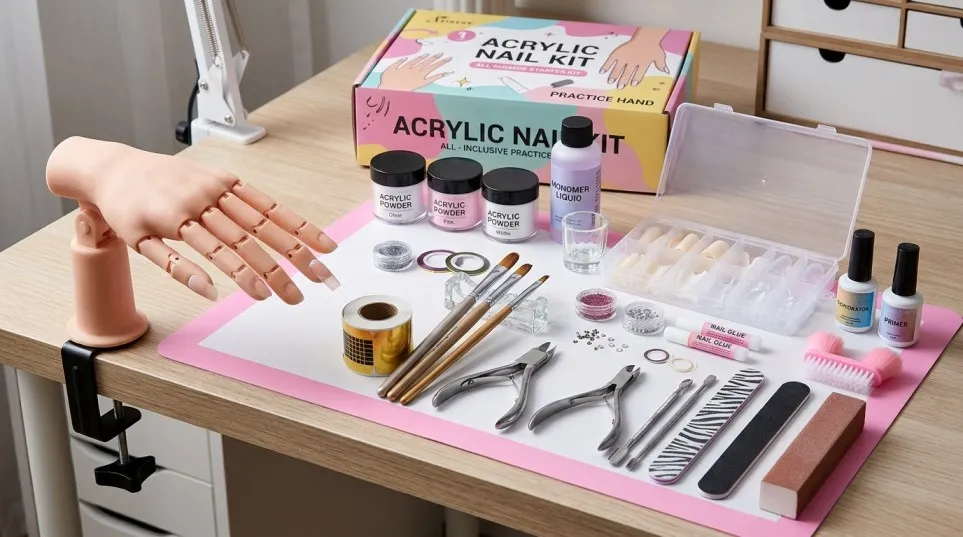
A practice hand or set of artificial fingers can be particularly useful for beginners.
It allows you to practise placing nail tips, applying acrylic beads and shaping extensions without immediately working on your natural nails.
If you expect to spend time developing your technique, a kit with training accessories may provide better value than one containing lots of decorative items.
Best Acrylic Nail Kits: What Should You Buy?
There is no single kit that is best for everyone. The right option depends on your experience, the nail styles you want to create and how often you intend to use the products.
Here are useful starting points for UK shoppers.
1. SAVILAND Acrylic Nail Kit for Beginners
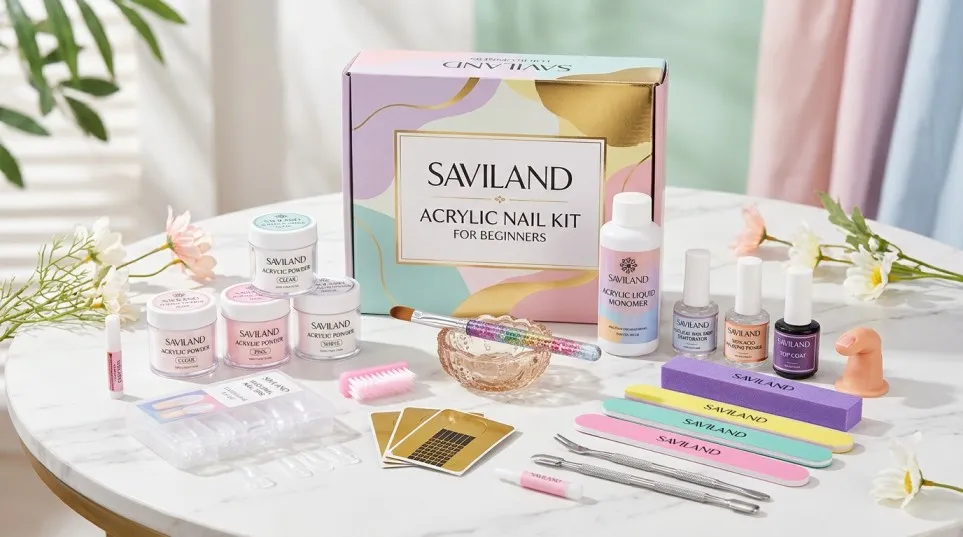
A beginner-focused SAVILAND set is worth investigating if you want a selection of traditional acrylic essentials in one package.
Depending on the specific version, you may find pink, white and clear powders, liquid monomer, brushes, nail forms and additional accessories.
Best for: Beginners who want to practise classic acrylic extensions.
Explore SAVILAND acrylic nail kits on Amazon UK.
2. PEACECOLOR Acrylic Nail Kit
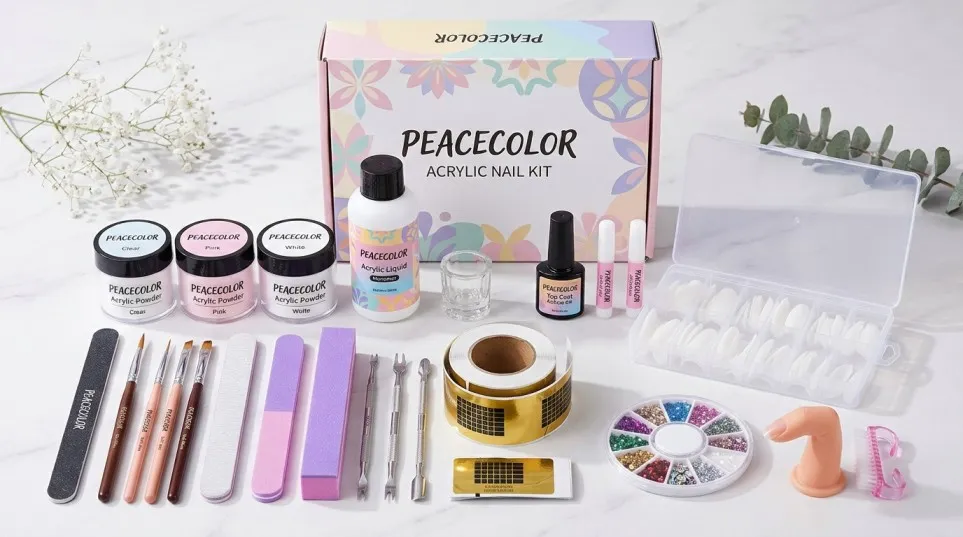
PEACECOLOR offers multi-piece nail kits that may combine acrylic powders with nail art accessories and additional manicure tools.
Some versions include an electric drill or lamp, but the contents vary between listings. Check the exact product description before ordering.
Best for: People who want a broader selection of nail art accessories.
Explore PEACECOLOR acrylic nail kits on Amazon UK.
3. Acrylic Nail Kit With a Practice Hand
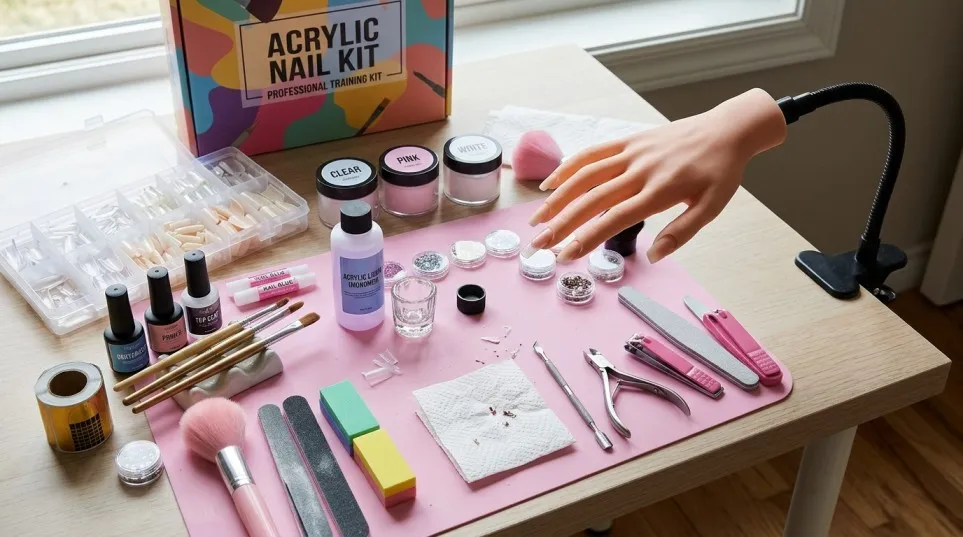
If your main goal is learning acrylic application, a training-focused kit can be a practical option.
Look for a set containing a reusable practice hand, replaceable artificial nails, acrylic powder, liquid monomer and an application brush.
Best for: Beginners who want to develop their technique before working on their own nails.
Find acrylic nail kits with practice hands on Amazon UK.
4. Basic Acrylic Powder and Liquid Kit
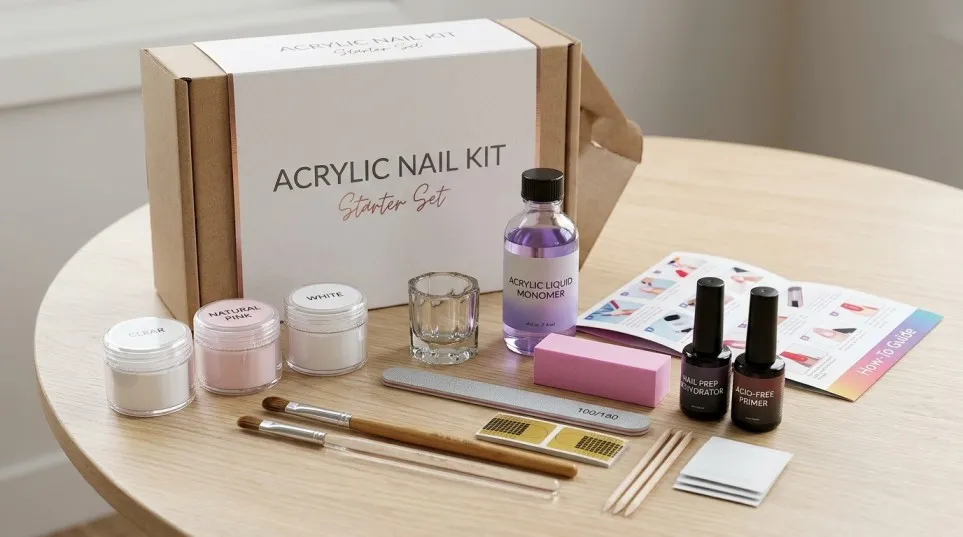
A simple kit containing the main acrylic system may suit people who prefer to buy their preparation tools separately.
This approach can reduce unnecessary accessories and help you focus on learning the fundamentals.
Best for: People who want a straightforward starter set.
Shop acrylic powder and liquid kits on Amazon UK.
Buying tip: These are Amazon UK search links, not guarantees of a particular listing’s current price, availability or quality. Compare the exact contents, seller details, recent reviews and return policy before making a purchase.
What to Look for When Buying Acrylic Nail Kits
Before adding a product to your basket, check the following features.
1. Essential Products
A traditional acrylic system requires compatible acrylic powder and liquid monomer. The kit should also include an appropriate application brush and suitable nail preparation tools.
If you are purchasing a complete starter set, check whether it includes nail tips or forms, nail glue where required, files and a top coat.
Missing essentials can increase the final cost.
2. Acrylic Powder Quality
Acrylic powder should work correctly with its recommended monomer and allow you to create a smooth, controllable application.
Clear, pink and white powders are useful starting colours. You can add brighter shades later when you feel comfortable with the technique.
Always follow the manufacturer’s compatibility instructions rather than mixing products from unrelated systems without confirmation.
3. The Right Acrylic Brush
The brush affects how easily you can pick up, place and shape acrylic beads.
Look for a brush that suits the product system and feels comfortable to hold. A poorly maintained brush can become stiff or lose its shape, making application more difficult.
Clean it according to the manufacturer’s instructions and avoid leaving acrylic product to harden in the bristles.
4. Nail Tips and Forms
Nail tips are pre-shaped extensions attached to the natural nail. Forms sit beneath the free edge and provide a guide for sculpting an extension.
Tips can feel more straightforward when you are learning basic extensions, while sculpting forms require additional control.
Choose a kit that supports the method you want to learn.
5. Clear Instructions
A kit with clear directions can help you understand product ratios, application steps, drying times and removal procedures.
If the instructions are confusing or incomplete, consult the manufacturer’s official guidance before using the products.
6. Safety Information
Do not choose a kit solely because its packaging says “non-toxic,” “professional” or “beginner-friendly.”
Read the ingredient information, warnings and recommended usage instructions. Acrylic monomer vapours and filing dust can be irritating, while uncured or wet nail products may cause allergic reactions if they contact the skin.
Work in a well-ventilated area and avoid direct skin contact.
How to Use Acrylic Nail Kits Step by Step
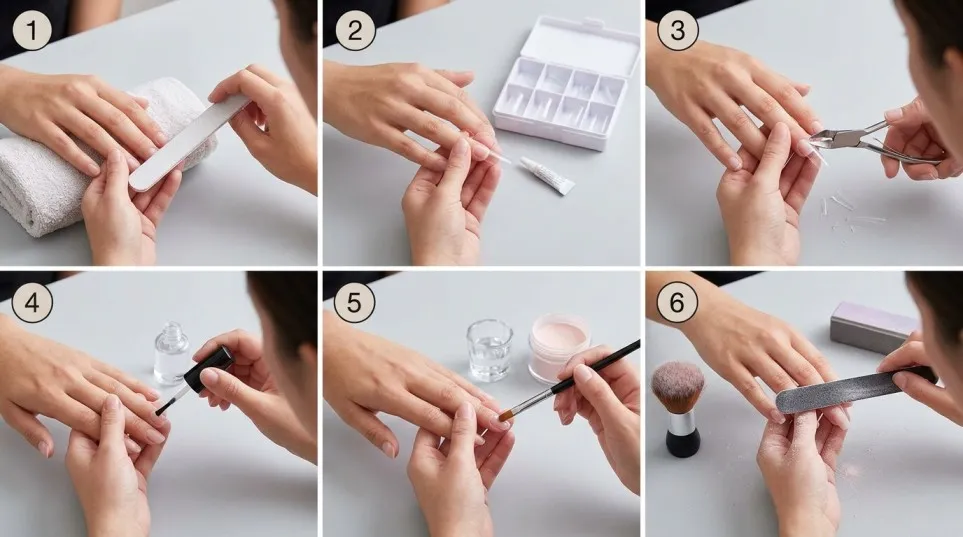
Applying acrylic nails correctly takes practice. Your first attempt may not look exactly like a salon manicure, and that is normal. The aim is to develop consistent preparation, product control and shaping skills.
Step 1: Gather Your Supplies
Before beginning, make sure you have:
- Your acrylic nail kit
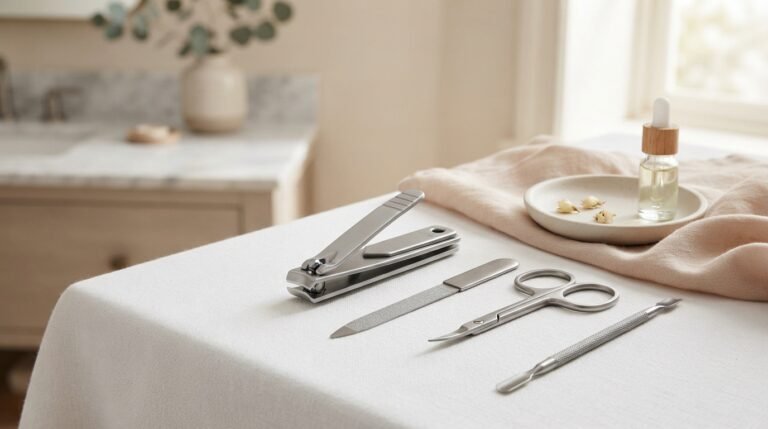
- Nail files and a buffer
- A cuticle pusher
- Nail tips or forms
- The recommended nail preparation products
- A suitable acrylic brush
- A dish for the monomer liquid
- A lint-free wipe and appropriate cleaning supplies
Keep the manufacturer’s instructions nearby. Do not assume every kit follows exactly the same procedure.
Step 2: Prepare Your Natural Nails
Wash and dry your hands thoroughly. Remove any old nail polish and gently push back the cuticles without cutting living tissue.
Shape your natural nails and lightly prepare the surface according to the product instructions. Avoid aggressive buffing because excessive filing can weaken the natural nail.
Remove dust before continuing.
Step 3: Select and Apply Nail Tips if Needed
Choose a tip that fits each nail from sidewall to sidewall without squeezing or forcing it.
Apply the recommended nail adhesive according to its directions. Make sure the tip is secure before shaping it to your preferred length.
If your chosen technique uses sculpting forms instead, position the form as instructed by the manufacturer.
Step 4: Apply Nail Preparation Products
Some systems require a dehydrator, primer or bonding product. Others have different preparation requirements.
Use only the products recommended for your acrylic system and follow their instructions carefully.
Keep primer and other nail chemicals away from the skin.
Step 5: Prepare the Acrylic Liquid and Powder
Pour a small amount of monomer into a suitable dish. Dip the brush into the liquid and pick up a small amount of acrylic powder to form a bead.
The exact liquid-to-powder balance depends on the product system. A bead that is too wet may run, while a bead that is too dry may be difficult to spread and can produce a rough finish.
Practise on artificial tips until you can control the mixture.
Step 6: Place the Acrylic Carefully
Apply the acrylic to the extension in small, controlled amounts.
Keep the product away from the cuticle and surrounding skin. Use the brush to guide the material into place and create an even structure.
Avoid applying excessive thickness near the cuticle or allowing the product to pool along the sidewalls.
A neat application is usually easier to file and maintain.
Step 7: Allow the Acrylic to Harden
Traditional acrylic systems generally harden through a chemical reaction between the powder and liquid. They do not normally require a UV or LED lamp for the acrylic itself.
However, some kits also include gel polish or other light-cured products. These must be cured using the compatible lamp and the manufacturer’s specified procedure.
Never assume that a lamp can compensate for an incorrectly mixed or improperly applied acrylic product.
Step 8: File and Shape the Nails
Once the acrylic has hardened sufficiently, refine the shape with a suitable nail file.
You can choose square, oval, almond, coffin or another shape that suits your preference.
File gradually rather than removing large amounts of material at once. Be especially careful near the natural nail and avoid filing the skin.
Step 9: Add Colour and Nail Art
Depending on the kit, you can finish the nails with a compatible top coat, gel polish or other suitable nail colour.
Popular designs include French tips, soft pink finishes, nude manicures, glitter accents and simple seasonal patterns.
Follow the instructions for any additional products, particularly those that require lamp curing.
Step 10: Finish With Aftercare
Clean up your workspace and store the products according to their labels.
Apply cuticle oil around the nails if appropriate, and avoid picking, pulling or biting the extensions.
If you notice pain, swelling, itching or unusual redness, stop using the product. Seek medical advice if symptoms persist or are significant.
Common Mistakes to Avoid With Acrylic Nail Kits
Even a good-quality kit cannot compensate for poor preparation or unsafe application.
Applying Acrylic Too Close to the Cuticle
Product touching the skin can increase the risk of irritation and allergic sensitisation. Leave a small, clean margin around the cuticle and sidewalls.
Using Too Much Product
Thick acrylic can create an unbalanced shape and require excessive filing. Apply controlled amounts and build the structure gradually.
Choosing a Kit Only Because It Has More Accessories
A set containing dozens of glitter pots may look appealing, but that does not mean its core acrylic products or tools are better.
Focus on compatible powder and liquid, a suitable brush, clear instructions and safe working conditions.
Filing the Natural Nail Too Aggressively
Excessive filing can thin and weaken your natural nails. Use gentle preparation and avoid trying to remove every trace of product by scraping or grinding.
Peeling Acrylic Off
Never pull or peel off acrylic extensions. Doing so can remove layers of the natural nail and cause damage.
Use the removal method recommended for the specific product system. If you are unsure, seek help from a qualified nail professional.
Ignoring Ventilation
Monomer vapours and filing dust should not be ignored. Work with good ventilation, keep containers closed when not in use and follow the product safety information.
How Long Do Acrylic Nails Last?
With appropriate application and maintenance, acrylic extensions may remain wearable for around two to three weeks before an infill or replacement is needed. Actual wear time varies depending on nail growth, application quality, daily activities and the condition of your natural nails.
As your nails grow, a gap develops near the cuticle. This changes the balance of the extension and means the set needs professional assessment or appropriate maintenance.
Do not wait for an extension to lift significantly or become painful before dealing with it.
Acrylic Nail Kits vs Gel Nail Kits
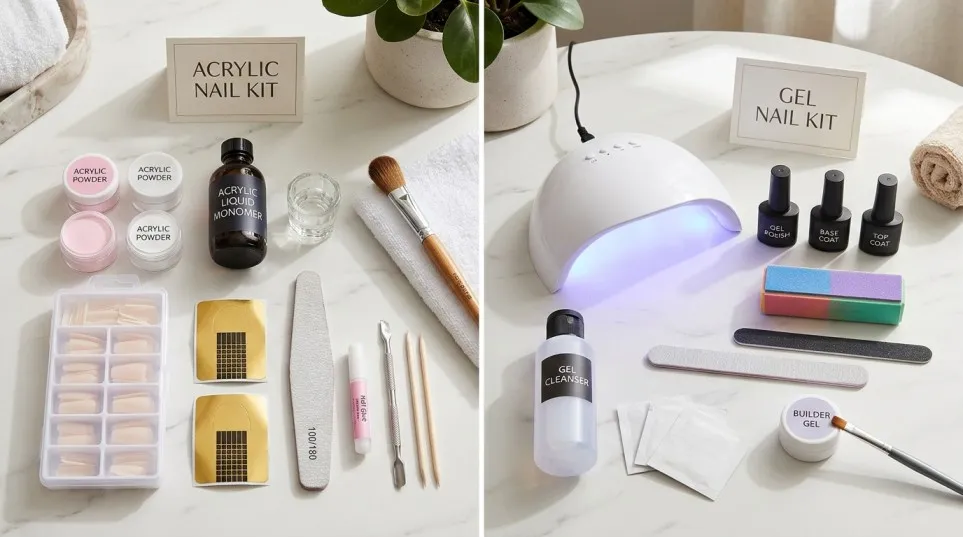
Although both options can create attractive manicures, acrylic and gel systems work differently.
| Feature | Acrylic nail kits | Gel nail kits |
|---|---|---|
| Main system | Powder and liquid monomer | Gel products |
| Hardening | Usually hardens without a lamp | Many products require a compatible UV/LED lamp |
| Extension options | Tips or sculpting forms | Depends on the gel system |
| Learning curve | Requires control of acrylic beads and setting time | Requires correct application and curing |
| Best choice | People who want traditional acrylic extensions | People who prefer a suitable gel-based system |
Neither system is automatically safer for everyone. Product ingredients, application technique, skin contact and removal practices all matter.
For more information about the difference between these manicure systems, see this comparison of acrylic and gel nails.
How to Maintain Acrylic Nails at Home
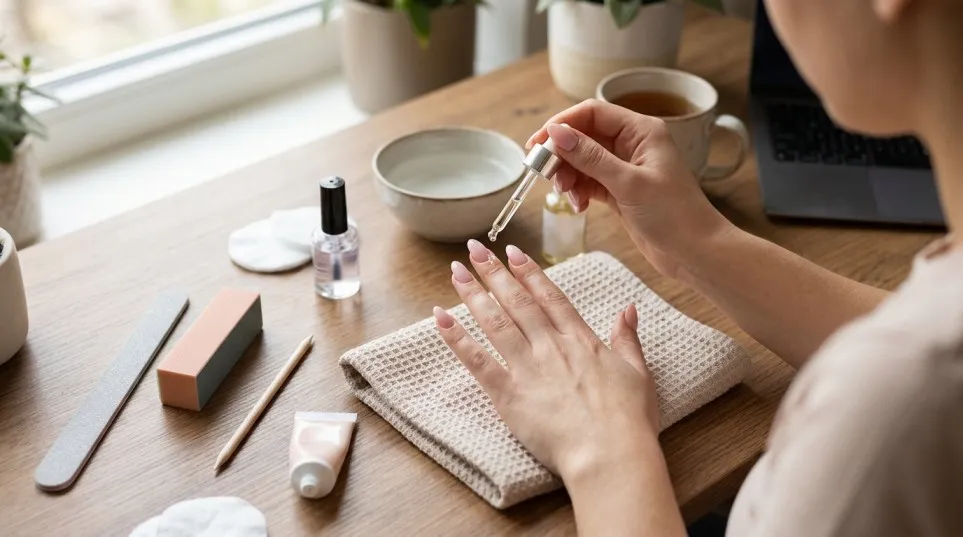
Once you have applied your extensions, proper maintenance helps keep them looking tidy and reduces avoidable damage.
Keep Your Nails Clean and Dry
Clean your hands regularly and dry them thoroughly. Prolonged moisture trapped beneath a lifted extension can create conditions for nail problems.
Moisturise Your Cuticles
Use cuticle oil and hand cream to help keep the surrounding skin comfortable. Avoid applying oil immediately before an application if the product system requires a clean, oil-free nail surface.
Avoid Using Your Nails as Tools
Do not use your extensions to open tins, scrape hard surfaces or pull objects apart. Excessive force can cause breakage or injury.
Check for Lifting
If an extension starts lifting, do not glue it down without understanding why it lifted. Avoid trapping moisture or debris underneath it.
A trained nail technician can assess whether the product needs to be removed or reapplied.
Schedule Timely Infills or Removal
Do not keep extending the time between maintenance appointments simply because the acrylic still looks attractive.
Your natural nails continue growing, and the extension’s balance changes over time. Follow the product guidance and seek professional assistance when needed.
Are Acrylic Nail Kits Worth Buying?
For people who enjoy nail art and are willing to practise, acrylic nail kits can be a useful investment.
A well-chosen starter set brings together the basic products needed to learn a traditional acrylic technique. It can also give you the freedom to explore different lengths, shapes and designs at your own pace.
However, acrylic application is not as simple as applying ordinary nail polish. It involves chemicals, careful product handling and a learning curve. If you have sensitive skin, existing nail damage or concerns about product allergies, professional advice may be a better starting point.
For a first purchase, consider a basic kit with compatible powder and liquid, an appropriate brush, nail tips or forms and clear instructions. Once you understand the fundamentals, you can decide whether a practice hand, extra colours or an electric file would genuinely help.
Before placing an order, compare the actual contents and safety information rather than relying on the number of accessories advertised.
Frequently Asked Questions About Acrylic Nail Kits
Related BIAB Guides
- Christmas Ideas for Acrylic Nails: 15 Festive Designs, Beautiful Colours & Easy Holiday Nail Art
- How Long Do Acrylic Nails Last? Infills, Wear Time & Tips
- How to Remove Acrylic Nails at Home: Safe Step-by-Step Guide
The best acrylic nail kit for beginners is one that includes compatible acrylic powder and liquid, an application brush, nail tips or forms, basic filing tools and clear instructions. A practice hand can also be helpful if you want to learn before applying acrylic to your natural nails.
Yes. You can create acrylic extensions at home if you have the correct products, understand the application steps and follow safety instructions. Beginners should practise on artificial tips first because acrylic application requires careful control.
Most traditional kits contain acrylic powder, liquid monomer and an acrylic brush. Depending on the set, they may also include nail tips, forms, primer, files, a dappen dish, top coat and nail art accessories. Always check the individual listing because kit contents vary.
Traditional powder-and-liquid acrylic systems generally harden without a UV or LED lamp. However, gel polish, gel top coats and other light-cured products included in some combination kits may require a compatible lamp. Follow the instructions for each product.
Prices vary according to the brand, product quantity and included tools. Basic sets are usually less expensive than large kits containing practice hands, electric drills or numerous nail art accessories. Compare current acrylic nail kit prices on Amazon UK before purchasing, and check whether you will need to buy any missing essentials separately.
Some kits are marketed specifically for beginners, but that does not mean the application process is effortless. Choose a straightforward set, read all instructions and practise on artificial tips before using the products on your own nails.
Some kits are marketed specifically for beginners, but that does not mean the application process is effortless. Choose a straightforward set, read all instructions and practise on artificial tips before using the products on your own nails.
Acrylic extensions commonly need maintenance after approximately two to three weeks. Their actual lifespan depends on application quality, natural nail growth, daily activities and aftercare.
Damage can occur through aggressive filing, forceful removal, repeated trauma or incorrect application. Follow the manufacturer’s directions, avoid peeling the product off and give damaged nails time to recover.
Many tools, such as a reusable acrylic brush and mixing dish, can be used again if cleaned and maintained correctly. Powder and liquid supplies are consumed during application, while disposable files, wipes and some accessories need replacing. Never reuse contaminated products or share tools without appropriate cleaning and disinfection.
Acrylic powder contains the polymer component, while the liquid monomer helps form a workable mixture. When combined correctly, the mixture hardens to create the acrylic enhancement. The two products need to be compatible with each other and used according to the manufacturer’s instructions.
An inexpensive kit may be suitable for practice, but price alone does not establish quality or safety. Check the product ingredients, included essentials, seller information, instructions and recent customer reviews before deciding. A slightly more complete kit may offer better value than a cheaper set that requires several additional purchases.
You can search for acrylic nail kits through online marketplaces such as Amazon UK and specialist nail supply retailers. Compare the exact kit contents, delivery costs, product instructions and seller details before ordering.
Final Thoughts
Choosing the right acrylic nail kits can make learning nail extensions more organised and enjoyable. Whether you want simple nude nails, classic French tips or creative nail art, a suitable kit gives you the basic tools to practise and develop your technique.
Start with essential products, focus on safe preparation and learn to control the acrylic mixture before attempting complicated designs. You do not need the largest kit to get started; you need compatible products, clear instructions and the patience to improve.
If you are ready to explore your options, browse acrylic nail kits on Amazon UK and choose a set that fits your experience, budget and preferred nail style.
A final reminder: Always follow the manufacturer’s safety instructions, avoid skin contact with nail chemicals and never forcefully remove acrylic extensions.