
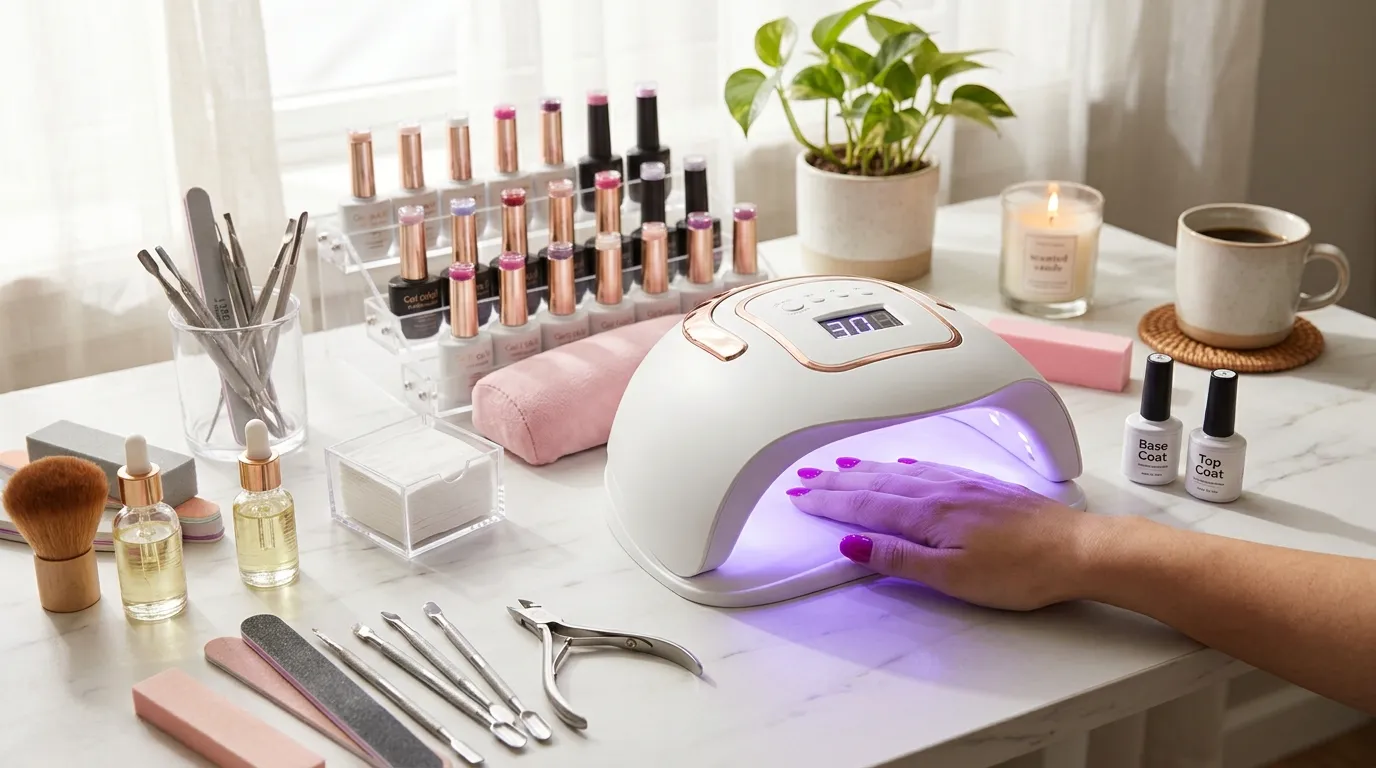
UV Light Nails: A Complete Guide to Using UV Nail Lamps Safely and Getting Salon-Quality Results at Home
UV light nails have become increasingly popular among people who want shiny, long-lasting manicures without visiting a nail salon every few weeks. Whether you love glossy gel polish, elegant French tips, colourful nail art, or a simple nude manicure, a UV nail lamp can help you achieve a professional-looking finish at home. However, choosing the right lamp, understanding how it works, and learning how to protect your skin are all important before you begin.
Imagine getting ready for a special occasion and noticing that your freshly painted nails have already chipped. It can be frustrating, especially when you have spent time making them look perfect. This is one reason many people choose gel nail polish that cures under a UV or LED nail lamp. With the right products and proper application, you can enjoy a durable manicure while saving time and money on salon visits.
In this guide, you will learn what UV light nails are, how UV nail lamps work, which products you need, how to apply gel polish step by step, and how to choose a suitable lamp for your needs. You will also discover important safety tips, common mistakes to avoid, buying advice, and frequently asked questions designed to answer the questions people search for online.
What Are UV Light Nails?
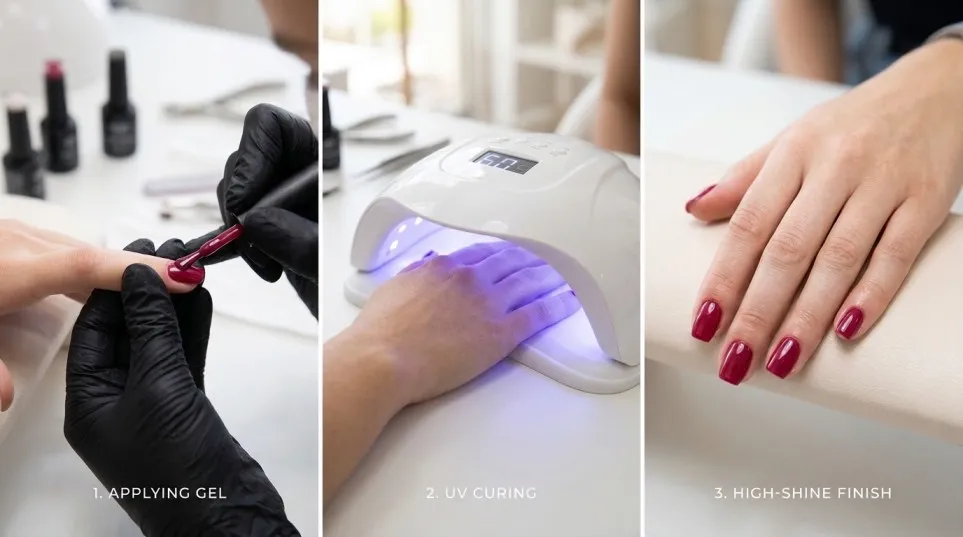
UV light nails usually refer to manicures created with gel nail polish that hardens under a special ultraviolet (UV) nail lamp. Unlike traditional nail polish, which dries as its solvents evaporate, gel polish uses light to start a chemical reaction called curing. This reaction helps the gel form a firm, smooth coating on the natural nail.
A UV nail lamp for gel nails is commonly used for several types of manicures, including:
- Gel nail polish: For glossy, colourful nails that resist everyday chipping.
- BIAB nails: Builder gel manicures designed to add structure and support to natural nails.
- Gel nail extensions: For adding length using compatible gel systems.
- Gel nail art: For creating detailed designs, glitter effects and decorative finishes.
- French gel manicures: For a clean, elegant look with pink or nude bases and white tips.
However, not every nail product needs a lamp. Regular nail polish, for example, should generally be allowed to air-dry rather than placed under a UV lamp. Always check the product instructions before applying any nail coating.
How Does a UV Nail Lamp Work?
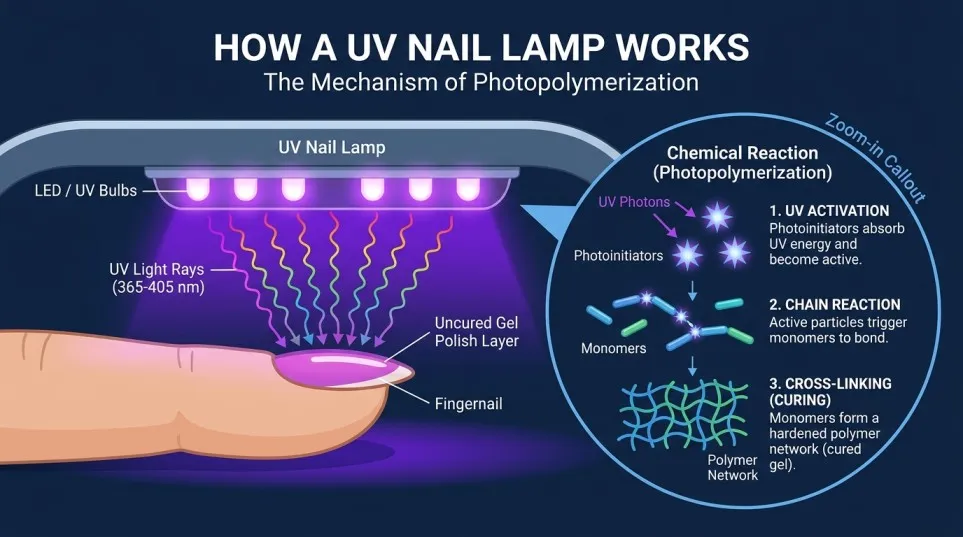
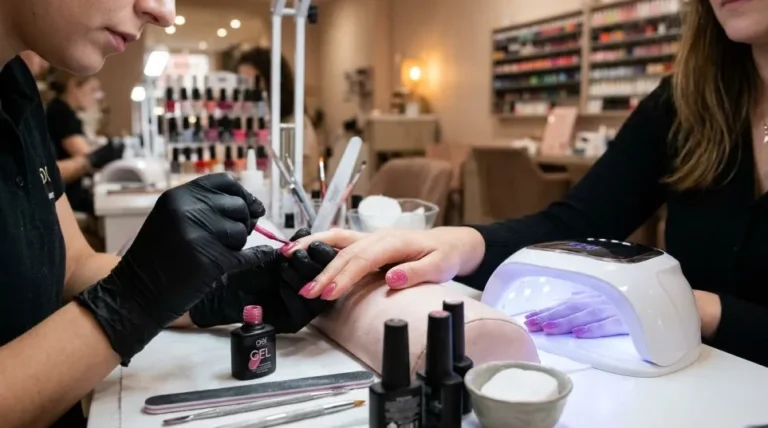
A UV nail lamp produces light that activates the ingredients in specially formulated gel polish. The gel then cures and becomes firm enough to resist smudging.
Some lamps use traditional fluorescent UV bulbs, while others use LED technology that emits ultraviolet wavelengths suitable for curing compatible gel products. That is why you will often see products advertised as UV LED nail lamps.
Although LED lamps are often faster, they are not automatically suitable for every gel polish. The lamp’s wavelength, output and the product’s formulation all affect how well the gel cures.
Here is a simple comparison:
| Feature | Traditional UV lamp | UV LED lamp |
|---|---|---|
| Light source | UV fluorescent bulbs | UV-emitting LEDs |
| Curing time | Often longer | Often shorter |
| Bulb maintenance | Bulbs may need replacement | LEDs generally last longer |
| Product compatibility | Depends on the gel formula | Depends on the gel formula and wavelength |
| Best for | Compatible UV-curable gels | Compatible UV/LED-curable gels |
Both types require proper use. A lamp that switches off after 30 or 60 seconds does not necessarily mean every gel product has cured completely. Follow the manufacturer’s recommended curing time.
Benefits of Using UV Light for Nails
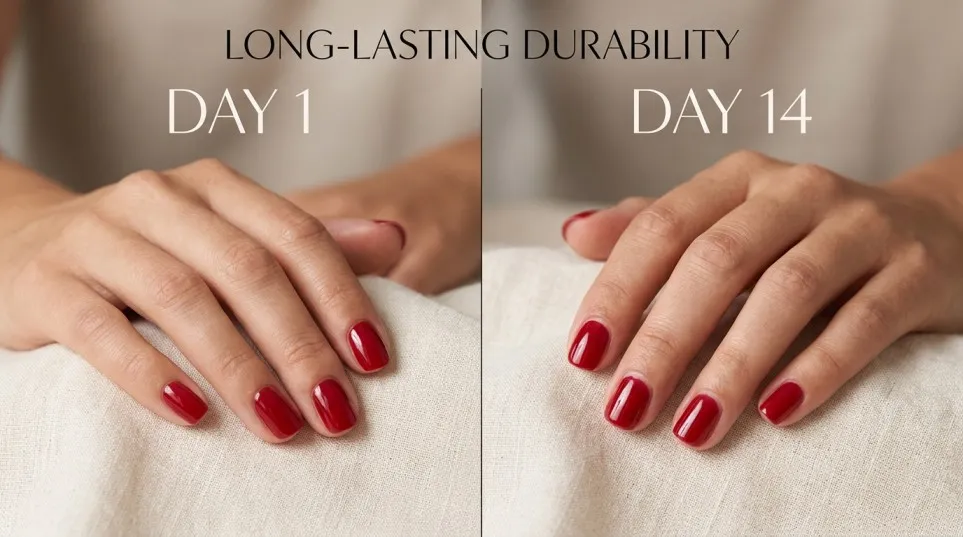
A suitable UV nail lamp can make doing your nails at home more convenient. Nevertheless, the results depend on the quality of your products and your application technique.
1. A Long-Lasting Gel Manicure
One of the main reasons people choose UV light nails is the durability of gel polish. When correctly applied and fully cured, gel polish can resist the small chips and scratches that often affect regular manicures.
This can be useful if you work with your hands, type frequently, or simply want your nails to look neat throughout the week.
2. A Glossy, Professional Finish
Gel polish is popular for its smooth, shiny appearance. A properly applied top coat can give your nails a salon-style finish without requiring a salon appointment.
You can choose anything from soft pink and milky white to bold red, deep burgundy and glitter finishes.
3. Faster Manicure Sessions
Traditional nail polish may take a while to dry completely. Gel polish cures under the correct lamp, allowing you to move on to the next step much sooner.
This does not mean the whole manicure takes only a few minutes. Nail preparation, careful application and cleaning up the edges still take time.
4. More Nail Art Possibilities
A UV LED nail lamp makes it easier to work with compatible gel colours, builder gels and decorative effects.
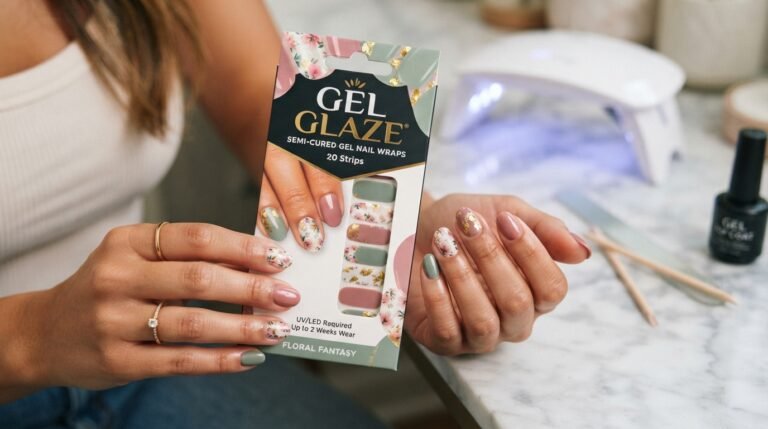
For instance, you could create a nude base, add tiny floral details and finish with a glossy top coat. Each layer can be cured as directed, helping you build the design without waiting for ordinary polish to air-dry.
5. Convenient At-Home Nail Care
If you regularly pay for gel manicures, buying a suitable lamp may help reduce the cost of future appointments. You will still need compatible polish, base and top coats, nail preparation products and safe removal supplies.
The initial cost may be higher than buying ordinary nail polish, but a home kit can be worthwhile if you enjoy doing your nails regularly.
What You Need for UV Light Nails at Home
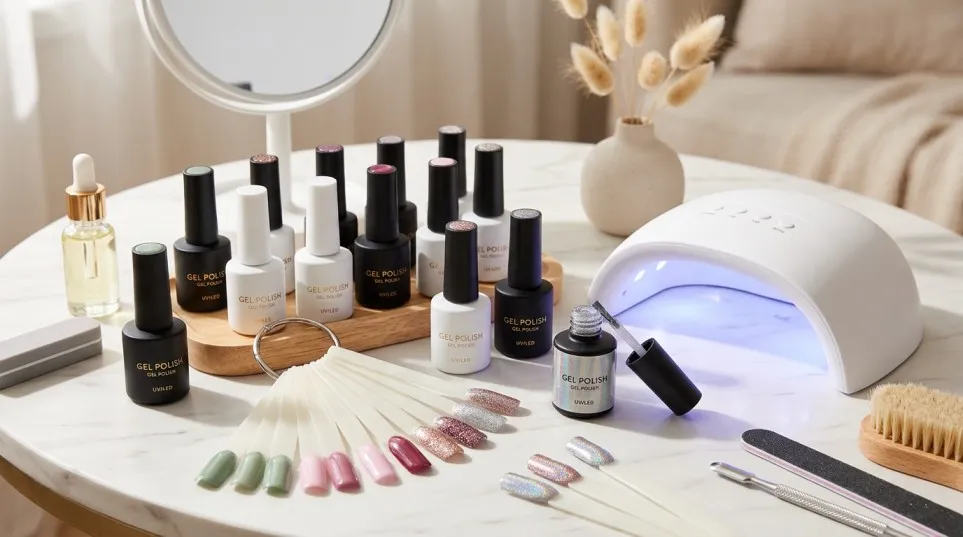
Before starting, gather the right supplies. Buying a lamp alone will not give you a complete gel manicure.
1. UV LED nail lamp
Choose a lamp with clear instructions, appropriate curing specifications and timer settings. Make sure it is compatible with your chosen gel system.
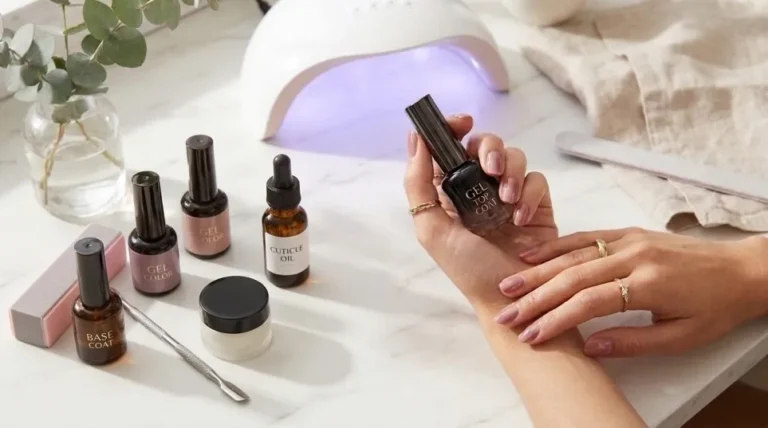
2. Gel base coat, colour and top coat
These products form the main layers of a gel manicure. Check whether they are designed to work together.
3. Nail preparation tools
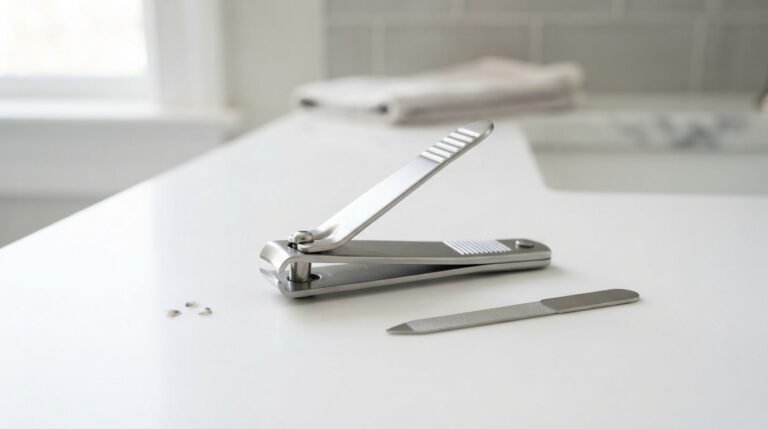
A nail file, buffer and cuticle pusher can help you prepare the nail plate gently. Avoid cutting living skin or aggressively filing the natural nail.
4. Skin protection
Consider UV-protective fingerless gloves or broad-spectrum sunscreen on the exposed skin of your hands. Keep sunscreen away from the nail plate if it could interfere with gel adhesion.
5. Removal supplies
Have the products recommended by your gel system ready before you begin. Some gels soak off, while others need professional filing.
How to Do UV Light Nails Step by Step
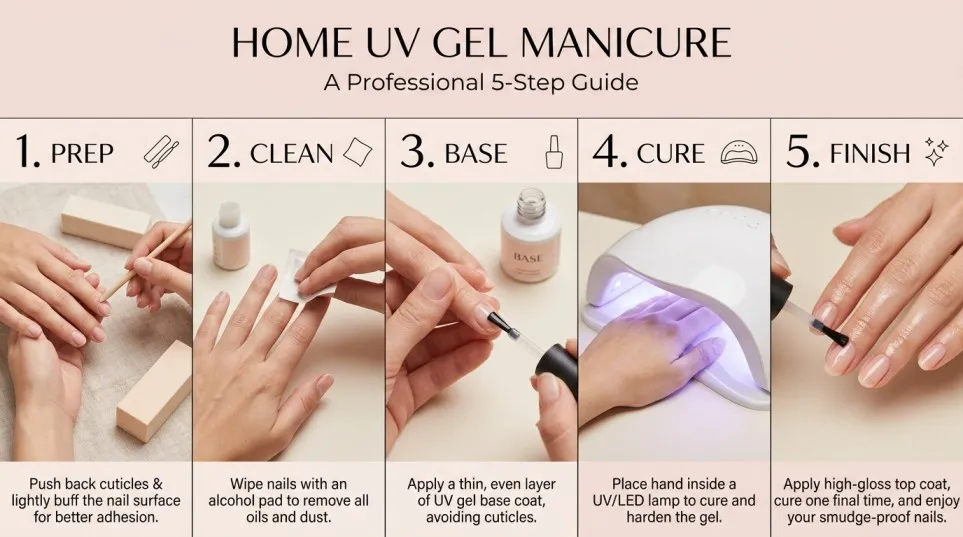
If you are new to gel manicures, start with a simple, single-colour design. It is easier to control than a complicated nail-art look and helps you learn how your products behave.
Step 1: Prepare Your Nails
Wash and dry your hands. Remove any old polish and gently shape your nails with a file.
If necessary, gently push back the cuticles without cutting the living skin. Remove loose dust and prepare the nail surface according to your gel manufacturer’s instructions.
Why this matters: Oils, dust and excess moisture can affect adhesion. Good preparation helps your manicure last longer without needing harsh filing.
Step 2: Protect Your Skin
Before using the lamp, apply a broad-spectrum sunscreen of SPF 30 or higher to exposed skin, following the product directions. Alternatively, wear UV-protective fingerless gloves that leave the nails uncovered.
Nail lamps emit UV radiation, usually mainly UVA. The long-term risk from normal manicure exposure is still being studied, so it is sensible to reduce unnecessary exposure.
Step 3: Apply a Thin Base Coat
Apply a thin, even layer of compatible gel base coat. Avoid getting gel on the surrounding skin or cuticles.
If any gel touches your skin, remove it completely before curing, following the product’s instructions. Do not put gel-covered skin under the lamp.
Step 4: Cure the Base Coat
Place your nails inside the lamp as directed by the manufacturer. Use the curing time specified for your particular base coat and lamp.
Avoid guessing the timing or assuming that a higher wattage always means better curing. The correct combination of wavelength, output, product and exposure time is what matters.
Step 5: Apply Your Gel Colour
Apply a thin layer of gel colour, keeping the product away from your skin and cuticles.
For example, if you want a natural manicure, choose a sheer pink, beige or milky nude. For a more noticeable look, try red, plum or glitter gel polish.
Thick layers can cure unevenly, so use thin coats rather than applying a large amount at once.
Step 6: Cure Each Colour Layer
Cure the first coat according to the product instructions. Apply a second thin coat if needed and cure it as directed.
Some shades, particularly very dark or highly pigmented colours, may need especially careful application to ensure adequate curing. Do not compensate for thick layers by repeatedly guessing at extra curing time; follow the product manufacturer’s guidance.
Step 7: Apply the Top Coat
Apply a compatible gel top coat to seal the colour and create a glossy finish. Keep the product off your skin and cure it for the recommended time.
Some top coats leave a sticky inhibition layer that needs to be removed using the recommended cleanser. Others are labelled no-wipe and do not require this step.
Step 8: Finish and Moisturise
Once the manicure is complete, apply cuticle oil and hand cream. Moisturising helps keep the surrounding skin comfortable, especially if you wash your hands frequently.
The result should be a smooth, glossy manicure with no gel touching the skin. If the product remains soft, wrinkles, or appears uncured, do not simply apply more top coat. Follow the manufacturer’s troubleshooting advice and remove improperly cured product safely.
How to Choose the Best UV Nail Lamp
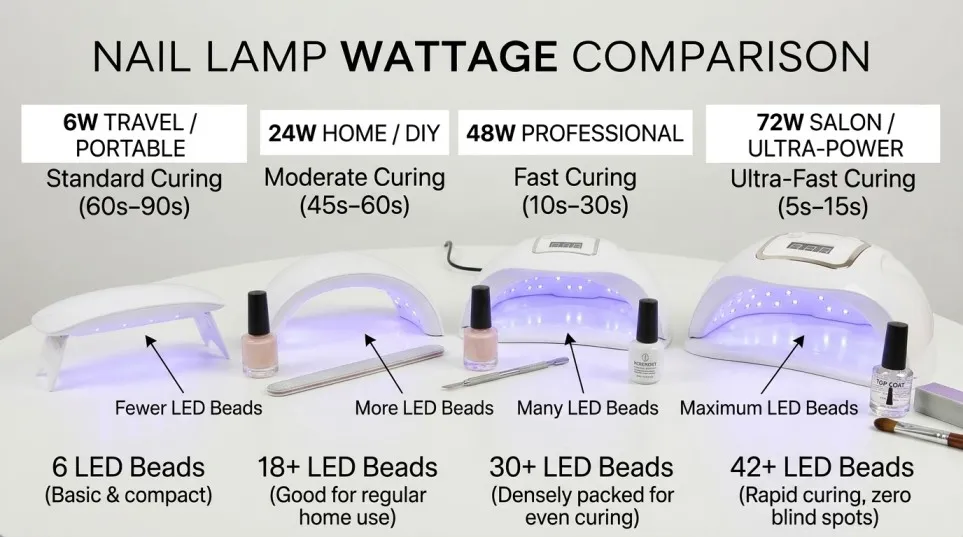
Choosing the right UV light for nails can feel confusing because many products look similar. Before buying, compare their curing specifications, usability and compatibility with your gel products rather than focusing on price or wattage alone.
1. Check the Lamp’s Compatibility
This is the most important feature. Different gel formulas require particular light wavelengths and suitable curing conditions. Check the lamp specifications against the gel brand’s recommendations.
A lamp advertised as suitable for all gel polish may not work properly with every formula.
2. Look for Useful Timer Settings
A lamp with 30-, 60- and 90-second settings can make it easier to follow product instructions. Some lamps also offer a low-heat mode for compatible products that are designed to cure more gradually.
Remember that timer options are convenient features, not proof that a lamp will cure every gel properly.
3. Consider the Size
If you want to do both manicures and pedicures, look for a lamp with enough room for your hand or foot. A removable base can be helpful when doing toenails.
A smaller lamp may be suitable for occasional use or travel, but check whether it can accommodate your entire hand comfortably.
4. Choose Reliable Construction
Look for clear operating instructions, a stable design, suitable electrical specifications and a seller with a reasonable returns policy. A timer and automatic sensor can make the process easier, particularly for beginners.
Avoid choosing a product solely because it advertises a very high wattage. Wattage alone does not establish curing performance or safety.
5. Compare the Overall Cost
The lamp is only one part of your manicure setup. Include the cost of gel polish, base coat, top coat, nail files, removal products and protective supplies.
A reasonably priced lamp that is compatible with your chosen gel system may be a better purchase than an expensive device that does not suit your products.
Recommended Buying Option: UV LED Nail Lamps on Amazon UK
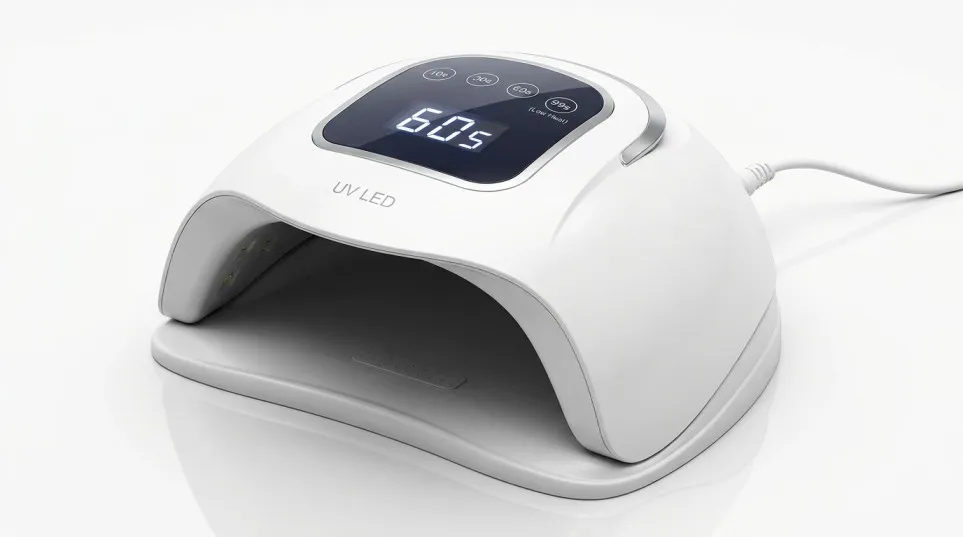
If you are looking for a UV LED nail lamp for gel nails, Amazon UK is a convenient place to compare different models, features and customer reviews.
48W UV LED Nail Lamp for Gel Polish
A useful type to consider for home manicures is a UV LED lamp with multiple timer settings and enough space for a full hand. Before buying, verify its compatibility with your gel products and read recent reviews for information about reliability and ease of use.
Buying checklist: compatible curing wavelengths, clear instructions, timer settings, suitable size and a dependable seller. Browse UV LED Nail Lamps on Amazon UK
This is a product-search link rather than a claim that one particular model is best. Prices, stock and specifications can change, so compare the current listings before placing an order.
Popular UV Light Nail Designs to Try
One of the best things about UV light nails is how many looks you can create. Once you feel comfortable using your lamp, you can experiment with colours and designs that match your personal style.
1. Natural Nude Gel Nails
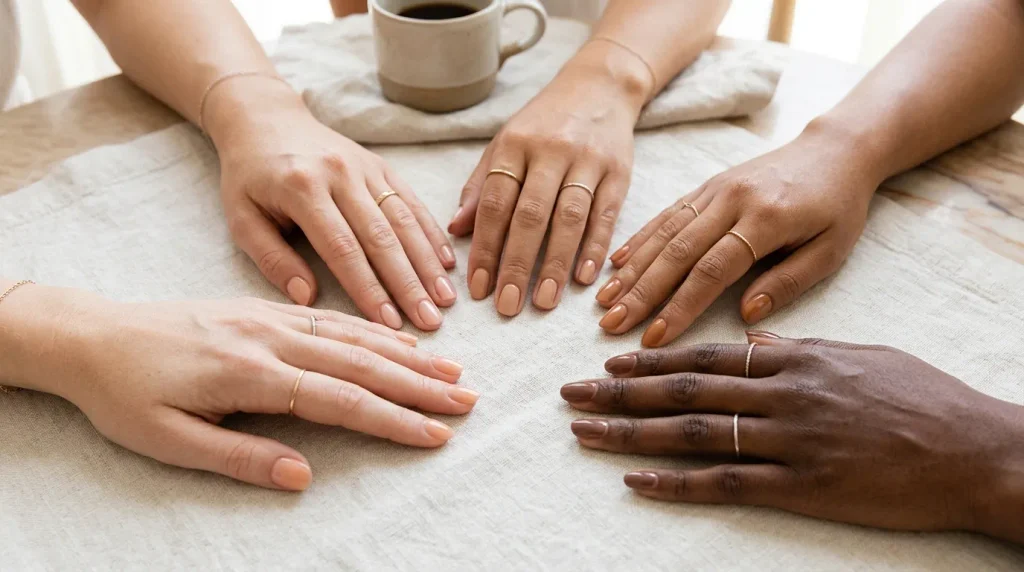
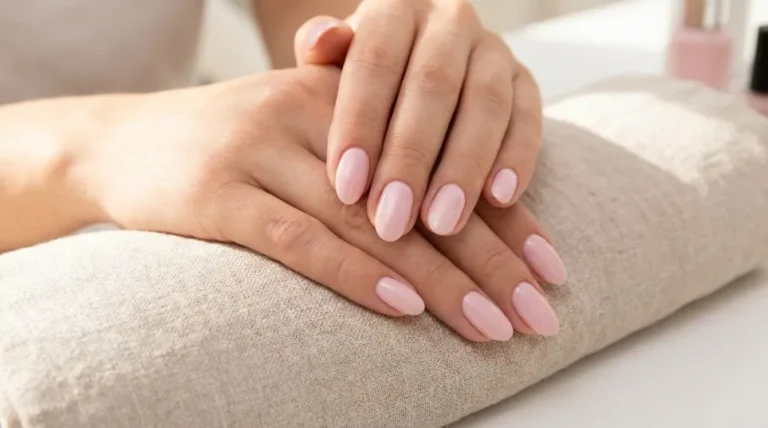
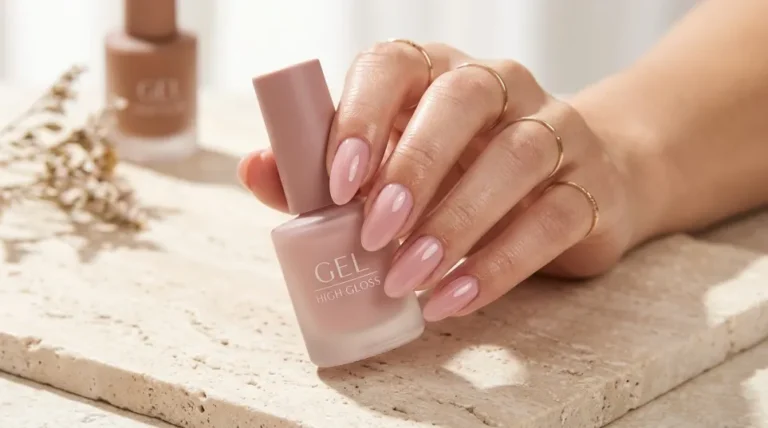
Nude, beige and sheer pink shades create a clean appearance that works well for everyday wear, work and special occasions. This is a great starting point for beginners.
2. French Tip Nails
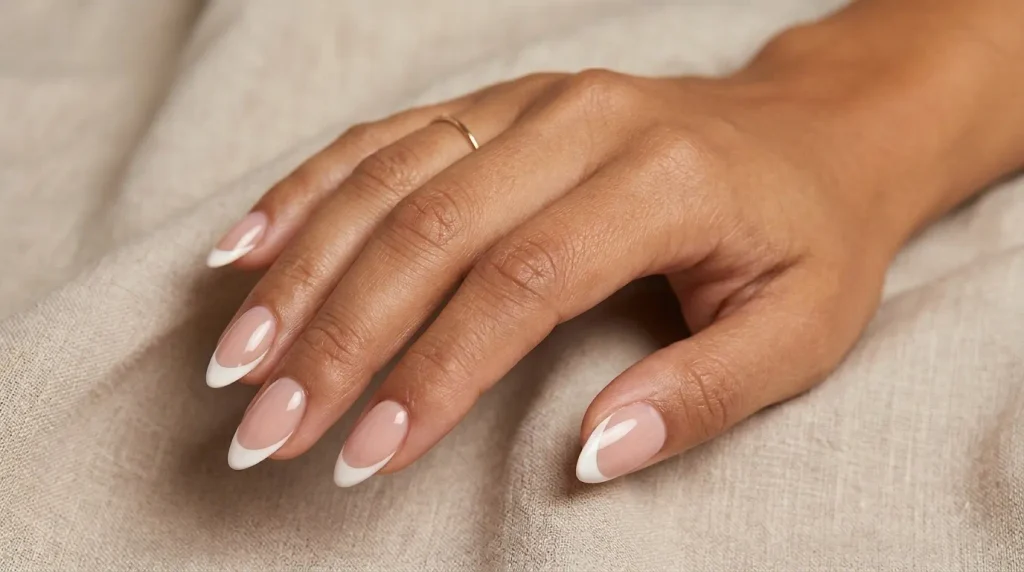
A soft pink base and white tips create a timeless look. You can also experiment with coloured tips, such as brown, red or pastel blue.
3. Classic Red Nails
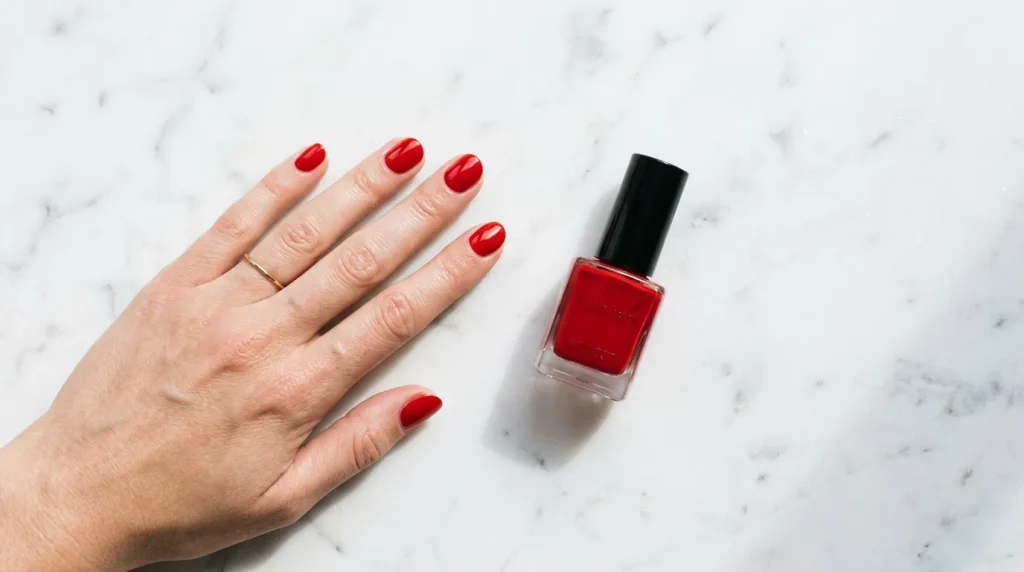
Red gel polish adds a bold finish without requiring complicated nail art. Choose a bright red for summer or a deeper red for autumn and winter.
4. Milky White Nails
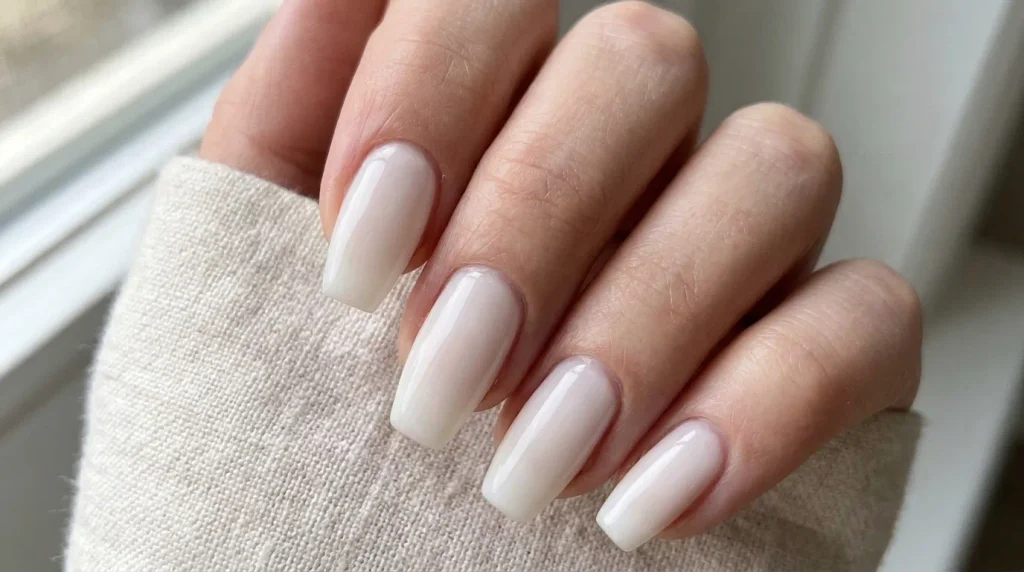
Milky white gel creates a soft, fresh appearance. A compatible pearlescent powder or chrome product can add a glazed effect when used according to its instructions.
5. Glitter Gel Nails
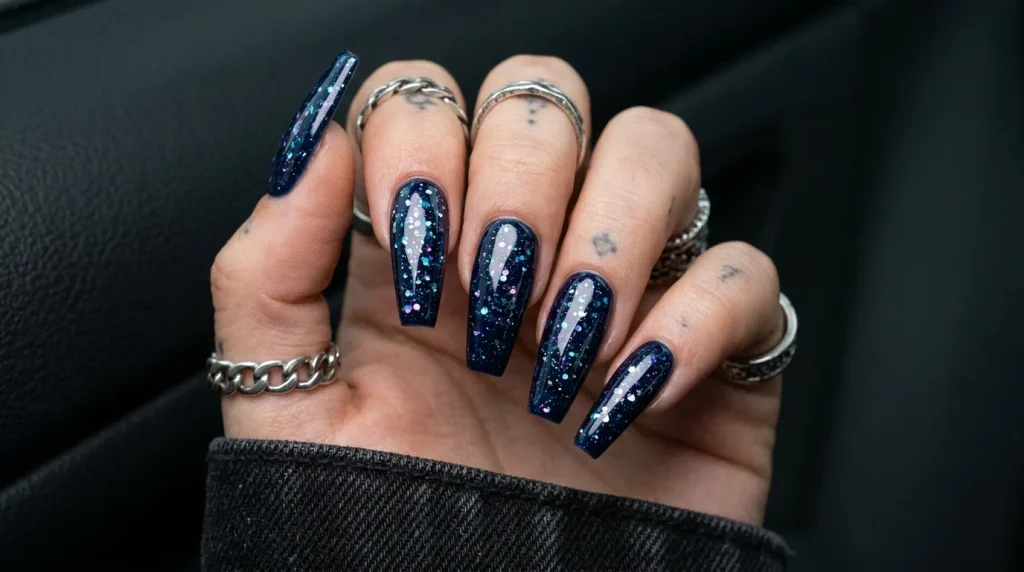
Glitter can add sparkle for parties, weddings or holidays. Use products intended for your gel system and follow the correct curing instructions for each layer.
Are UV Light Nails Safe?
Safety is an important part of choosing a UV nail lamp. These lamps emit ultraviolet radiation, predominantly UVA in many commonly used devices. UVA can contribute to skin ageing and skin damage.
Research into the long-term effects of nail lamps is still developing. Some reviews suggest that typical exposure may present a low risk, while laboratory findings and other studies raise concerns about repeated exposure. A direct causal link between ordinary nail-lamp use and skin cancer has not been conclusively established.
You do not need to panic if you enjoy gel manicures. Instead, take practical precautions.
Ways to Reduce UV Exposure
- Apply a broad-spectrum sunscreen of at least SPF 30 to the exposed skin of your hands, following its directions. Some dermatology experts recommend SPF 50 or higher.
- Consider UV-protective fingerless gloves that leave the nails exposed.
- Avoid unnecessary or repeated exposure beyond the recommended curing times.
- Use a lamp that is compatible with your gel products so that the curing process is appropriate.
- Consider regular nail polish or another manicure method that does not require UV curing if you prefer to avoid lamp exposure.
- If you have a history of skin cancer, a photosensitive skin condition or take medication that increases sensitivity to light, ask a healthcare professional for advice.
A UV LED lamp is not automatically UV-free. The word “LED” describes the light source, not an assurance that it emits no ultraviolet radiation.
Common Mistakes to Avoid When Using a UV Nail Lamp
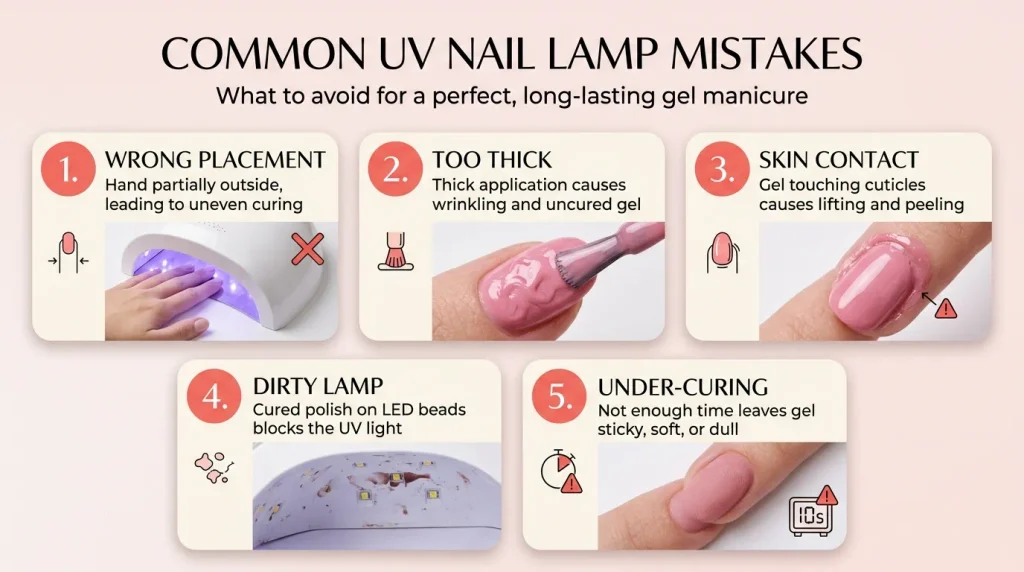
Even a good lamp cannot fix poor application technique. These common mistakes can affect both the appearance and the safety of your manicure.
Applying Gel Too Thickly
Thick coats can prevent light from curing the product evenly. Apply thin layers and follow the manufacturer’s instructions for each one.
Getting Gel on the Skin
Gel products can cause allergic contact dermatitis, especially when uncured ingredients repeatedly touch the skin. Signs can include itching, redness, swelling or blistering around the nails.
Clean off accidental skin contact before curing. If you develop a reaction, stop using the product and seek medical advice. Do not keep applying gel to see whether the problem disappears.
Using an Incompatible Lamp
A lamp may switch on and still fail to cure a particular gel properly. Choose a lamp recommended for the product, and do not assume that all UV and LED systems are interchangeable.
Peeling Off Gel Polish
Peeling gel away can remove layers of the natural nail, leaving it thin or rough. Use the correct removal method for your particular product instead.
Filing the Natural Nail Too Aggressively
Excessive filing can weaken the nail plate. Prepare the surface gently and avoid trying to make the natural nail excessively thin.
Ignoring the Manufacturer’s Instructions
Curing times, removal methods and product compatibility differ. Read the instructions for your lamp and every gel product you use rather than relying on a general online guide.
How Long Do UV Light Nails Last?
A correctly applied gel manicure may last around two to three weeks before noticeable growth or wear makes a refresh desirable. However, the exact duration depends on the gel system, nail preparation, application quality and everyday activities.
You may notice lifting sooner if your nails are exposed to frequent water, cleaning products or physical stress. Nail growth also creates a visible gap near the cuticle, even when the polish remains intact.
To help your gel nails last longer, keep your nails clean, wear suitable gloves for household cleaning, moisturise your cuticles and avoid using your nails as tools. Do not use gel polish to cover a nail that is painful, damaged or showing signs of infection.
How to Remove UV Gel Nail Polish Safely
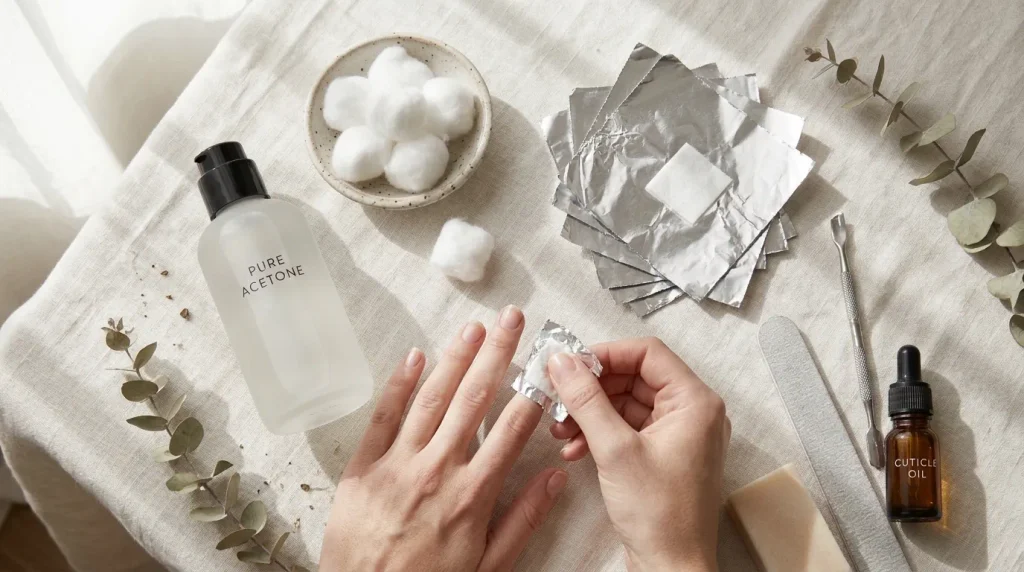
Removing gel polish correctly is just as important as applying it.
First, identify whether your product is soak-off gel or a file-off system. These types require different removal methods.
For a compatible soak-off gel, follow the manufacturer’s instructions, which may involve gently breaking the top-coat seal and using an appropriate remover for the recommended period. Remove softened product gently without scraping or pulling it from the nail.
Hard gels and certain builder products may require careful filing, often best performed by a trained nail technician. Do not attempt to soak off a product that is not designed for soaking.
Once the gel has been removed, wash your hands and apply cuticle oil and moisturiser. If the nails are thin or damaged, take a break from gel manicures and allow them to recover.
For additional guidance, read this resource on gel nail polish and UV lamp safety.
UV Light Nails vs Regular Nail Polish
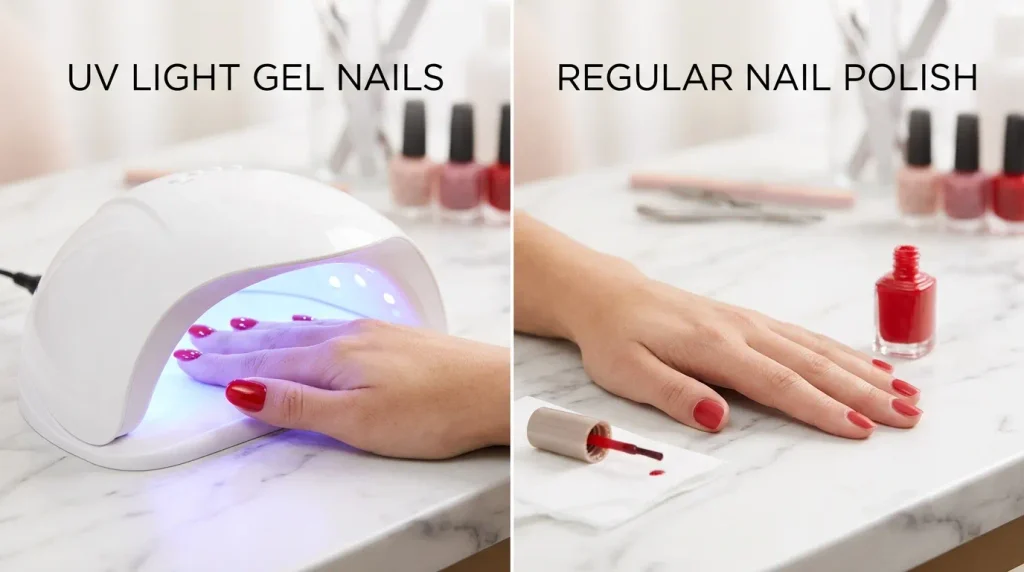
If you are unsure whether gel polish is worth trying, comparing it with regular nail polish can help you make a confident choice.
| Feature | UV gel nails | Regular nail polish |
|---|---|---|
| How it sets | Cures under a compatible lamp | Dries as solvents evaporate |
| Finish | Often glossy and durable | Available in glossy, matte and other finishes |
| Wear time | Often around 2–3 weeks | Often several days, depending on the formula |
| Equipment | Requires a compatible curing lamp | Usually requires no lamp |
| Removal | Depends on the gel system | Usually removed with ordinary polish remover |
| Main consideration | UV exposure, allergies and removal technique | Drying time and potential chipping |
Which option is best? If you enjoy a durable manicure and are comfortable following gel application and removal instructions, UV gel nails may suit you. If you prefer a simpler routine without a curing lamp, regular nail polish is a practical alternative.
Final Thoughts
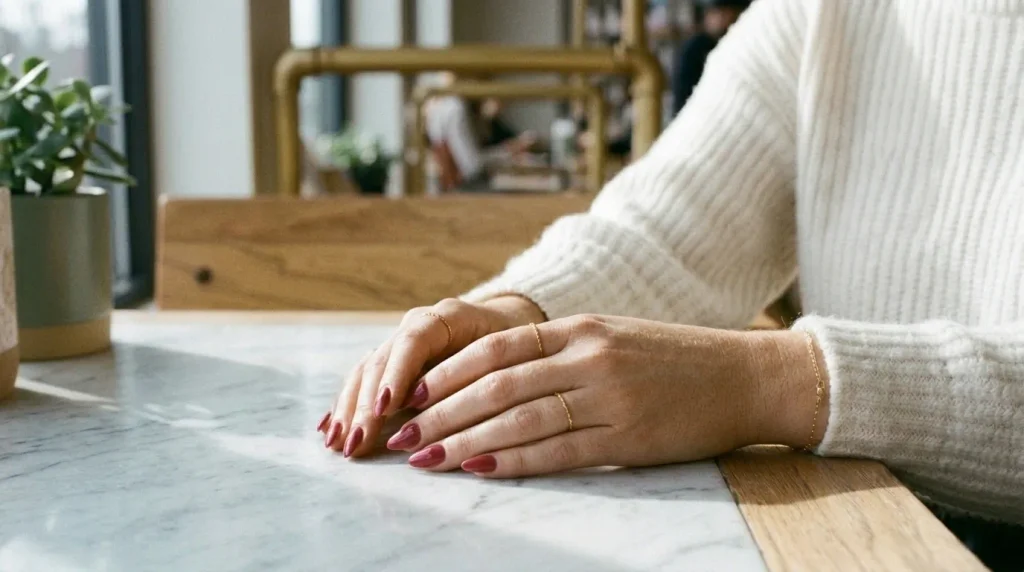
UV light nails offer a convenient way to achieve glossy, long-lasting manicures at home. With the right UV LED nail lamp, compatible gel polish and a little practice, you can create everything from natural nude nails to elegant French tips and colourful nail art.
However, buying a lamp is only the first step. Choose a suitable device, apply thin layers, follow the correct curing times and never allow uncured gel to remain on your skin. Remember to protect your hands from unnecessary UV exposure and remove your manicure according to the product instructions.
If you are a beginner, start with a simple gel manicure and a reliable lamp that matches your chosen products. Compare the options available on Amazon UK, read the specifications carefully and invest in a setup that prioritises compatibility, ease of use and safe application.
With a little patience and the right routine, you can enjoy beautiful UV light nails while making informed decisions about your nail care.
Frequently Asked Questions About UV Light Nails
UV light nails are manicures made with gel nail products that harden when exposed to the correct ultraviolet light from a compatible nail lamp. This process, called curing, helps the gel form a durable coating on the natural nail.
Yes, most gel nail polishes require a compatible UV or UV LED nail lamp to cure properly. Traditional nail polish does not normally need a lamp because it dries through solvent evaporation.
The curing time depends on the gel formula, lamp specifications and layer thickness. Follow the exact manufacturer’s instructions rather than using one universal time for every product.
UV LED lamps often cure compatible gels more quickly and generally have longer-lasting light sources. However, the best choice depends on whether the lamp is compatible with your gel products and provides suitable curing performance.
UV nail lamps emit ultraviolet radiation that can contribute to skin damage. Current evidence about the long-term risk from typical nail-lamp use remains limited and inconclusive. Sunscreen, UV-protective fingerless gloves and reduced unnecessary exposure are sensible precautions.
You generally do not need a UV lamp for regular nail polish. It will normally dry naturally, and exposing it to a UV lamp will not turn it into gel polish. Use a lamp only with products designed for that curing process.
A well-applied gel manicure often lasts approximately two to three weeks. Nail growth, product quality, preparation and everyday activities can affect how long it stays looking fresh.
Some gel products naturally leave a sticky inhibition layer after curing. A compatible cleanser may be required to remove it. However, if the gel is soft, wet or wrinkled, it may be inadequately cured. Do not touch it with bare skin or simply cover it with another layer.
Yes, beginners can use a suitable lamp at home if they follow the instructions for the lamp and gel products carefully. Start with a simple manicure, use thin layers and avoid skin contact with uncured gel.
Look for clear curing specifications, compatibility with your chosen gel polish, useful timer settings, suitable size, reliable construction and clear safety instructions. Compare recent customer reviews and check the seller’s returns policy before buying. You can compare UV LED nail lamps on Amazon UK to find an option that suits your manicure routine and budget.
Yes. You can create gel manicures at home with the correct lamp, compatible gel products and preparation tools. However, careful application, complete curing and appropriate removal are essential for a better result.
Regular nail polish is a straightforward alternative because it does not require UV curing. Press-on nails are another option, provided you use suitable adhesive products and remove them carefully. Both can give you attractive nails without exposure to a nail-curing lamp.
One Comment