
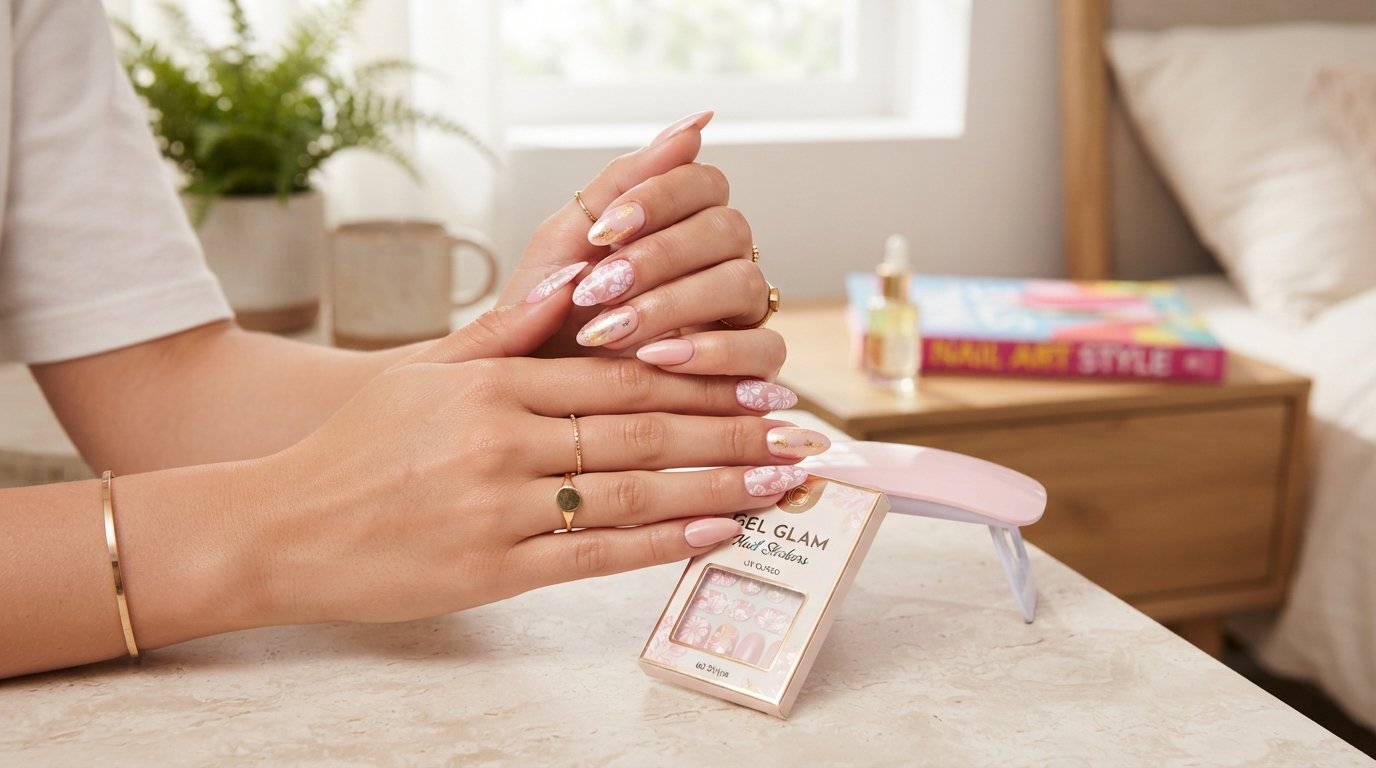
Gel Sticker Nails: A Simple Guide to Easy, Salon-Looking Nails at Home
If you love the look of a fresh manicure but do not always have the time, money, or patience for a salon appointment, gel sticker nails can be a very practical option. They are designed to give your natural nails a polished, neat appearance without requiring you to paint each nail by hand.
Unlike ordinary nail stickers, some gel nail stickers are made from real gel polish or gel-like materials. Depending on the product, they may be ready to wear immediately, while some semi-cured gel stickers need an LED or UV lamp to finish curing. Because products vary, it is important to follow the instructions that come with the particular set you buy. (Allure)
The biggest attraction is simple: you can create a manicure at home with much less effort. You can choose from simple colors, French tips, glitter, floral patterns, seasonal designs, and many other styles.
This guide explains what gel sticker nails are, how they work, how to apply them step by step, how to make them last longer, how to remove them safely, and what to look for when buying a set.
What Are Gel Sticker Nails?
Gel sticker nails are flexible nail wraps or stickers designed to cover the surface of your natural nails. They usually come in different sizes so you can choose the one that fits each nail.
Some products are essentially nail wraps, while others use actual gel polish material. For example, some stick-on gel products are made from real gel polish and are designed to provide the appearance of a professionally finished manicure. (Allure)
The basic idea is very simple:
- Prepare your natural nails.
- Choose the correct sticker size.
- Place the sticker on your nail.
- Press it down carefully.
- Remove or file away the excess.
- Cure it if the product instructions require curing.
- Enjoy your finished manicure.
This is why gel nail stickers have become popular with people who want attractive nails without spending a long time applying traditional polish.
How Do Gel Nail Stickers Work?
The process depends on the type of product.
Traditional nail stickers are usually ready to wear once they are applied. Other products are made from semi-cured gel and require an LED or UV lamp to complete the curing process.
With a semi-cured product, the sticker is already partly hardened. After you place it on your nail and shape it, a lamp finishes the curing process.
Some stick-on gel products are designed to be applied, smoothed, folded over the nail edge, and filed into shape. Allure’s testing of one such product described an application process that could be completed in under 10 minutes. (Allure)
However, don’t assume that every product works in exactly the same way. Always check the manufacturer’s instructions before application and curing.
Why Are Gel Sticker Nails So Popular?
There are several reasons people choose gel sticker nails instead of traditional nail polish.
1. They Save Time
Painting your nails can take longer than expected. You need to apply the base coat, wait for it to dry, apply color, wait again, and then add a top coat.
With gel stickers, most of the design is already done.
You simply select the correct size and apply it.
2. You Don’t Need Perfect Painting Skills
This is especially useful if you struggle to paint your non-dominant hand.
Instead of trying to create an even line with a nail brush, you are applying a prepared design.
3. There Are Many Designs
You can find gel nail wraps in:
- Nude shades
- Pink
- Red
- Black
- White
- French tips
- Glitter
- Marble
- Floral designs
- Chrome-inspired patterns
- Seasonal designs
- Minimalist patterns
So you can change your manicure based on your outfit, event, or season.
4. They Are Convenient for Home Use
You don’t need to schedule an appointment. You can apply them while sitting at home.
That makes them particularly useful before:
- Weddings
- Parties
- Holidays
- Date nights
- Work events
- Vacations
- Family gatherings
5. They Can Give a Professional-Looking Finish
A well-applied gel sticker manicure can look surprisingly neat.
The key is not only the sticker itself. Proper nail preparation and careful application make a big difference.
Gel Sticker Nails vs Traditional Nail Polish
If you are deciding between gel sticker nails and regular nail polish, the main difference is the application process.
| Feature | Gel Sticker Nails | Traditional Nail Polish |
|---|---|---|
| Application | Stick onto the nail | Paint onto the nail |
| Design | Usually pre-designed | You create the design |
| Drying | Depends on product | Requires drying time |
| Skill level | Beginner-friendly | Requires more practice |
| Nail art | Often already included | Must be created |
| Home use | Very convenient | Convenient but more time-consuming |
| Removal | Depends on product | Usually easier |
Neither option is automatically right for everyone. Your choice depends on how much time you have, the style you want, and how comfortable you are with nail products.
What You Need Before Applying Gel Sticker Nails
Before starting your gel sticker manicure, gather everything you need.
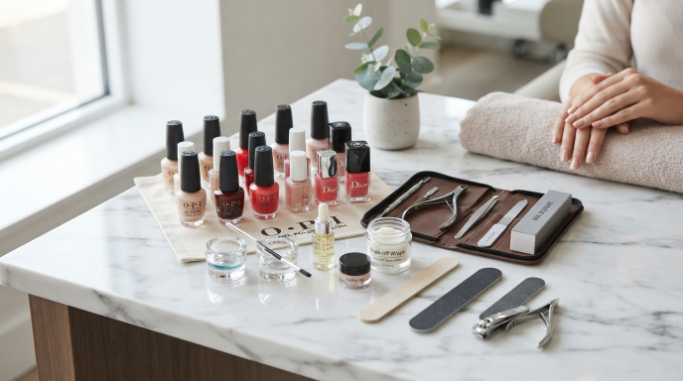
You may need:
- Gel nail stickers
- Nail file
- Nail buffer
- Alcohol or nail prep pad
- Cuticle pusher, if appropriate
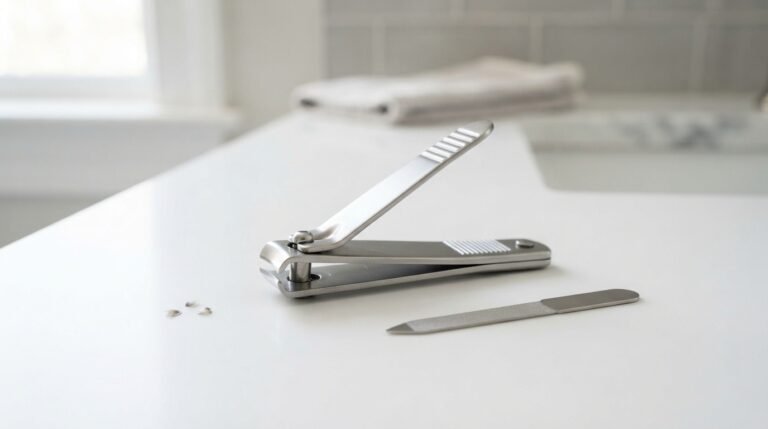
- Small scissors or nail clippers
- LED/UV lamp if your product requires curing
- Cuticle oil for aftercare
You should also work on a clean, dry surface.
One important point: don’t apply a manicure over nails that are already damaged or have an unexplained nail problem. The American Academy of Dermatology notes that covering damaged nails can sometimes make existing problems worse. (AAD)
How to Apply Gel Sticker Nails Step by Step
Now let’s get to the part most people want to know: how to apply gel sticker nails at home.
Step 1: Clean Your Nails
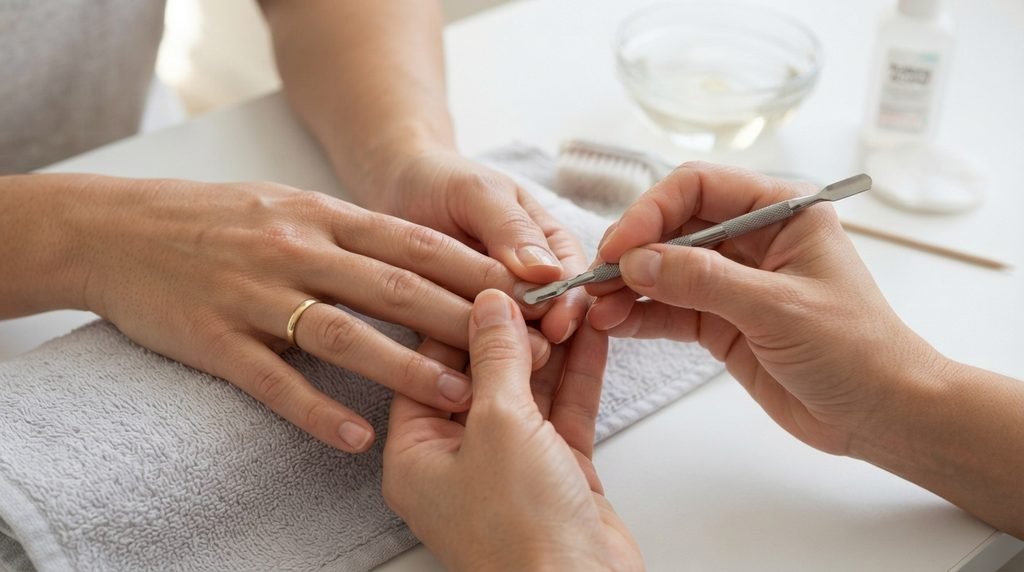
Start with clean, dry hands.
Remove old nail polish and wash your hands if necessary. Then make sure your nails are completely dry.
Use the prep pad or alcohol recommended by your product to remove oil from the nail surface.
This step is easy to skip, but it matters.
Your natural nails can have oil, moisturizer, or other residue on them. A clean surface helps the sticker adhere properly.
Step 2: Shape Your Natural Nails
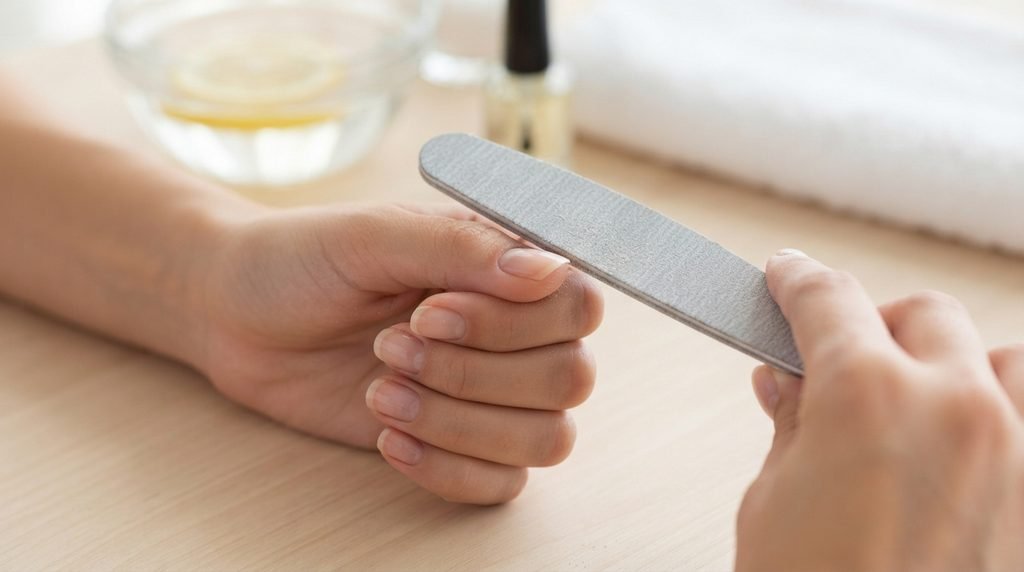
Use a nail file to create your preferred shape.
You can choose:
- Round
- Square
- Squoval
- Almond
- Short natural shape
Don’t over-file your natural nails.
The goal is simply to create a clean shape that works well with the stickers.
Step 3: Choose the Correct Sticker
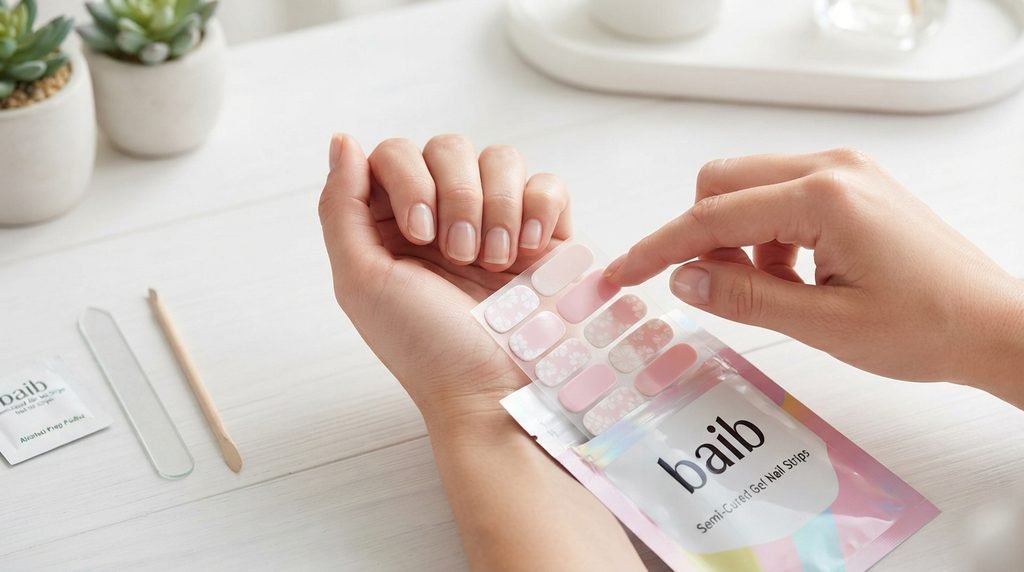
Open your gel nail sticker kit and compare the available sizes with your nails.
Choose a sticker that is close to the width of your nail without sitting directly on your skin.
Ideally, the sticker should cover the nail surface without overlapping the surrounding skin or cuticle.
A slightly smaller sticker is generally easier to work with than one that is too wide.
Step 4: Place the Sticker Carefully
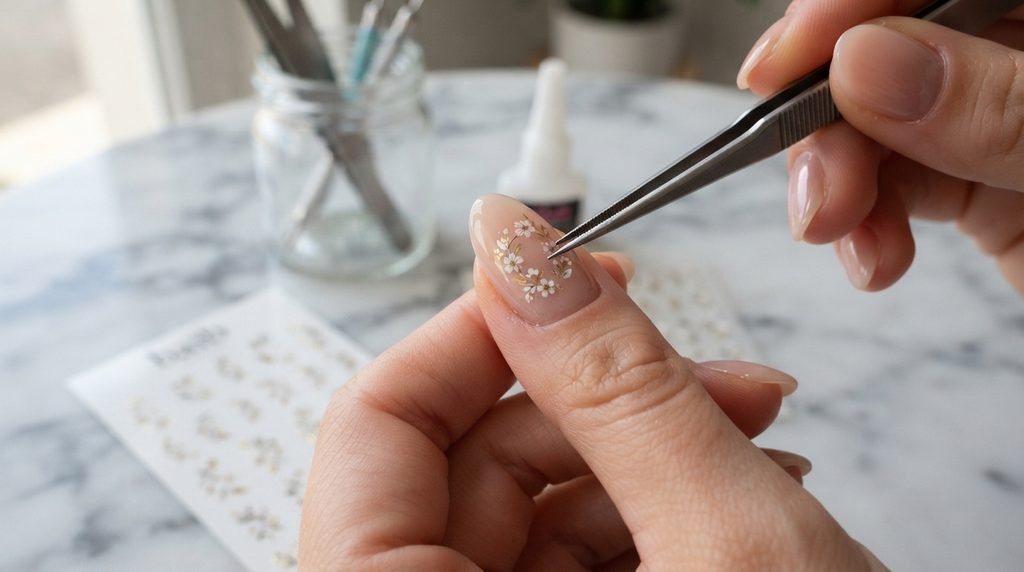
Peel the sticker away from its backing.
Try not to touch the adhesive side too much.
Position the sticker close to, but not directly against, the cuticle.
This small gap can help prevent the sticker from sitting on the surrounding skin.
Professional application guides similarly recommend leaving a small space between the sticker and cuticle. (Allure)
Step 5: Press From the Center
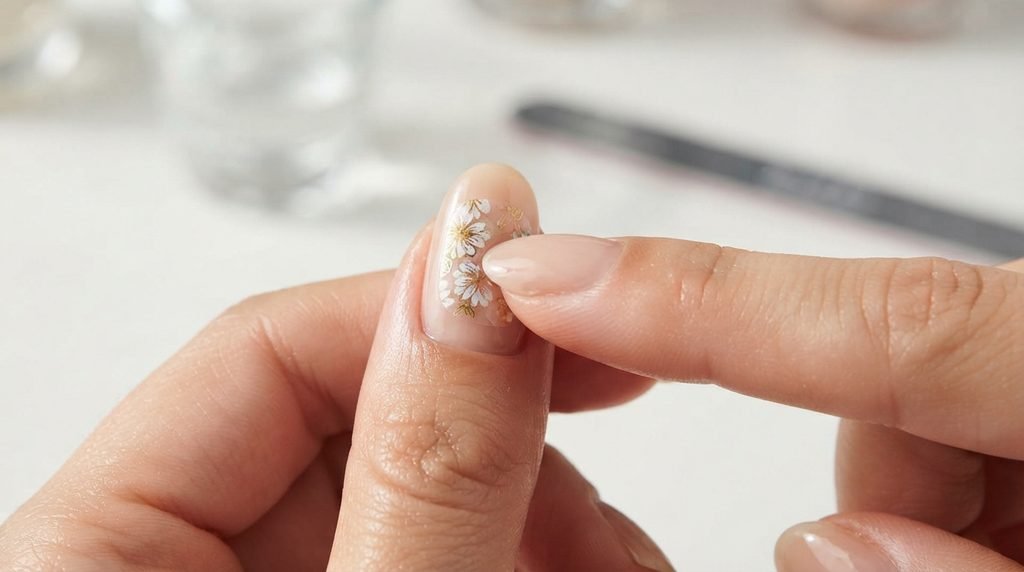
Once the sticker is positioned correctly, gently press it onto the nail.
Start near the center and work toward the sides.
This helps reduce wrinkles and air bubbles.
Take your time here.
A little story from real life
Imagine that you are getting ready for a friend’s wedding. You have already chosen your dress, done your hair, and prepared your makeup.
Then you look at your nails.
Your old polish is chipped.
Instead of rushing to a salon, you open a gel nail sticker kit. Ten or fifteen minutes later, your nails have a clean French-tip design.
That is the real appeal of these products: less effort between you and a finished manicure.
Step 6: Smooth the Edges
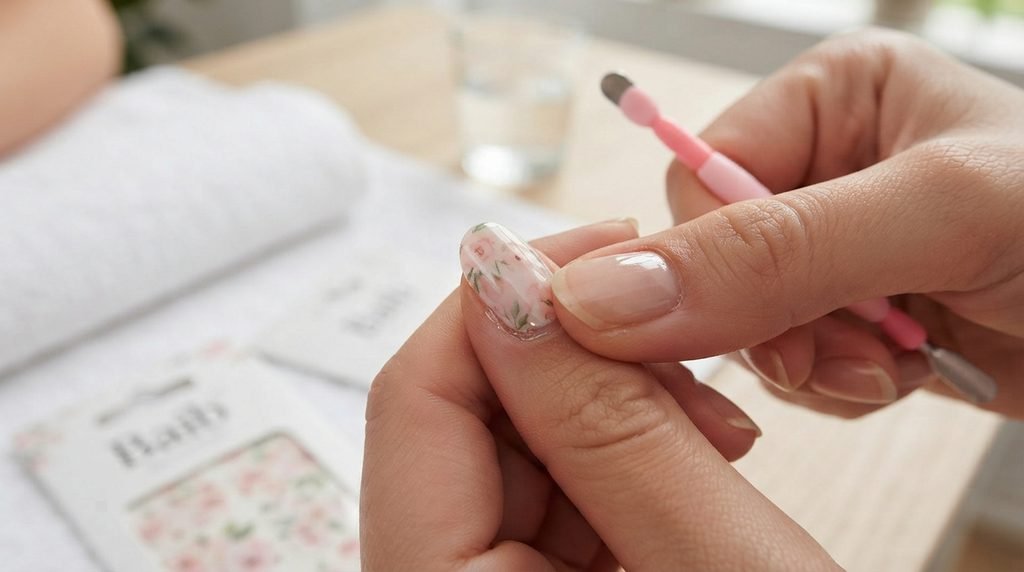
After pressing the sticker down, check the sides carefully.
If you notice wrinkles, gently smooth them with your finger.
Don’t aggressively pull the sticker because this can affect the fit.
For short nails, you may need to be especially careful when choosing a design. A large pattern may not fit properly on a small nail surface. Nail-wrap application advice also recommends considering the amount of nail surface available when selecting designs. (Allure)
Step 7: Remove the Extra Sticker
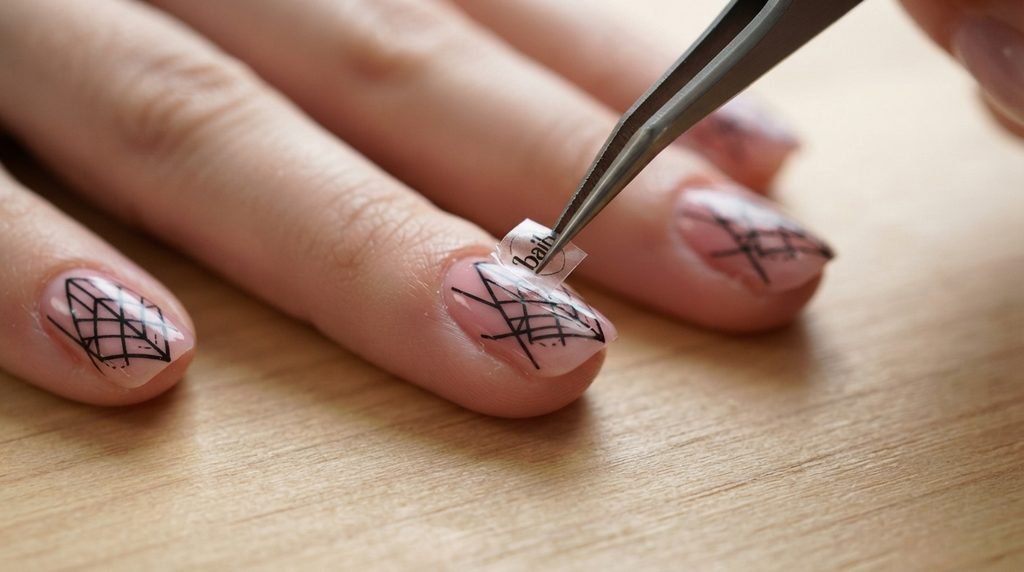
Once the sticker is firmly attached, there will usually be excess material beyond the nail tip.
Depending on the product, you can:
- Fold it underneath the nail.
- Clip the excess.
- File it away.
Follow the instructions supplied with your specific kit.
When filing, use controlled downward strokes rather than aggressively filing back and forth.
Step 8: Cure the Stickers If Required
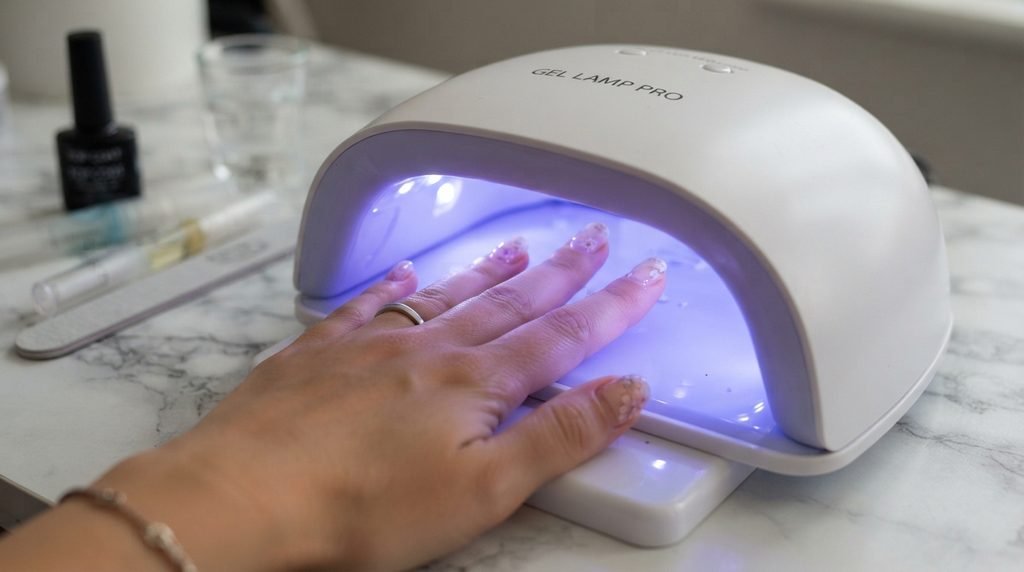
This step is extremely important.
Some gel nail stickers are ready to wear without curing, while semi-cured gel products require an LED or UV lamp.
If your kit says that curing is required:
- Place your fingers under the lamp.
- Follow the manufacturer’s recommended curing time.
- Make sure the sticker is fully positioned before curing.
- Do not intentionally extend curing time beyond the manufacturer’s directions.
Because different formulations and lamps vary, there is no single curing time that applies to every product.
Step 9: Check Every Nail
After application, inspect your nails.
Look for:
- Lifting edges
- Wrinkles
- Air bubbles
- Uneven tips
- Sticker touching the skin
- Gaps that look too large
Fix small problems early rather than waiting until the sticker starts lifting.
How to Make Gel Sticker Nails Last Longer
Buying a good product is only half the process. Application technique has a major effect on longevity.
Here are some simple tips.
Keep Nails Dry Before Application
Moisture and oil can interfere with adhesion.
Make sure your nails are clean and completely dry.
Don’t Apply Over Lotion
Avoid applying hand cream or cuticle oil immediately before putting on the stickers.
Oil is useful after your manicure, but you generally want the nail surface clean before application.
Avoid Touching the Adhesive
The more you touch the adhesive surface, the more likely you are to transfer oil or dirt.
Seal the Nail Tip
If your product instructions allow it, make sure the sticker wraps neatly around the free edge of the nail.
Give the Manicure Time to Set
Even when the product is technically ready, avoid immediately putting your hands through unnecessary stress.
For example, don’t start opening difficult packages right after applying your stickers.
How Long Do Gel Sticker Nails Last?
The answer depends on the product, your nail preparation, your daily activities, and how well the stickers are applied.
Some brands claim around 10 days, while others advertise up to two weeks. Individual wear can vary significantly. For example, Allure reported testing a stick-on gel product that lasted up to 10 days without chipping. (Allure)
Another review of custom gel stickers reported wear lasting up to two weeks. (Allure)
So instead of assuming that every gel sticker manicure will last a specific number of days, check the manufacturer’s stated wear time and consider your own routine.
Frequent hand washing, cleaning, swimming, showering, and physical work can affect longevity.
Can You Shower With Gel Sticker Nails?
Generally, products designed for extended wear are intended to handle normal activities such as washing your hands and showering.
However, water exposure is not the only factor.
The bigger issue can be whether the sticker was properly attached in the first place.
If there is already a lifted edge, water and debris can get underneath it.
Therefore, if you notice significant lifting, don’t simply ignore it.
How to Remove Gel Sticker Nails
Removal is just as important as application.
One of the biggest mistakes people make is peeling or ripping products away from their natural nails.
That may seem fast, but it can damage the nail surface.
The American Academy of Dermatology specifically advises against picking gel polish because it can damage the nails. (AAD)
The correct removal method depends on the product.
For Peelable or Sticker-Based Products
Follow the manufacturer’s removal instructions.
Some nail wraps can be carefully lifted from the edge.
Do not force them.
If the product does not lift easily, stop and check its removal instructions.
For Gel-Based Products
Some gel products require acetone removal.
The American Academy of Dermatology recommends protecting the surrounding skin and limiting acetone exposure to the nails when removing gel polish. (AAD)
Never aggressively scrape or rip the product away.
Why You Shouldn’t Peel Off Gel Nail Products
This is worth repeating because it is one of the most common mistakes.
When you peel a strongly attached gel product, you may also remove layers from the natural nail.
Your nails can then become:
- Thin
- Weak
- Brittle
- Rough
- More prone to splitting
If you experience persistent nail problems, it is better to stop covering the affected nail and speak with a dermatologist. The AAD also recommends taking breaks from gel manicures and moisturizing the nails and cuticles between applications. (AAD)
Are Gel Sticker Nails Safe?
For most people, the important issue is proper application, product instructions, and removal.
However, “gel” does not automatically mean risk-free.
Some gel products require UV or LED curing. Dermatologists recommend being mindful of UV exposure during gel manicures and suggest options such as applying broad-spectrum SPF 30+ sunscreen to the hands before UV exposure. (AAD)
You should also stop using a product if you develop:
- Burning
- Itching
- Redness
- Swelling
- Rash
- Significant nail pain
If symptoms persist, seek medical advice.
Gel Sticker Nails for Short Nails
You don’t need long nails to enjoy gel stickers.
In fact, short nails can look very clean with the right design.
Good options include:
- Solid nude
- Soft pink
- French tips
- Micro French
- Simple white
- Minimalist lines
- Small floral patterns
For short nails, avoid designs with large artwork that will be cut off when you shape the sticker.
The most important thing is choosing a size that fits your nail width.
Gel Sticker Nails for Beginners
If this is your first time using gel nail stickers, don’t start with the most complicated design.
Choose something simple.
A nude, pink, red, or French-tip set is easier to apply because you don’t have to worry as much about matching a complex pattern.
Once you become comfortable with the process, you can move toward:
- Glitter
- Ombre
- Marble
- Floral
- Animal prints
- Seasonal nail art
The more you practice, the easier it becomes to position the sticker correctly.
How to Choose Good Gel Sticker Nails
If you are ready to buy gel sticker nails, don’t choose only because the picture looks attractive.
Look at the product details.
Check the Material
Find out whether the product is:
- Regular nail wrap
- Gel nail sticker
- Semi-cured gel
- Real gel polish sticker
Check Whether a Lamp Is Required
Some products don’t require curing.
Others do.
Make sure you know which type you’re buying before ordering.
Check the Size Range
This is especially important if you have very short, wide, narrow, or unusually shaped nails.
Check the Removal Instructions
A good product should clearly explain how to remove it.
Look at Customer Reviews
Reviews can help you understand:
- Actual wear time
- Sticker flexibility
- Size accuracy
- Application difficulty
- Removal experience
- Whether the designs match the photos
Don’t focus only on star ratings. Read the written reviews too.
Are Gel Sticker Nails Worth Buying?
For someone who wants a quick manicure at home, gel sticker nails can be a convenient purchase.
They remove much of the work involved in traditional nail art.
Instead of spending time trying to paint perfect lines, you start with a prepared design.
They can also be useful if you:
- Don’t enjoy painting your nails
- Have limited time
- Want to change designs frequently
- Like nail art
- Prefer doing manicures at home
- Want an easy option for special events
The key is to choose a product that matches your needs.
If you don’t own a curing lamp, choose a product that doesn’t require one. If you already have a compatible lamp and like semi-cured gel products, you can consider that category instead.
Common Gel Sticker Nail Mistakes
Here are some mistakes worth avoiding.
Mistake 1: Choosing the Wrong Size
A sticker that is too wide may touch your skin.
A sticker that is too narrow may leave too much of the nail uncovered.
Mistake 2: Applying Over Oily Nails
Oil can interfere with adhesion.
Clean your nails before application.
Mistake 3: Covering the Cuticle
Don’t push the sticker directly onto the surrounding skin.
Leave the small gap recommended by the product instructions.
Mistake 4: Rushing the Application
If you position the sticker incorrectly, don’t simply press harder and hope it works.
Carefully reposition it if the instructions allow.
Mistake 5: Peeling It Off
Never treat removal as an afterthought.
Gentle removal helps protect your natural nails.
Simple Aftercare for Healthy Nails
After removing your gel nail stickers, give your nails some attention.
Apply moisturizer or cuticle oil regularly.
The AAD recommends moisturizing nails and cuticles, particularly after products that can dry them out. (AAD)
Also:
- Keep your nails at a comfortable length.
- Don’t bite or pick them.
- Avoid aggressively buffing the nail surface.
- Give your nails a break when they need one.
- Don’t cover damaged nails simply to hide the problem.
Healthy nails are always the foundation of a better-looking manicure.
Final Thoughts on Gel Sticker Nails
Gel sticker nails offer a simple way to change the look of your manicure without spending a lot of time painting each nail.
The biggest advantage is convenience.
You choose your design, prepare your nails, apply the stickers, shape the excess, and cure them if required. With a little practice, the process can become surprisingly quick.
However, the product you buy matters. Look for clear application instructions, appropriate sizing, good reviews, and a removal method you are comfortable following.
Most importantly, don’t sacrifice your natural nail health just to keep a manicure on for a few extra days.
When applied correctly and removed carefully, gel nail stickers can be a practical addition to your at-home nail routine. And because there are so many colors and designs available, you can easily change your look whenever you want something fresh.
For beginners, start simple. Choose a design that fits your nail shape, take your time during application, and learn the correct removal method before you apply your first set.
That small amount of preparation can make the difference between stickers that look uneven and a clean, polished gel sticker manicure that you can confidently wear.
Frequently Asked Questions
Are gel sticker nails the same as regular nail stickers?
Not always. Some are simple nail wraps, while others are made from gel polish or semi-cured gel. Always check the product description before buying.
Do gel nail stickers need a UV lamp?
Some do and some don’t. Semi-cured gel stickers commonly require curing, while ready-to-wear nail wraps may not. Follow the instructions for the exact product.
How long do gel sticker nails last?
Wear time varies by product and application. Some products advertise around 10 days, while others claim up to two weeks. Your daily activities and nail preparation can also affect longevity. (Allure)
Can I use gel stickers on short nails?
Yes. Gel sticker nails can work very well on short nails. Choose a size and design that fits your available nail surface.
Can I reuse gel nail stickers?
Usually, no. Most adhesive nail stickers and gel wraps are designed for one application. Check the manufacturer’s instructions.
How do I remove gel sticker nails without damaging my nails?
Use the removal method recommended by the manufacturer and avoid ripping or forcefully peeling the product. Picking or scraping gel products can damage the natural nail. (AAD)
Are gel sticker nails good for beginners?
Yes, especially simple designs. They can be easier than painting nail art by hand because the color or design is already prepared.

One Comment