Gel Nail Stickers: A Complete Guide to Easy, Salon-Looking Nails
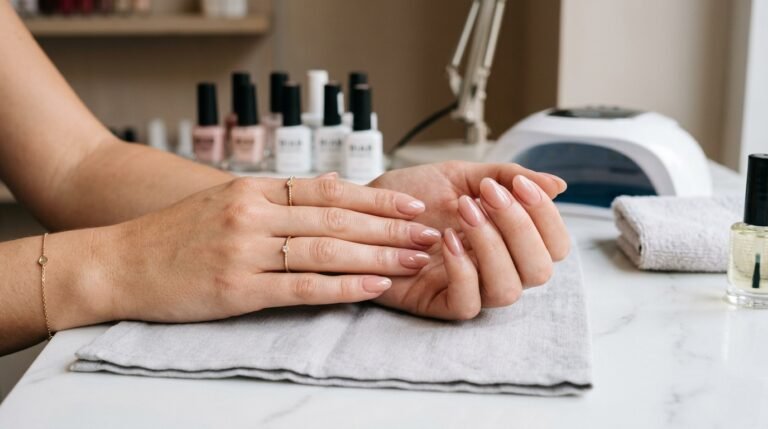
If you love neat, glossy nails but do not always have the time or budget for a salon manicure, gel nail stickers can be a very convenient option. They give you a quick way to create a polished manicure at home without spending a lot of time painting several coats of gel nail polish.
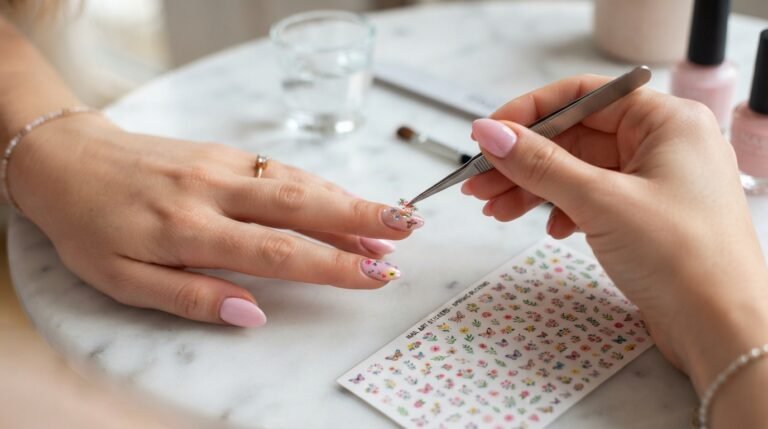
Unlike traditional nail polish, gel nail stickers come with the color and design already prepared. You simply choose the right size, apply the sticker to your natural nail, press it down carefully, and finish the edges. Depending on the product, some gel nail stickers are ready to wear while others are designed to be cured under an LED nail lamp.
For someone who enjoys changing their nail style regularly, this can make doing your nails much easier.
Imagine that you have an event tomorrow. You want clean French tips or glossy nude nails, but you do not have time to book a salon appointment. Instead of spending an hour trying to paint both hands evenly, you can use a set of gel nail stickers and create a finished-looking manicure at home.
That convenience is one of the main reasons gel nail wraps, gel nail strips, and similar products have become popular among DIY nail lovers.
What Are Gel Nail Stickers?
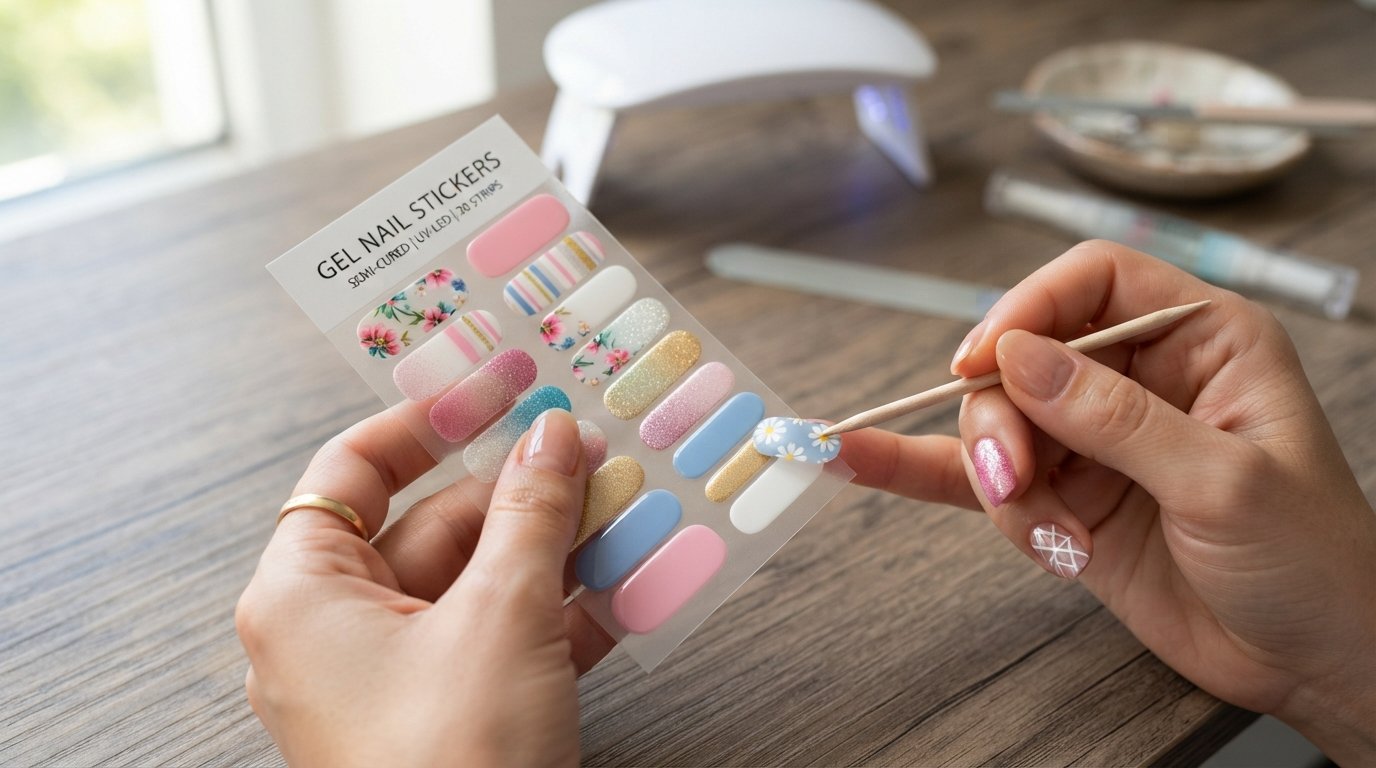
Gel nail stickers are thin, flexible nail coverings designed to fit over the surface of your natural nails. They are available in many colors, patterns, finishes, and lengths.
Some products are made from semi-cured gel, while others are designed as ready-to-use nail stickers or wraps. Because the exact application method varies between brands, it is important to follow the instructions supplied with your particular product.
The basic idea is simple:
- Prepare your natural nails.
- Select the correct sticker size.
- Apply the sticker carefully.
- Press it firmly onto the nail.
- File or trim the excess.
- Cure it if the product requires an LED or UV nail lamp.
The result can look surprisingly similar to a professional manicure.
If you are new to this type of manicure, it is useful to learn basic nail care and gel removal techniques from OPI, which explains proper preparation, application, and removal practices.
Gel Nail Stickers vs. Regular Nail Stickers
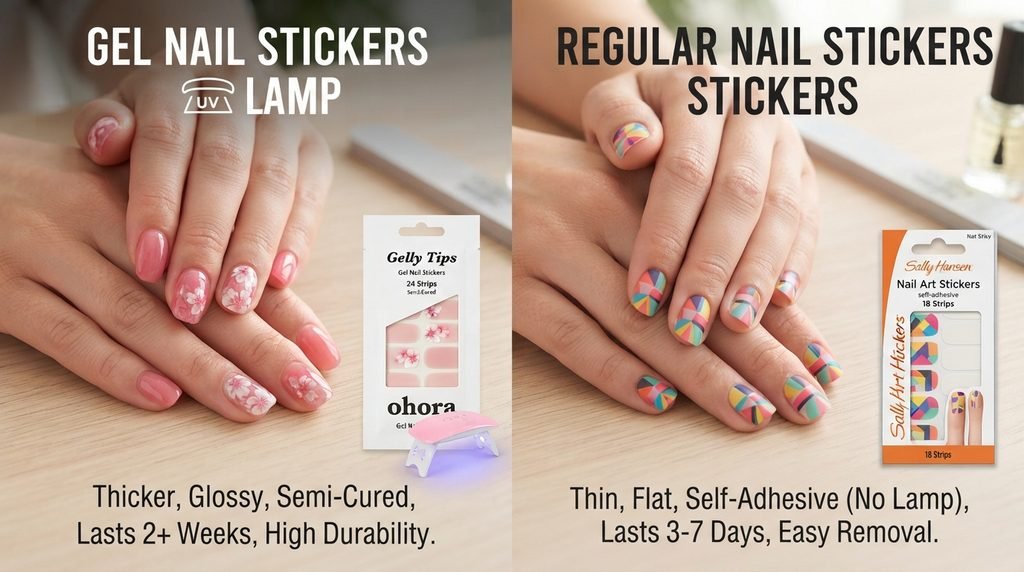
At first glance, gel nail stickers and regular nail stickers may look almost identical. However, the material and application process can be different.
Regular nail stickers are often simple decorative stickers that are placed over regular nail polish or directly onto the nail.
Gel nail stickers, on the other hand, are generally designed to create a more manicure-like finish. Depending on the product, they may have a thicker gel construction, flexible texture, or semi-cured formula.
This can give them a smoother appearance and make them feel more like a salon manicure.
However, not every product marketed as a gel nail sticker is made in exactly the same way. Therefore, always check the packaging to see whether the stickers require curing, how long they are intended to last, and what removal method the manufacturer recommends.
Why Are Gel Nail Stickers So Popular?
There are several reasons people choose gel nail stickers instead of traditional polish.
1. Easy Application
One of the biggest benefits is convenience.
You do not need to carefully paint multiple coats and wait for each layer to dry. The color or design is already on the sticker.
For beginners, this can make creating a neat manicure much less stressful.
2. Lots of Designs
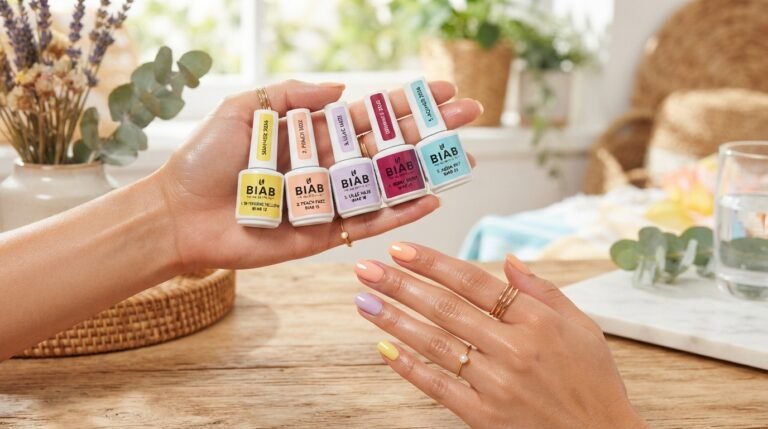
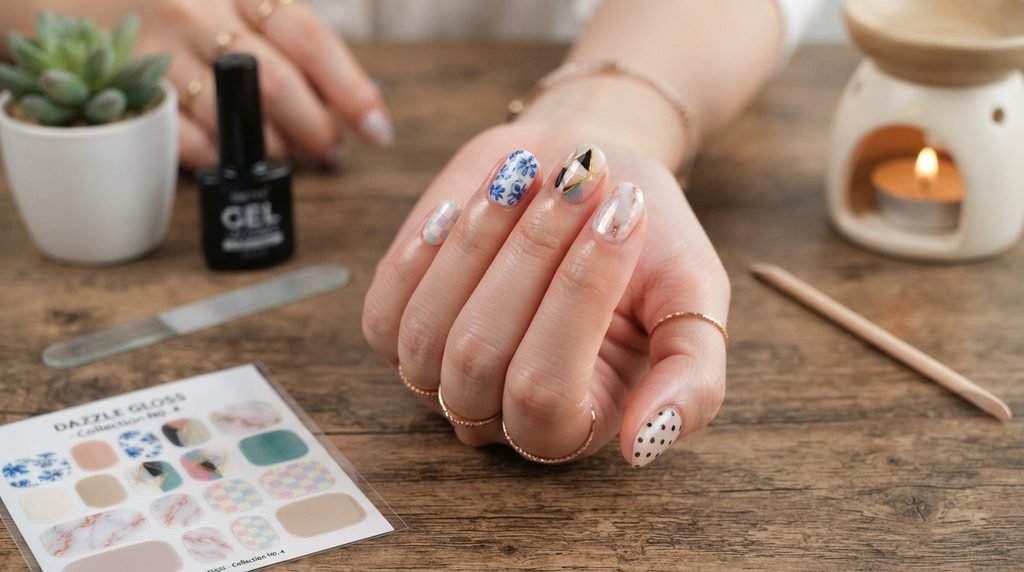
You can find gel nail stickers in many styles, including:
- Nude nails
- French tips
- Glitter nails
- Floral designs
- Marble patterns
- Pink gel nails
- Red nails
- Chrome-inspired designs
- Seasonal nail art
- Minimalist nail designs
- Short nail designs
This makes them useful when you want to change your manicure without committing to one style for a long time.
3. Salon-Looking Finish
A well-applied set can create a smooth and glossy appearance.
The key is proper preparation. Even an expensive nail sticker can look uneven if it is applied over oily nails or if the edges are not properly sealed.
4. Convenient for Beginners
If you struggle with nail polish brushes, gel nail strips can be easier to manage.
You are not trying to create the perfect French tip with a tiny brush. Instead, you are applying a design that has already been prepared.
5. Useful for Special Events
Wedding events, birthdays, dinners, holidays, vacations, and parties can all be good occasions for gel nail stickers.
They allow you to create a coordinated nail look without necessarily visiting a salon.
How to Apply Gel Nail Stickers Step by Step
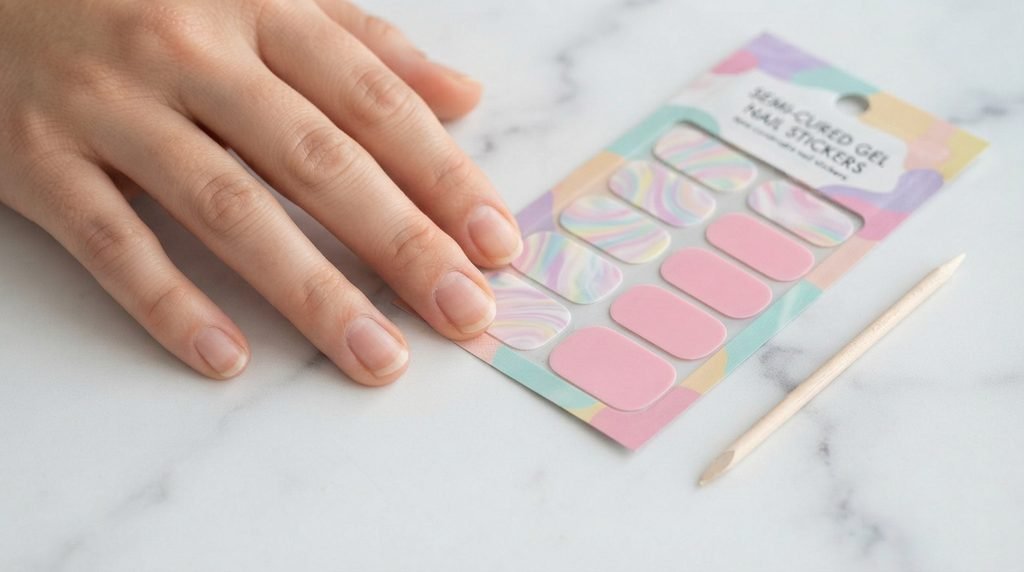
The application process is one of the most important parts of getting a clean result.
Even high-quality gel nail stickers may lift early if the nail surface is not prepared properly.
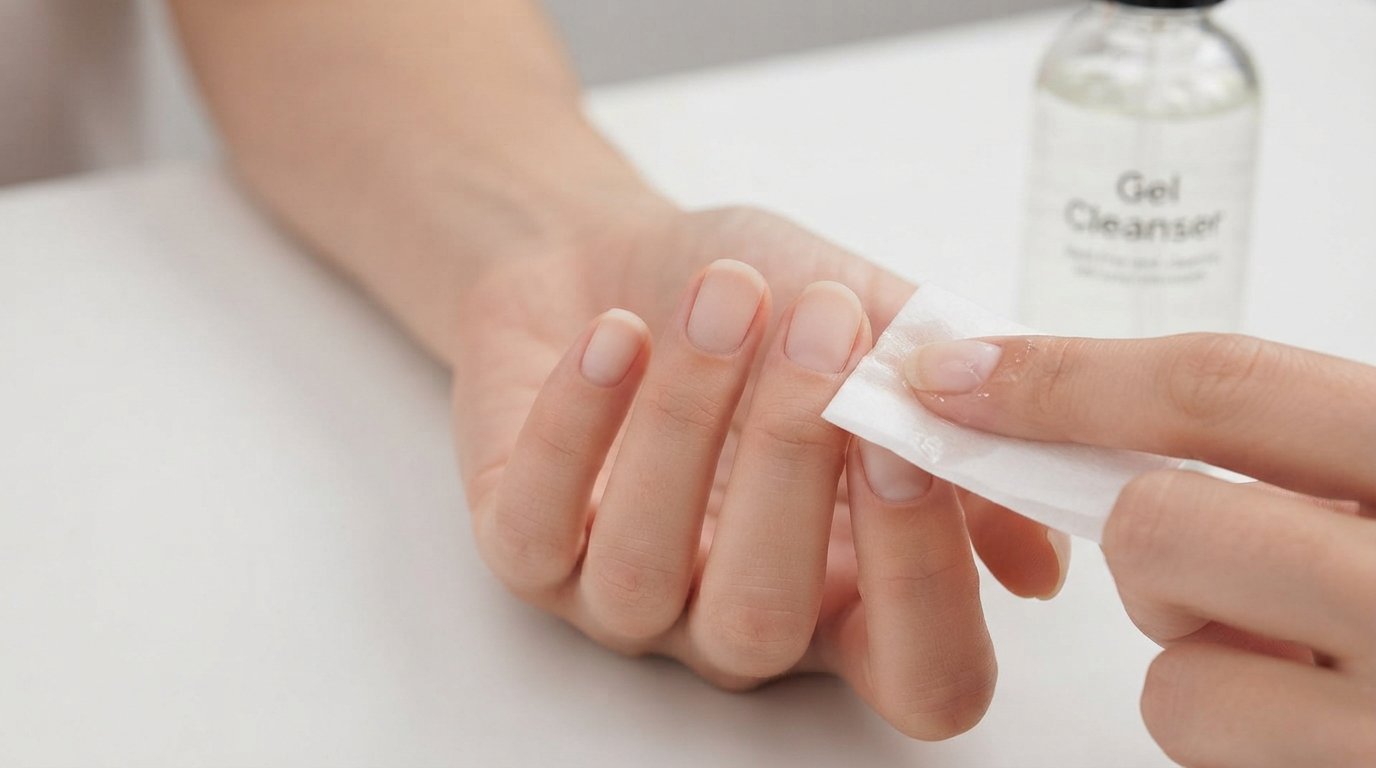
Step 1: Clean Your Nails
Start with clean, dry hands.
Remove any old nail polish and make sure there is no cream, oil, or lotion sitting on the nail surface.
A clean nail gives the sticker a better surface to adhere to.
If you have recently applied hand cream or cuticle oil, wash your hands and allow your nails to dry completely before starting.
Step 2: Shape Your Natural Nails
Use a nail file to create the shape you want.
You can choose:
- Round
- Square
- Squoval
- Oval
- Almond
You do not need to make every nail extremely long. In fact, gel nail stickers for short nails can look just as attractive as designs on long nails.
The most important thing is creating a consistent shape.
Step 3: Push Back the Cuticles Carefully
Gently push back the cuticles if needed.
Do not aggressively cut or damage the skin around the nail.
The goal is simply to create a clean nail surface so that the sticker can sit neatly without touching the surrounding skin.
Step 4: Select the Correct Sticker Size
Most gel nail sticker kits include multiple sizes.
Before removing the backing, compare the sticker with your nail.
Choose a size that covers the nail from side to side without sitting on your skin.
If the sticker is slightly wider than your nail, choose a smaller size rather than allowing the product to overlap onto the skin.
This small step can make a big difference in the final result.
Step 5: Remove the Sticker Carefully
Peel the selected sticker from its backing.
Try not to touch the adhesive side more than necessary.
The less you handle the adhesive surface, the cleaner the application can be.
Step 6: Place the Sticker on the Nail
Position the sticker close to the cuticle area without placing it directly onto the skin.
Start from one side and gently press it toward the other side.
Do not immediately press the entire sticker down if it is not positioned correctly.
Take a moment to make sure it is straight.
Step 7: Press Out Air Bubbles
Use your finger or the supplied manicure tool to press the sticker down.
Work from the center toward the edges.
This helps remove small air pockets and improves contact between the sticker and your natural nail.
Pay particular attention to the sides and the area near the cuticle.
Step 8: Remove the Excess
If the sticker extends beyond the free edge of your nail, gently fold the excess downward.
Depending on the product, you may then file away the extra material.
Use a nail file in a controlled motion rather than aggressively sawing back and forth.
This helps create a cleaner edge.
Step 9: Cure the Stickers If Required
Some semi-cured gel nail stickers need an LED or UV lamp.
If your product requires curing, follow the manufacturer’s recommended curing time.
Do not assume that every gel nail sticker needs a lamp.
Some products are designed to be worn without curing.
This is one reason why reading the product instructions before application is important.
Step 10: Check the Edges
After application, look closely at each nail.
Check the:
- Cuticle area
- Sidewalls
- Free edge
- Corners
If an edge is lifting, gently press it down.
A few extra seconds of attention at this stage can make the manicure look much more professional.
How to Make Gel Nail Stickers Last Longer
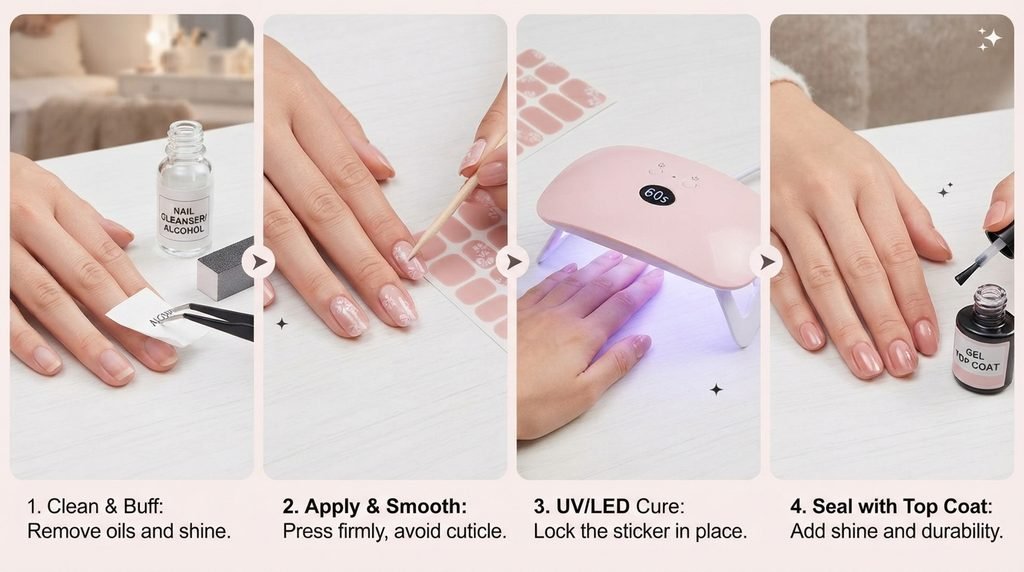
Getting your gel nail stickers to last well is not only about the quality of the product. Your preparation and daily habits also matter.
Here are some simple tips.
Keep Nails Dry Before Application
Moisture and oil can interfere with adhesion.
Always apply stickers to clean, dry nails.
Avoid Applying Them Directly on Skin
The sticker should sit on the nail rather than the surrounding skin.
When product overlaps onto the skin, the edge can lift more easily.
Press the Edges Properly
Pay extra attention to the side edges and the area close to the cuticle.
These areas often determine how neat the manicure looks.
Give the Manicure Time to Set
If your product instructions recommend avoiding water immediately after application, follow them.
This gives the adhesive or gel material enough time to establish a secure bond.
Wear Gloves for Heavy Household Work
Frequent exposure to water, cleaning products, and physical work can affect the longevity of any manicure.
If you are washing dishes or using household cleaning products, gloves can help protect your nails.
How Long Do Gel Nail Stickers Last?
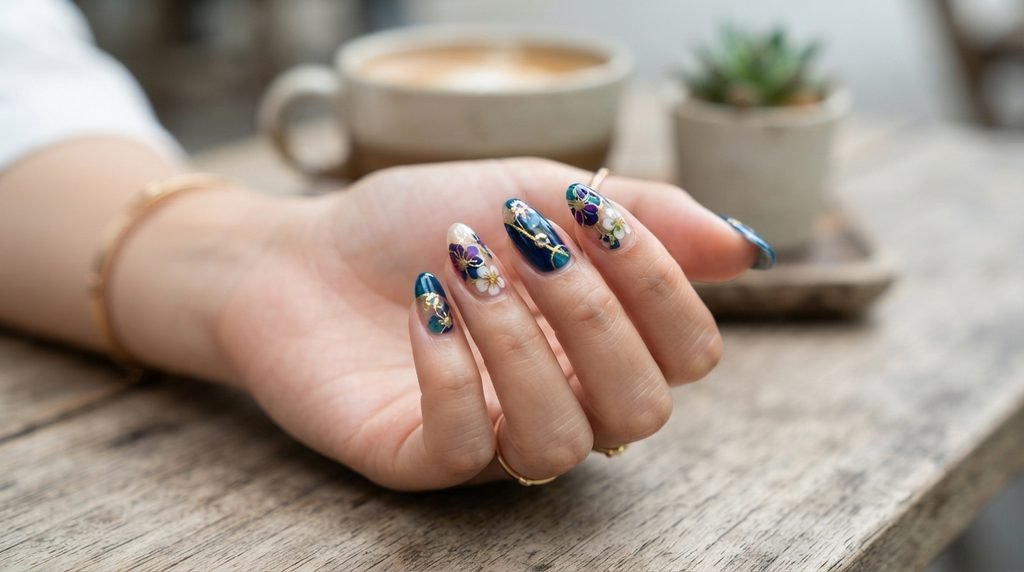
The answer depends on the product, application technique, nail condition, and your daily activities.
Some gel nail stickers are designed for several days of wear, while other products may last longer when applied correctly.
Instead of believing a fixed number for every product, check the manufacturer’s stated wear time.
Your nails also make a difference.
For example, someone who spends a lot of time washing dishes may experience different wear compared with someone who has a desk job.
Proper nail preparation is another major factor.
A manicure applied to clean, dry nails will generally have a better chance of staying secure than one applied over oily or moisturized nails.
Can You Use Gel Nail Stickers on Short Nails?
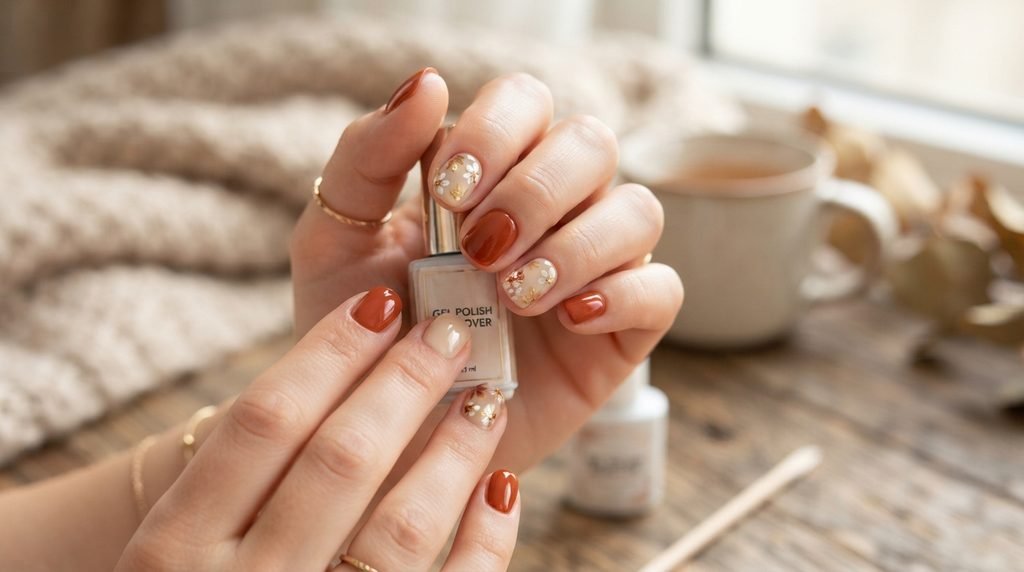
Yes.
In fact, gel nail stickers for short nails can be a great choice if you prefer a practical everyday manicure.
You do not need long nails to enjoy nail art.
Short nails can look especially attractive with:
- French tips
- Nude colors
- Soft pink
- Simple floral designs
- Minimalist patterns
- Glossy solid colors
- Small glitter details
If you have short nails, select stickers that match the length and width of your natural nails.
Avoid forcing an oversized sticker onto a smaller nail.
Gel Nail Stickers for Beginners
If this is your first time using gel nail stickers, start with a simple design.
A solid nude, pink, beige, or classic French style can be easier to apply than a detailed pattern.
Why?
Because you are learning the technique.
Your first goal should be learning how to:
- Prepare the nail
- Select the correct size
- Position the sticker
- Remove air bubbles
- File the edge
- Cure correctly when required
Once you understand these steps, you can experiment with more detailed nail art.
One beginner-friendly trick is to apply the stickers slowly instead of trying to finish all ten nails as quickly as possible.
How to Remove Gel Nail Stickers Safely
Removal is just as important as application.
One of the biggest mistakes people make with gel products is picking, pulling, or peeling them off aggressively.
This can potentially remove layers of the natural nail along with the product.
For gel products, professional guidance recommends using an appropriate removal process rather than forcing the product off.
However, because gel nail stickers differ from brand to brand, you should first follow the removal instructions provided by the manufacturer.
Basic Removal Approach
Step 1: Check the Product Instructions
Before removing your stickers, check whether the manufacturer recommends an oil-based removal method, soak-off method, gentle lifting method, or another technique.
Do not automatically use acetone unless the product instructions say it is suitable.
Step 2: Never Rip the Sticker Off
If the sticker is firmly attached, do not pull it away quickly.
Take your time.
Aggressive peeling can be rough on natural nails.
Step 3: Use the Recommended Removal Product
Some gel products can require soaking or another specific removal process.
For soak-off gel systems, OPI recommends carefully breaking the surface seal, using remover wraps, allowing sufficient soaking time, and gently removing softened product rather than scraping or prying it off.
Step 4: Be Gentle With Residue
If there is remaining product, follow the manufacturer’s instructions rather than aggressively scraping it.
OPI specifically advises against picking or peeling gel products and recommends gentle removal techniques.
Step 5: Apply Cuticle Oil
After removal, clean your hands and apply nail and cuticle oil.
This can help keep the surrounding skin moisturized.
OPI also recommends conditioning the cuticle area after gel removal.
Are Gel Nail Stickers Better Than Gel Polish?
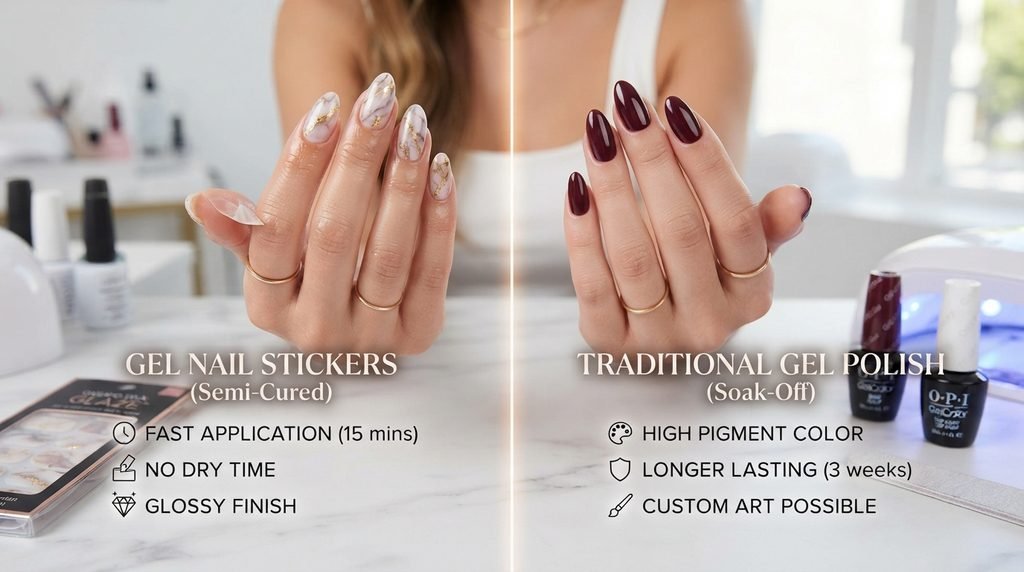
There is no single answer because it depends on what you want from your manicure.
Gel polish gives you more freedom to paint your own colors and designs, but it usually requires more preparation and application steps.
Gel nail stickers provide a more ready-made approach.
With stickers, you can get:
- Faster application
- Pre-designed patterns
- Less painting
- Easy access to nail art
- A convenient DIY manicure
On the other hand, gel polish may be better for someone who enjoys creating custom designs or wants complete control over the application.
Therefore, think about your routine.
If you want convenience, gel nail stickers can make a lot of sense.
If you enjoy the full nail-art process, gel polish may give you more creative flexibility.
Are Gel Nail Stickers Worth Buying?
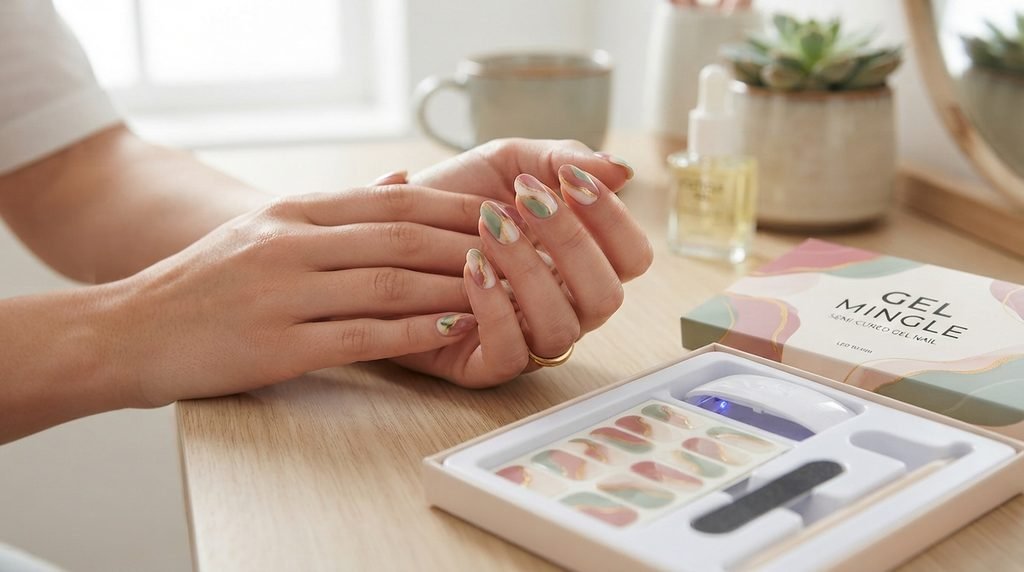
For many people, the biggest advantage of gel nail stickers is convenience.
Think about the traditional manicure process.
You need to:
- Choose a color.
- Apply base coat.
- Paint carefully.
- Wait for drying.
- Apply another coat.
- Fix mistakes.
- Add a top coat.
- Wait again.
With gel nail stickers, much of the design work has already been done.
That makes them particularly useful for people who want attractive nails but do not consider themselves good at nail painting.
They can also be useful when you want a particular design that would be difficult to create by hand.
What Should You Look for When Buying Gel Nail Stickers?
Not all gel nail stickers are identical.
Before buying a set, consider the following points.
1. Nail Size Range
Make sure the kit includes different sizes.
A good range makes it easier to find stickers that fit your natural nails.
2. Design Quality
Look for designs with clean lines and consistent printing.
For everyday use, simple designs can be easier to wear with different outfits.
3. Material
Check whether the product is a standard nail sticker, gel strip, or semi-cured gel product.
The material affects how the product should be applied and removed.
4. Curing Requirements
Check whether you need an LED nail lamp.
Do not purchase a product assuming it works without a lamp if the manufacturer specifically requires curing.
5. Removal Instructions
A good product should provide clear removal instructions.
This is especially important if you are new to gel-style nail products.
6. Customer Reviews
Reviews can help you understand how a product performs in real-life situations.
Look for comments about:
- Adhesion
- Application
- Nail fit
- Edge lifting
- Wear time
- Removal
- Overall appearance
Common Mistakes to Avoid
Even simple gel nail stickers can look messy if a few basic mistakes are made.
Applying Over Oily Nails
Oil can interfere with adhesion.
Always start with clean, dry nails.
Choosing the Wrong Size
A sticker that is too large can overlap the skin.
Choose the closest suitable size instead.
Touching the Adhesive Too Much
Try to avoid repeatedly touching the sticky surface.
Ignoring the Edges
The center may look perfect while the sides are already lifting.
Always press the edges firmly.
Filing Too Aggressively
Use controlled movements and avoid unnecessary pressure.
Peeling Product Off
Do not forcefully peel or pick gel products from the natural nail.
Proper removal matters just as much as proper application.
Gel Nail Stickers: A Simple At-Home Manicure Routine
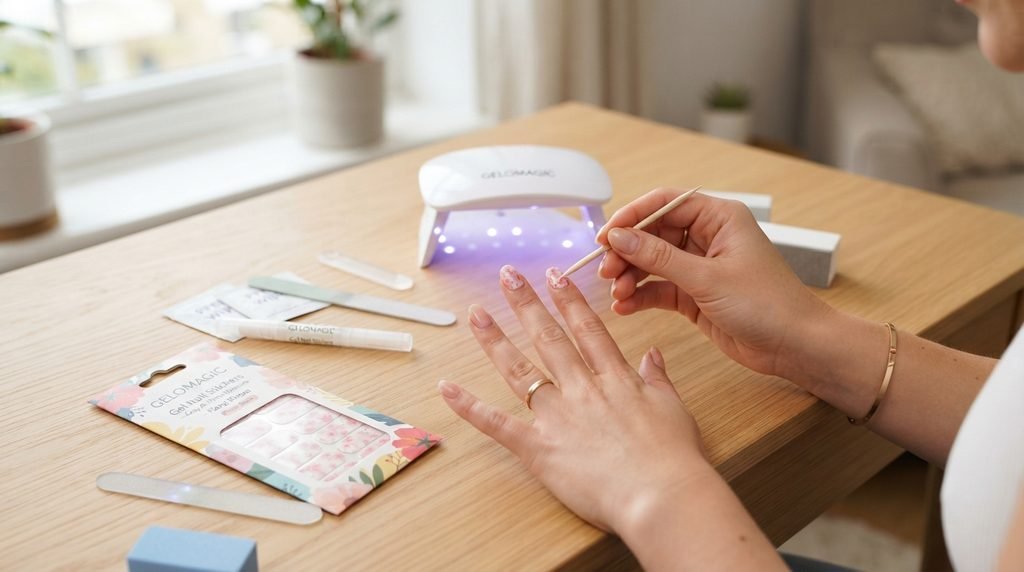
If you want to make the process easy, use this simple routine:
Clean → Shape → Select → Apply → Press → File → Cure if required → Check
That is really the heart of the process.
The first few applications may take a little longer because you are learning where to position each sticker.
After some practice, the process becomes much more natural.
Final Thoughts
Gel nail stickers are a convenient way to create a polished manicure without having to master traditional nail polish application.
They are particularly useful for beginners, busy people, nail-art lovers, and anyone who enjoys changing their manicure regularly.
The best results come from doing the simple things correctly: start with clean, dry nails, choose the right sticker size, apply it carefully, press the edges properly, and follow the product’s curing and removal instructions.
Most importantly, do not rush the removal process.
A beautiful manicure should not come at the expense of careless nail care.
If you choose a good-quality product and take a few minutes to apply it properly, gel nail stickers can be an easy and enjoyable way to get glossy, stylish, salon-inspired nails from home.
For additional professional guidance on gel application and removal, you can explore OPI’s GELiversity nail tutorials and its detailed at-home gel removal guide.