
How to Apply Gel Nail Stickers: An Easy Step-by-Step Guide
If you love the look of a fresh gel manicure but do not always have the time or budget for a salon appointment, gel nail stickers can be a surprisingly simple option. They can give your nails a neat, polished appearance without requiring you to paint several layers of polish by hand.
The best part? You do not need to be a professional nail technician to get started.
Whether you are completely new to gel nail stickers, looking for an easy at-home manicure, or simply want to understand how to make your nail wraps last longer, this guide will walk you through the entire process.
In this article, you will learn how to apply gel nail stickers, how to prepare your nails, how to choose the right sticker size, how to cure semi-cured gel stickers, common mistakes to avoid, and how to remove them safely.
Quick answer: To apply gel nail stickers, clean and prepare your nails, choose the correct sticker size, place the sticker carefully without touching your skin, press it firmly onto the nail, file away the excess, and cure it under the recommended LED/UV lamp if your product requires curing. Always follow the instructions supplied with your specific sticker brand.
Let’s get started.
What Are Gel Nail Stickers?
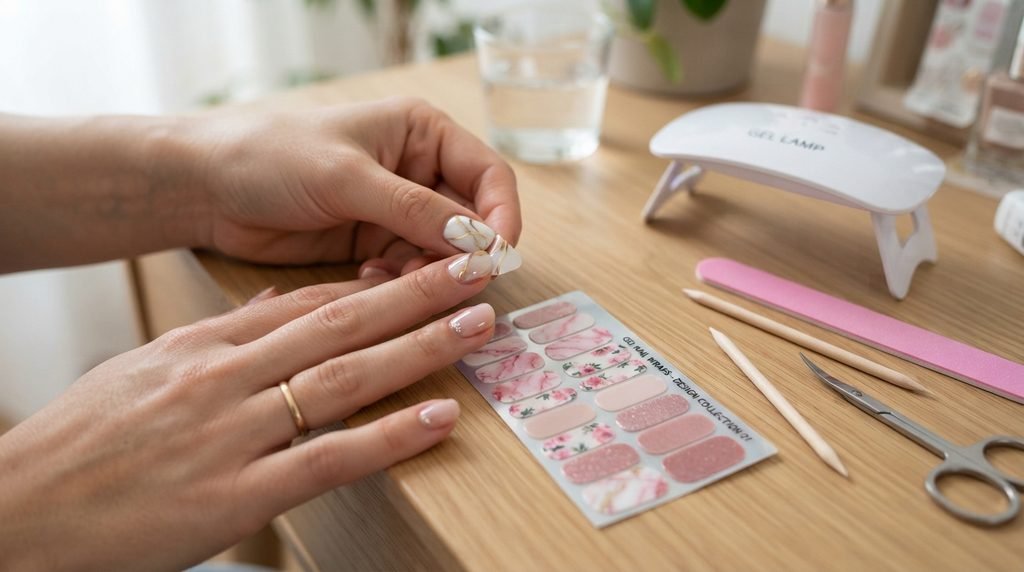
Gel nail stickers are thin, flexible nail wraps designed to give you the appearance of a gel manicure without applying traditional liquid gel polish with a brush.
Depending on the product, you may see them sold as:
- Gel nail stickers
- Gel nail wraps
- Gel nail strips
- Semi-cured gel nail stickers
- Semi-cured gel strips
- DIY gel nail stickers
- At-home gel manicure strips
Some stickers are simply adhesive nail decals that do not require a lamp. Others are made from partially cured gel and need to be finished under an LED or UV nail lamp.
This difference is important.
For example, gel polish products that require curing depend on light from an appropriate lamp to harden the product. Nails.INC explains that its gelLED system requires an LED lamp for proper curing and setting.
Therefore, always check the instructions that come with your particular gel nail stickers before you begin.
Why Are Gel Nail Stickers So Popular?
There is a simple reason DIY gel nail stickers have become popular: they make a manicure feel much easier.
Traditional gel manicures can involve nail preparation, base coat, several layers of colour, curing between layers, top coat and removal. Gel stickers can reduce many of those steps.
They are especially useful if you:
- Like doing your nails at home
- Want quick nail art
- Struggle with painting your dominant hand
- Want to try different nail designs
- Prefer a less messy manicure routine
- Want salon-inspired nails without booking an appointment
- Like changing your nail design regularly
They also make it easier to experiment with colours, patterns and finishes.
For someone who normally spends a long time trying to paint a perfectly straight French tip, for example, a ready-made French manicure nail sticker can make the process much simpler.
What You Need Before Applying Gel Nail Stickers
Before you start your gel nail sticker manicure, put everything you need in front of you.
You will usually need:
- Gel nail stickers or nail wraps
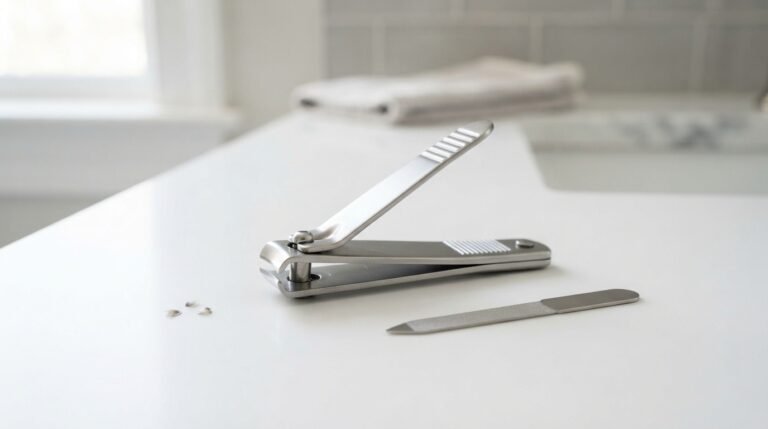
- Nail file
- Nail buffer
- Nail cleanser or alcohol wipe
- Cuticle pusher
- Small scissors or nail clippers if recommended by the product
- Wooden orange stick, if needed
- LED/UV lamp if your stickers require curing
- Cuticle oil for aftercare
Having everything ready saves time and prevents you from touching your nails unnecessarily during application.
How to Apply Gel Nail Stickers Step by Step
Now let’s get to the main part.
If you are wondering how to apply gel nail stickers at home, follow these steps carefully.
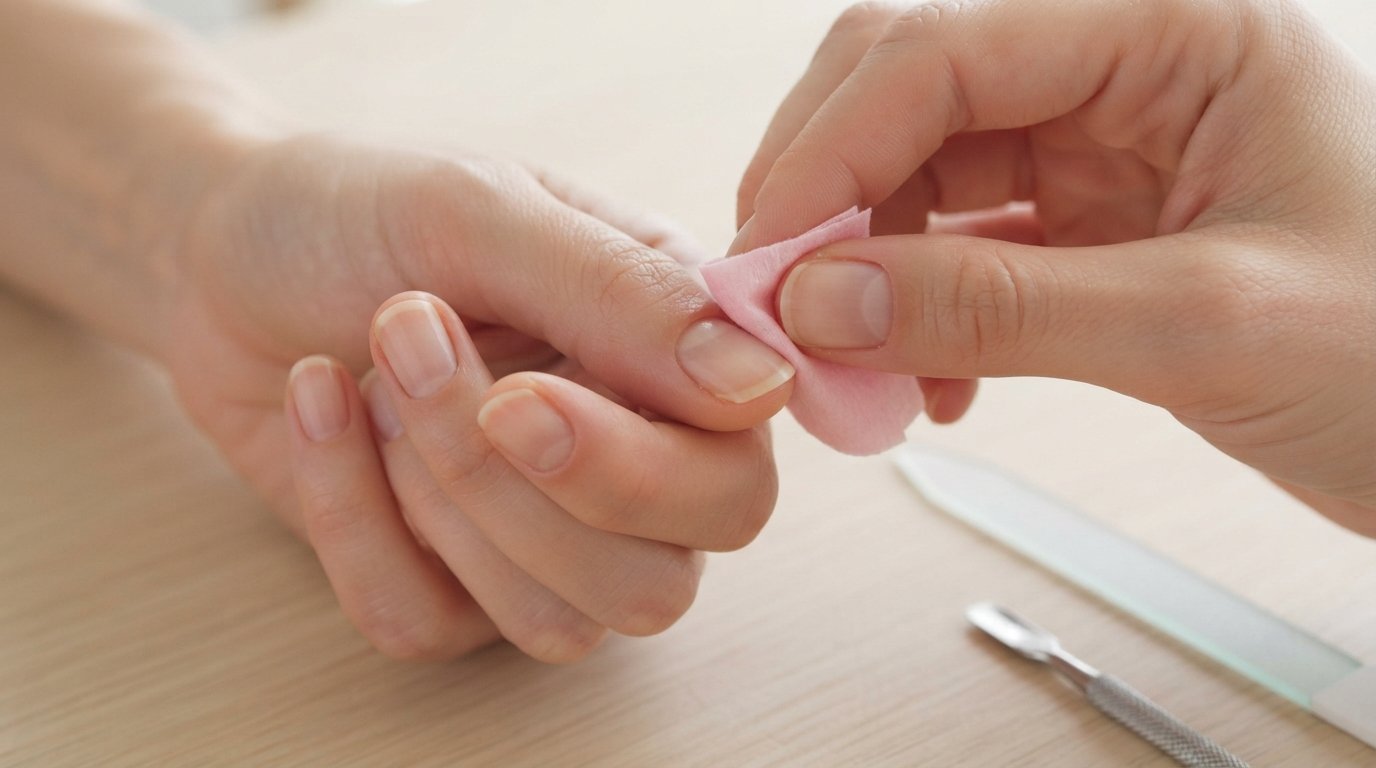
Step 1: Start With Clean Nails
The first step is simple but extremely important: clean your nails properly.
Remove any old nail polish, oil, hand cream or lotion from your nails.
Wash your hands and dry them completely. Then use the nail cleanser or alcohol wipe recommended by your product.
Why does this matter?
Because oil and moisture can interfere with adhesion. If the nail surface is not clean, your gel nail stickers may lift around the edges much sooner.
Think of it like putting a sticker on a dusty surface. Even the best adhesive will struggle if the surface is not prepared.
Step 2: Shape Your Natural Nails
Use a nail file to create the shape you want.
You can choose:
- Round
- Oval
- Square
- Squoval
- Almond
- Short natural shape
You do not need to make your nails extremely long.
In fact, short gel nail stickers can look very clean and practical for everyday wear.
Try to keep the edges smooth. A rough or uneven nail edge can make application more difficult and may cause the sticker to catch or lift.
Step 3: Gently Push Back Your Cuticles
Use a cuticle pusher to gently push back the cuticle area.
Do not aggressively cut or damage the cuticle.
The goal is simply to create a clean nail surface where the sticker can sit.
This is one of those small preparation steps that can make a noticeable difference.
A few extra minutes of preparation can help you achieve a much cleaner-looking at-home manicure.
Step 4: Lightly Buff the Nail Surface
If your product instructions recommend buffing, lightly buff the natural nail.
Do not aggressively file the nail.
You are simply creating a clean, even surface and removing unwanted shine if the product instructions call for it.
After buffing, remove all dust.
Then cleanse the nail again if required.
Step 5: Choose the Correct Gel Nail Sticker Size
Now comes the fun part.
Open your gel nail sticker kit and look at the different sizes.
Choose a sticker that fits your nail from side to side.
The sticker should cover the nail neatly without sitting directly on your skin.
The most important rule:
A slightly smaller sticker is usually easier to work with than one that is too wide.
If the sticker touches your cuticle or surrounding skin, it can interfere with a clean application and may contribute to lifting.
So, take your time when choosing the size.
You can hold the sticker above the nail first to check the fit before removing it from the backing.
Step 6: Remove the Sticker Carefully
Once you have selected the correct size, gently remove the sticker from its backing.
Try not to touch the adhesive side too much.
Your fingers naturally have oils on them, and excessive handling can reduce the effectiveness of the adhesive.
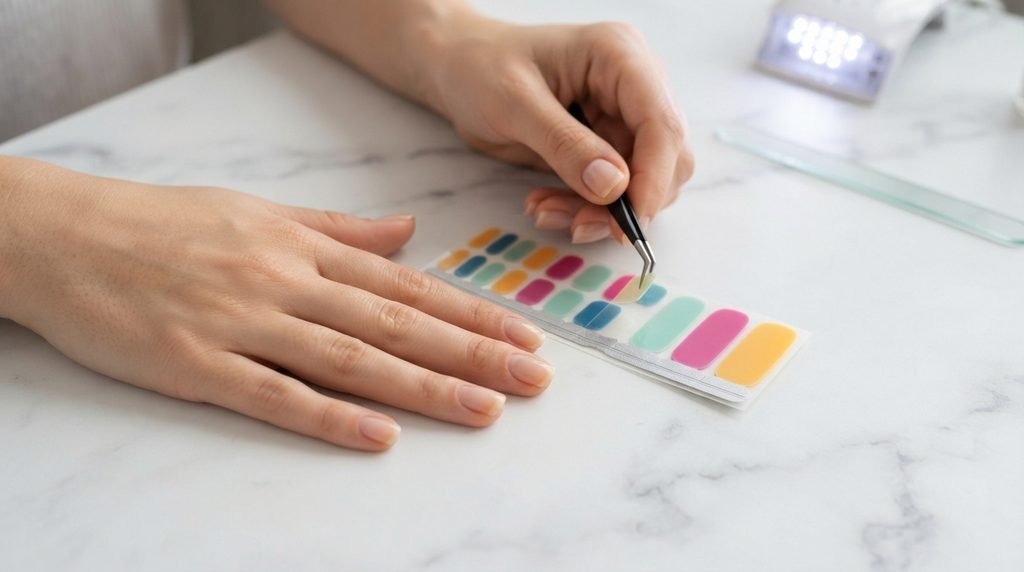
If the sticker is particularly thin or difficult to handle, tweezers may help.
Professional nail brands also commonly recommend using tweezers when greater placement accuracy is needed for nail stickers.
Step 7: Place the Gel Sticker on Your Nail
Position the sticker close to the cuticle area, but do not place it directly over the cuticle or onto your skin.
Start by placing the sticker near the centre of the nail.
Then gently press it down toward the sides.
Do not rush this step.
If you place it incorrectly, some products may allow you to gently reposition them, while others may become difficult to move once pressed down.
So make sure the position looks right before applying firm pressure.
Step 8: Smooth Out the Sticker
Once the sticker is positioned correctly, press it firmly onto your nail.
Work from the centre toward the edges.
This helps remove air pockets and wrinkles.
Pay special attention to the sides and the area close to the cuticle.
Your goal is to create a smooth connection between the sticker and the natural nail.
If you see a wrinkle:
Do not immediately panic.
Gently lift the sticker back slightly, reposition it and smooth it down again if the product allows repositioning.
This is much easier than trying to fix a large wrinkle after the sticker has been firmly pressed into place.
Step 9: Remove the Excess
Most gel nail strips are longer than your natural nail.
That is intentional because one sticker needs to fit different nail lengths.
After applying the sticker, gently fold the excess over the free edge of the nail.
Depending on the product, you may then file away the extra material.
Use a nail file in a controlled downward direction rather than aggressively sawing back and forth.
The exact technique can vary between brands, so follow the instructions included with your particular product.
Step 10: Cure Your Gel Nail Stickers If Required
This step is extremely important.
Not every nail sticker requires curing.
However, semi-cured gel nail stickers generally require an LED or UV lamp to finish the curing process.
If your product requires curing, place your nails under the recommended lamp for the exact time specified by the manufacturer.
Do not guess the curing time.
Different products and lamps can have different requirements.
For comparison, Nails.INC’s gelLED system specifies particular curing times for its gel polish, demonstrating why manufacturer-specific instructions matter.
Important safety tip
Try to keep uncured gel material away from your surrounding skin.
If gel product gets onto the skin, clean it off according to the product’s instructions before curing.
Nails.INC’s own gel instructions similarly advise removing gel from the surrounding skin before curing.
Step 11: Check the Finished Manicure
After curing, take a close look at each nail.
Check:
- Are the edges smooth?
- Is the sticker completely attached?
- Are there visible bubbles?
- Is any material touching your skin?
- Does the free edge look neat?
- Are all nails securely attached?
If everything looks good, you are finished.
And honestly, this is the moment when the whole process starts to feel worth it.
A Quick Personal Example
Imagine you have a dinner planned for the evening.
You look at your nails and realise your old polish is chipped.
Normally, you might remove everything, apply base coat, wait for polish to dry, apply another coat, clean up the edges and then wait again.
Instead, you open your gel nail sticker kit, prepare your nails and apply a ready-made design.
Twenty or thirty minutes later, you can have a manicure that looks much more polished than the rushed coat of regular polish you were about to apply.
That is where the real appeal of DIY nail stickers comes from.
They are not about replacing every professional manicure.
They are about making a polished nail look much easier to achieve when you are short on time.
How to Make Gel Nail Stickers Last Longer
Getting a good app
2 Comments