Nail Polish for Nail Art: A Complete Guide to Choosing the Best Colours, Types and Products
Beautiful nails are a simple way to express your personality. Whether you love soft floral patterns, colourful French tips, glitter effects or detailed creative designs, the right nail polish can make a huge difference. However, creating attractive nail art is not only about having a steady hand. Choosing the right nail polish for nail art is equally important.
Imagine sitting at home with your favourite nail colours, a few brushes and an exciting design in mind. You carefully paint a beautiful flower, but the colour looks too light. You try again, only to find that the polish spreads or leaves uneven lines. This is a common experience for beginners. The good news is that choosing suitable nail polish can make nail art much easier and more enjoyable.
Today, there are many different types of nail polish available, including regular nail lacquer, stamping polish, gel polish, glitter polish and special-effect formulas. Each type has its own purpose, and understanding the differences will help you achieve better results.
In this guide, we will explore everything you need to know about nail polish for nail art, from choosing the right colours to applying beautiful designs at home. We will also discuss important features, useful tools, buying tips and popular products worth exploring.
What Is Nail Polish for Nail Art?
Nail polish for nail art refers to nail colours and specialised formulas used to create decorative patterns and designs on fingernails and toenails.
Unlike ordinary manicures, which usually involve applying one colour to the entire nail, nail art focuses on creativity. It allows you to combine different colours, textures and techniques to produce unique looks.
For example, you can use nail polish to create:
- Beautiful floral nail designs.
- French manicure tips.
- Polka dots and geometric patterns.
- Glitter and metallic effects.
- Animal prints and abstract designs.
- Ombre and gradient nail art.
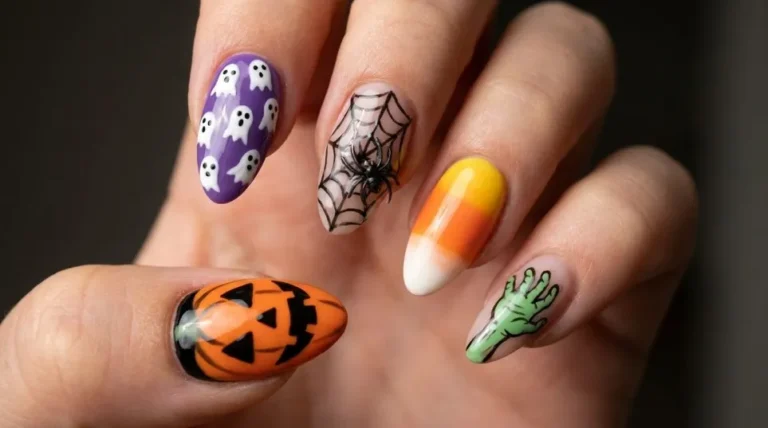
- Seasonal and festive nail decorations.
The best product depends on the design you want to create. A smooth, everyday nail lacquer might be perfect for simple patterns, while highly pigmented stamping polish is more suitable for detailed designs transferred from stamping plates.
Different Types of Nail Polish for Nail Art
Before purchasing nail polish, it is important to understand the different options available. Each formula offers particular benefits, so selecting the right one can save you time and money.
1. Regular Nail Polish
Regular nail polish is one of the most popular choices for home manicures and simple nail art. It is easy to find, comes in many colours and generally dries naturally without requiring a UV or LED lamp.
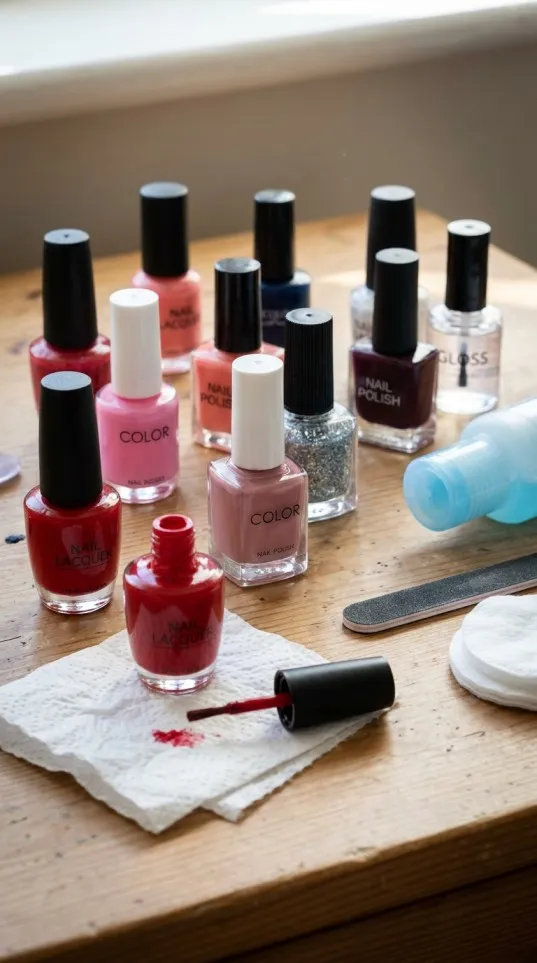
You can use regular nail lacquer for:
- Simple nail designs.
- Colourful French tips.
- Dots and stripes.
- Basic flowers and hearts.
- Colour blocking and creative patterns.
For example, imagine creating a pastel manicure with small white flowers. A regular pink polish can provide the background, while a white shade can be used to paint the petals.
When choosing regular polish for nail art, look for good pigmentation, smooth application and a formula that does not become streaky.
Best for: Beginners, everyday nail art and simple hand-painted designs.
2. Nail Stamping Polish
If you enjoy detailed nail patterns but find freehand painting difficult, stamping polish can be an excellent option.
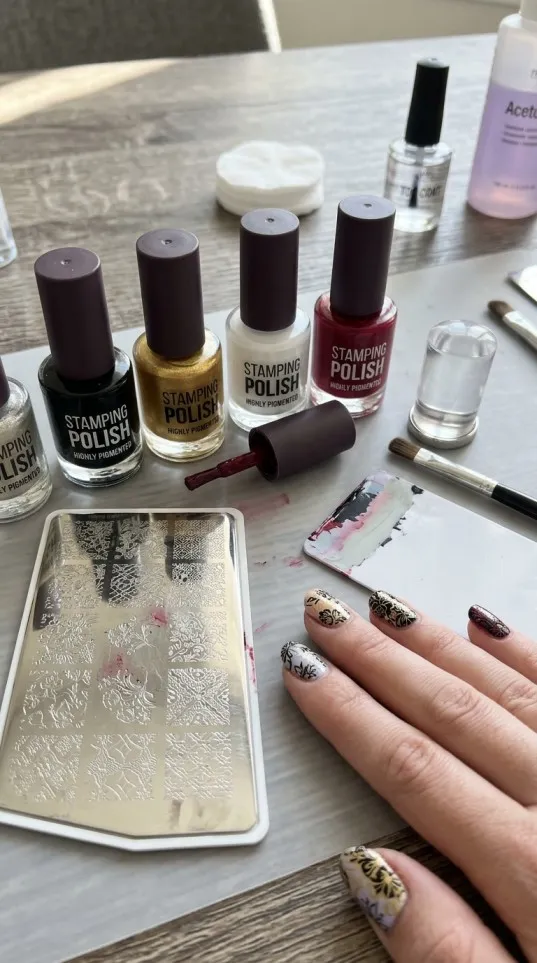
Nail stamping polish is specially formulated to transfer designs from engraved metal plates onto your nails. It is generally thicker and more highly pigmented than ordinary nail polish.
This makes it easier to create clear patterns with fewer gaps.
Popular stamping designs include:
- Flowers and leaves.
- Lace patterns.
- Animal prints.
- Geometric shapes.
- Small decorative symbols.
- Detailed full-nail patterns.
Black and white stamping polishes are particularly useful because they create strong contrast against different background colours.
For beginners, starting with a black and white stamping polish set is a sensible choice.
Best for: Detailed nail patterns, stamping plates and professional-looking designs at home.
3. Gel Nail Polish
Gel nail polish is another popular option for people who want a glossy and long-lasting manicure.
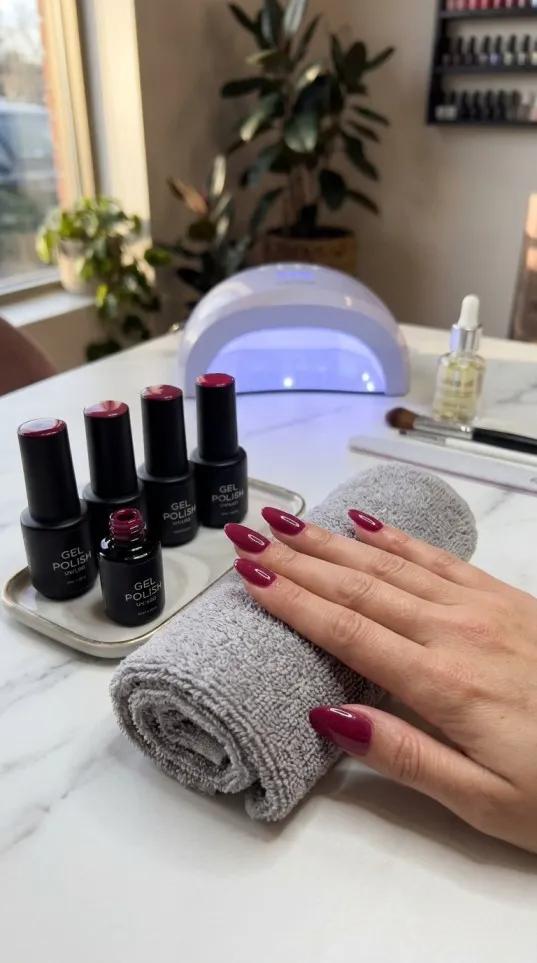
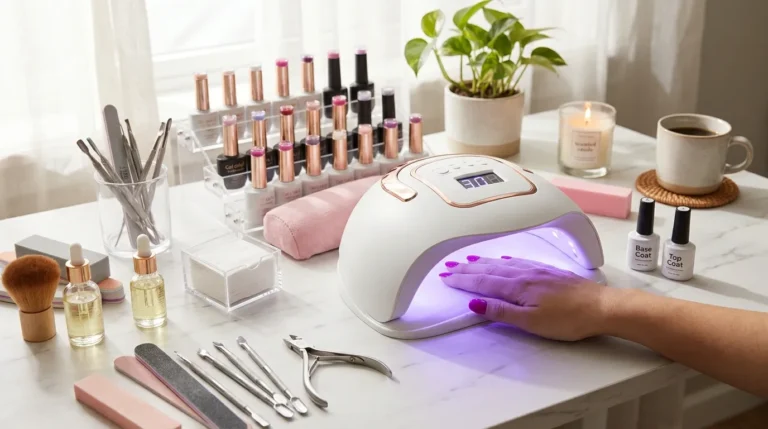
Unlike traditional nail lacquer, most gel polishes require curing under a compatible UV or LED nail lamp. They can provide a smooth finish and work well as a coloured base for nail art.
You can use a completed, properly cured gel manicure as a background for additional decorative work.
However, ordinary gel polish is not automatically suitable for nail stamping. Specialised stamping products should be used for that technique.
Always follow the manufacturer’s instructions, avoid skin contact with uncured gel and use a compatible curing lamp.
Best for: Glossy manicures, long-lasting base colours and layered nail designs.
4. Glitter Nail Polish
If you love sparkling nails, glitter nail polish is an attractive choice.
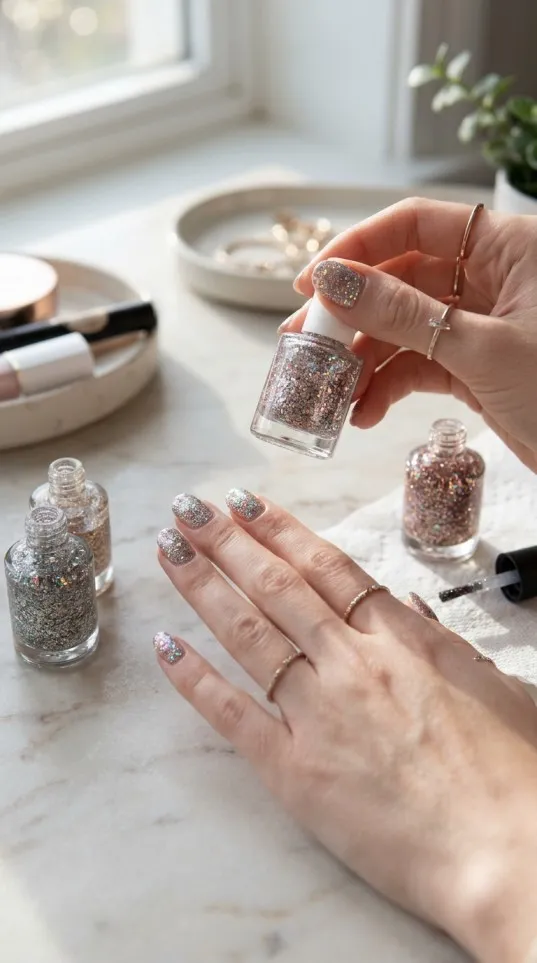
It contains small or large decorative particles that reflect light and create a sparkling appearance.
Glitter polish is available in several styles, including:
- Fine glitter.
- Chunky glitter.
- Holographic glitter.
- Silver and gold glitter.
- Coloured glitter.
- Multicoloured glitter.
You can apply glitter polish over your favourite base colour or use it on one or two accent nails.
For example, a nude manicure with gold glitter on the ring finger creates an elegant look without making the design too busy.
Best for: Party nails, festive designs, glamorous manicures and accent nails.
5. Metallic and Chrome Nail Polish
Metallic nail polish adds a shiny, reflective appearance to your manicure.
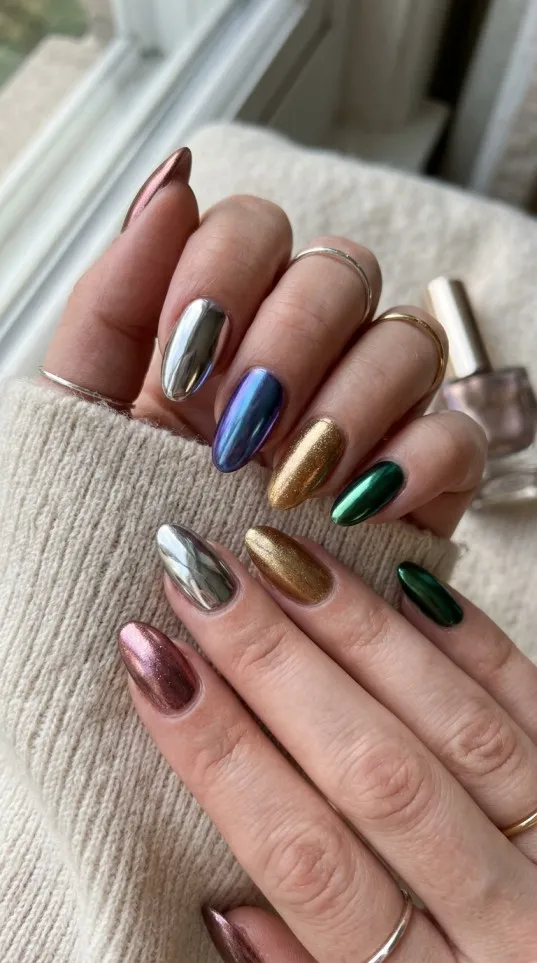
Gold, silver, rose gold, bronze and metallic blue are popular choices for creative nail designs.
These colours look particularly attractive when combined with dark backgrounds such as black, navy blue and burgundy.
Chrome effects can also be created using specialist chrome products and powders. However, not every metallic nail polish produces a mirror-like chrome finish.
Best for: Glamorous nail art, special occasions and modern decorative designs.
How to Choose the Best Nail Polish for Nail Art
Choosing the right nail polish for nail art can feel confusing because there are so many brands, colours and formulas available.
Instead of buying every attractive bottle you see, focus on the features that actually affect your results.
1. Check Pigmentation
Pigmentation refers to how strongly the colour appears when applied.
A highly pigmented nail polish usually provides better colour coverage and makes decorative details easier to see.
This is particularly important for stamping polish because the design needs to transfer clearly in a thin layer.
For everyday nail art, look for shades that offer good coverage in one or two coats.
2. Choose the Right Consistency
The consistency of nail polish affects how easily you can control it.
A very thin formula may spread beyond the intended design, while an excessively thick formula can become difficult to apply smoothly.
For general nail painting, choose a smooth formula that spreads evenly.
For nail stamping, look for a formula specifically designed to hold pigment inside the engraved design.
3. Consider Drying Time
Drying time matters because nail art often involves several layers.
If the base colour is still wet when you apply decorative details, the colours may mix or become smudged.
Regular nail polish should be allowed to dry sufficiently between layers.
Stamping polish also needs careful timing because it can dry before the design is transferred.
4. Look for a Wide Colour Range
Having a useful selection of colours gives you more creative freedom.
However, you do not need dozens of bottles to start.
A beginner-friendly collection can include:
- Black.
- White.
- Red.
- Pink.
- Nude.
- Blue.
- Yellow.
- Gold or silver.
These shades can be combined to create hundreds of different designs.
5. Read Product Reviews
Before buying nail polish online, take time to read customer reviews.
Pay attention to comments about pigmentation, consistency, brush quality, drying time and overall performance.
Look at customer photographs where available because they can give you a better idea of the actual colour and finish.
Best Nail Polish Products to Explore in the UK
If you are shopping online, Amazon UK offers a convenient way to explore different nail polish brands, colours and nail art products.
Here are some useful product options and searches to consider.
1. MoYou London Stamping Polish
MoYou London is worth exploring if your main interest is nail stamping.
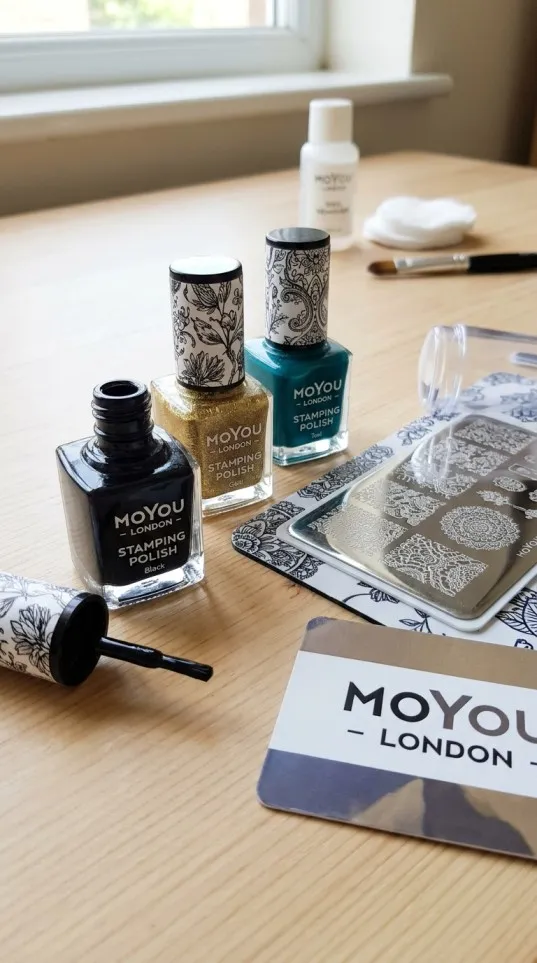
Its stamping polish range is designed for transferring detailed patterns from nail stamping plates.
You can explore different shades, including classic black, white and decorative colours.
Why consider it?
- Designed specifically for nail stamping.
- Useful for detailed decorative patterns.
- Suitable for creative nail art projects.
- Available in different colour options.
Shop: Explore MoYou London Stamping Polish on Amazon UK
2. KONAD Nail Stamping Polish
KONAD is another established name associated with nail stamping products.
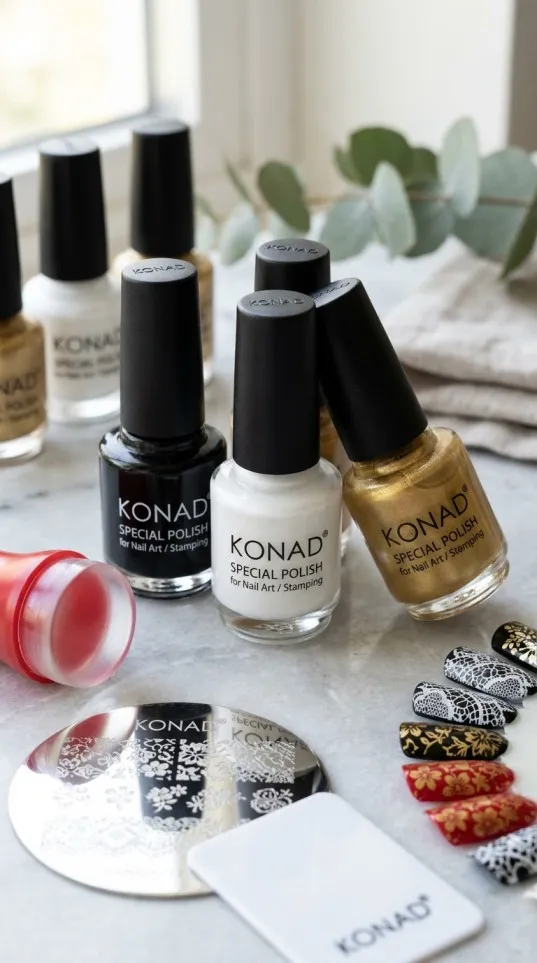
Its specialised stamping polishes are worth considering if you want to create sharp decorative patterns using engraved plates.
Black and white are useful starting colours because they contrast well with many backgrounds.
Why consider it?
- Designed for nail stamping techniques.
- Useful for intricate patterns.
- Suitable for beginners learning stamping.
- Offers different colour options.
Shop: Find KONAD Stamping Polish on Amazon UK
3. Sally Hansen Insta-Dri Nail Polish
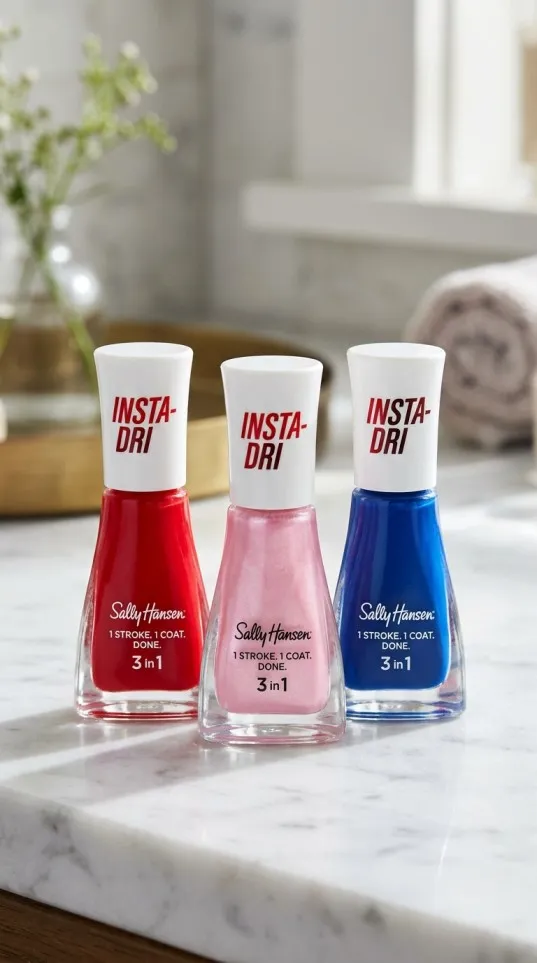
If you prefer traditional nail polish for simple nail art, Sally Hansen Insta-Dri is another product range to explore.
Its quick-drying formula is designed for convenient everyday manicures.
It can be useful for simple colour combinations, accent nails and basic decorative work.
Why consider it?
- Convenient for everyday manicures.
- Offers a variety of shades.
- Suitable for simple nail designs.
- Useful when you want a traditional polish rather than a stamping-specific formula.
Shop: Explore Sally Hansen Insta-Dri on Amazon UK
Note: These are Amazon UK product-search links, not guarantees of current stock, prices or individual seller quality. Check the exact product description before ordering.
Essential Tools to Use with Nail Polish for Nail Art
The right nail polish is important, but a few basic tools can make your work much easier.
Here are some useful accessories to consider.
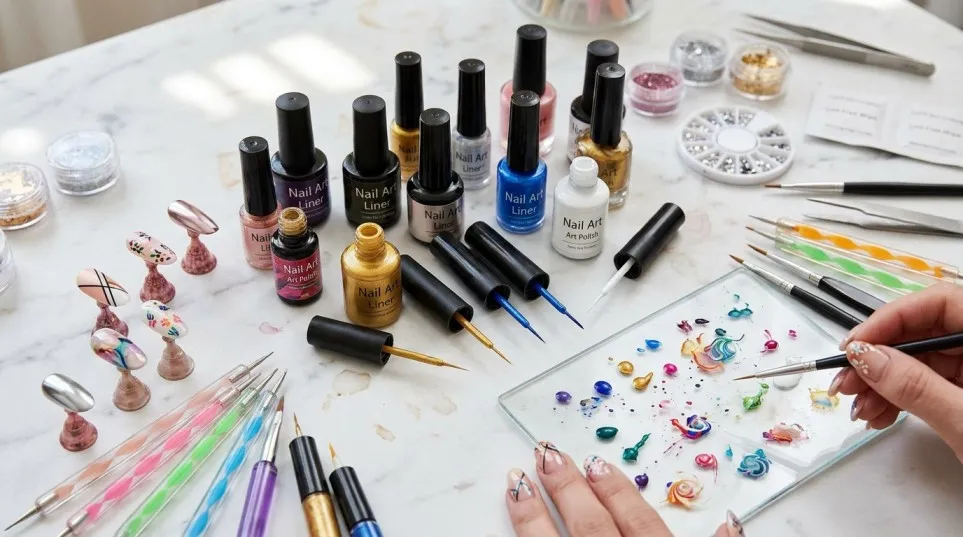
Nail Art Brushes
Fine nail art brushes help you create small details that are difficult to paint with a standard polish brush.
They are useful for:
- Thin lines.
- Small flowers.
- Curved patterns.
- Hearts and stars.
- French tips.
Dotting Tools
Dotting tools are simple accessories used to create perfectly round dots.
You can use them to make flowers, polka dots and decorative patterns.
A beginner can create attractive designs using nothing more than a dotting tool and two contrasting nail colours.
Nail Stamping Plates
Stamping plates contain engraved patterns that can be transferred to your nails using specialised stamping polish.
They are particularly helpful when you want to create repeated patterns without painting every detail by hand.
Nail Stamper and Scraper
A nail stamper picks up the design from the stamping plate, while a scraper removes excess polish.
Together, these tools help transfer patterns onto the nail surface.
Base Coat and Top Coat
A base coat helps prepare the nail surface before colour application.
A top coat is applied at the end to add shine and help protect your completed design.
For a complete manicure, both products are useful additions.
Step-by-Step Guide: How to Create Nail Art at Home
You do not need professional experience to create attractive nail designs. With suitable products and a little patience, you can enjoy nail art at home.
Follow these simple steps.
Step 1: Prepare Your Nails
Start by removing any old nail polish.
Wash your hands, dry them properly and gently shape your nails using a nail file.
Make sure the nail surface is clean and free from oily residue.
Avoid aggressive filing or cutting the living skin around your nails.
Step 2: Apply a Base Coat
Apply a thin layer of base coat to each nail.
Allow it to dry according to the product instructions.
This gives you a prepared surface for your chosen nail colour.
Step 3: Apply Your Main Colour
Choose your favourite nail polish colour and apply a thin, even coat.
For better coverage, you can apply a second coat after the first has dried sufficiently.
Popular background colours include nude, pink, white, black and pastel shades.
Step 4: Create Your Nail Art Design
Now comes the fun part!
Choose a simple design that matches your experience.
For example:
- Use a dotting tool to create small flowers.
- Use a fine brush to draw thin lines.
- Combine black and white for geometric patterns.
- Add glitter to one accent nail.
- Use stamping polish and a stamping plate for repeated designs.
If you are a beginner, start with simple patterns before moving towards complicated artwork.
Step 5: Allow the Design to Dry
Give your design enough time to dry before adding the finishing layer.
Rushing this stage can cause smudging and uneven results.
Remember that different nail polish formulas have different drying requirements.
Step 6: Apply a Top Coat
Once your design is dry, apply a suitable top coat.
This adds shine and helps protect the decorative artwork from everyday wear.
Use gentle brush strokes to avoid dragging the design.
Step 7: Clean the Edges
Finally, check the skin around your nails.
Use a small clean-up brush and suitable nail polish remover to remove accidental polish marks from the surrounding skin.
Your homemade nail art manicure is now complete!
Easy Nail Art Ideas for Beginners
If you are unsure what to create first, here are some beginner-friendly ideas.
Simple Floral Nail Art
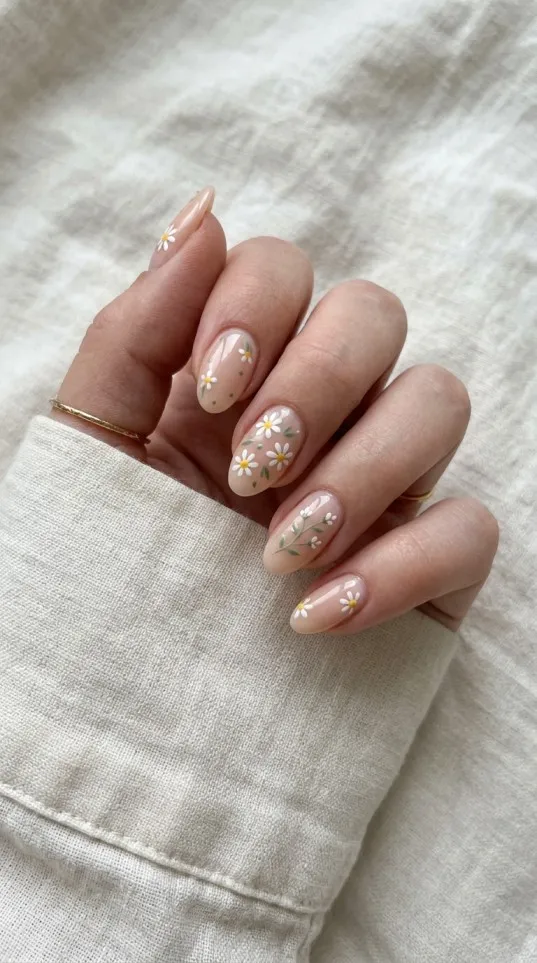
Use a light pink or nude base colour.
Add five small white dots in a circle to create flower petals, then place a yellow dot in the centre.
This simple technique creates a lovely floral appearance.
Classic French Tip Design
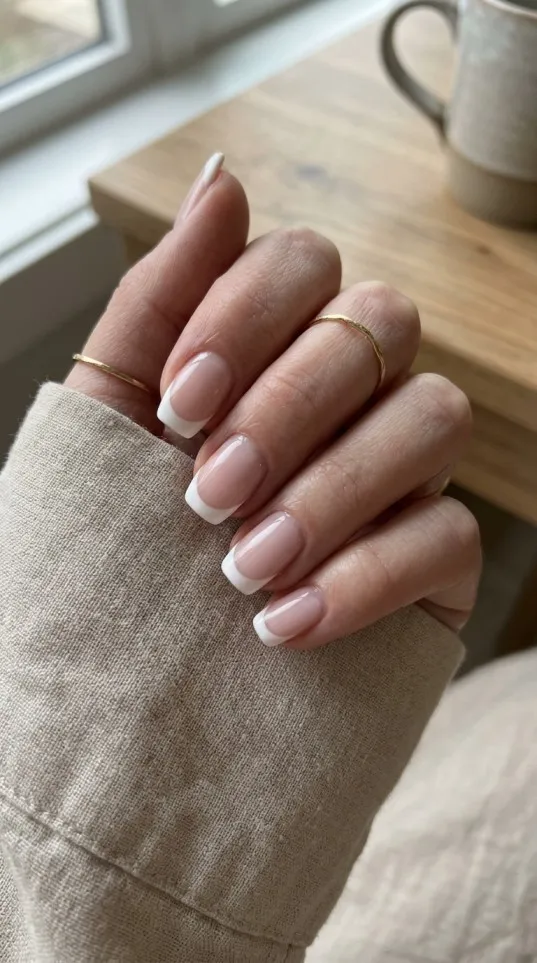
Apply a nude or pale pink base.
Once dry, use white nail polish to create a curved line across the tips of your nails.
Finish with a glossy top coat.
Polka Dot Nail Art
Choose two contrasting colours.
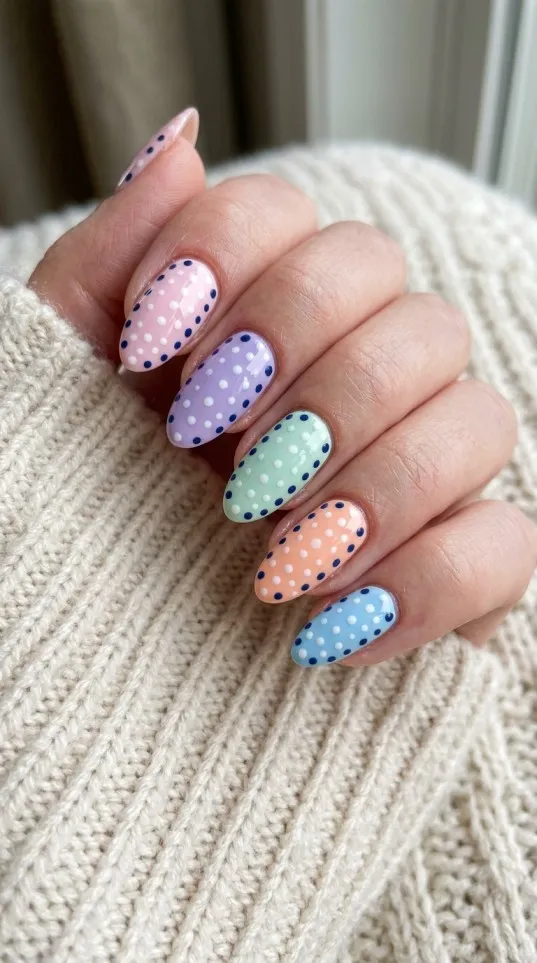
Paint your nails with the first shade and use a dotting tool to add small dots using the second shade.
You can create regular rows or arrange the dots randomly.
Glitter Accent Nails
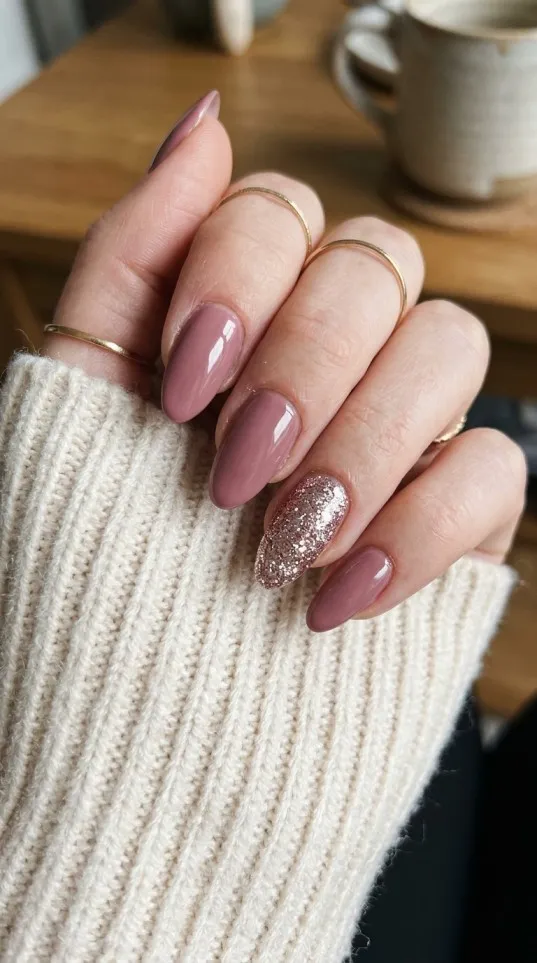
Apply your favourite colour to all your nails.
Choose one accent nail and add glitter polish for a sparkling finish.
This is an easy way to create a stylish manicure without using complicated tools.
Black and White Nail Art
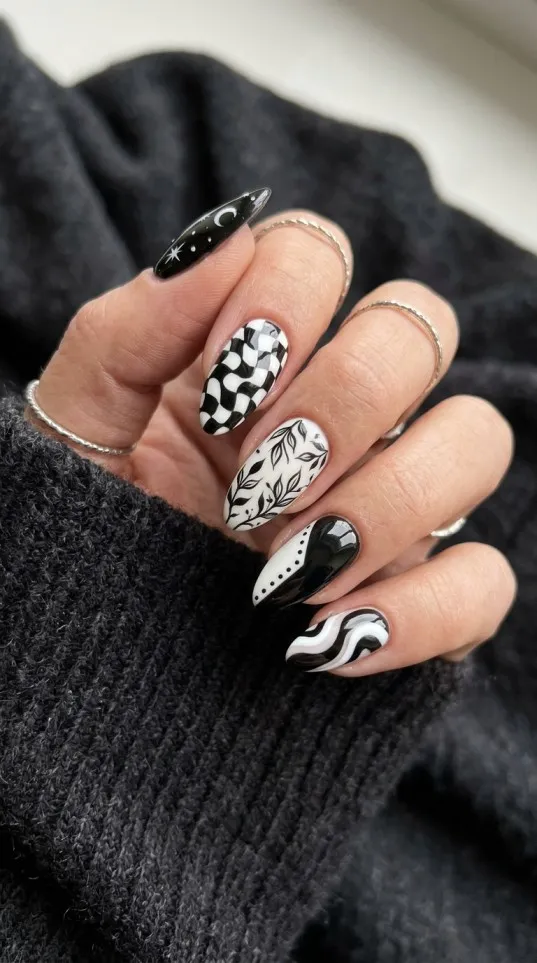
Black and white nail polish is one of the most useful combinations for creative designs.
You can create stripes, dots, checkerboard patterns, abstract lines and simple geometric artwork.
Common Mistakes to Avoid When Using Nail Polish for Nail Art
Even experienced nail enthusiasts sometimes struggle with nail polish application.
Fortunately, many common mistakes are easy to prevent.
Applying thick layers: Thick coats can take longer to dry and may create an uneven finish. Apply thin layers instead.
Using the wrong polish for stamping: Ordinary sheer nail polish may not transfer clearly. Choose a dedicated stamping formula for more reliable results.
Working on wet nails: Applying decorative patterns before the base colour dries can cause smudging.
Using old, damaged brushes: Poor-quality brushes can make detailed designs difficult. Clean your tools regularly and replace damaged ones.
Skipping the top coat: Without a suitable finishing layer, decorative designs may be more exposed to scratches and everyday wear.
Buying colours without checking their purpose: A beautiful colour does not automatically make a good stamping polish. Check the product description before purchasing.
How to Make Your Nail Art Last Longer
Creating a beautiful manicure is only half the job. You also want to keep it looking attractive for as long as possible.
Here are some practical tips:
- Start with clean, dry nails.
- Apply a suitable base coat.
- Avoid applying excessively thick polish layers.
- Allow each layer to dry properly.
- Seal your finished design with a compatible top coat.
- Wear protective gloves when doing household cleaning.
- Avoid using your nails as tools.
- Keep your hands and surrounding skin moisturised.
The lifespan of a manicure depends on the polish formula, nail preparation, application technique and everyday activities. Therefore, results can vary.
Nail Polish Safety and Care Tips
When buying and using nail polish, always pay attention to the manufacturer’s instructions.
Use nail products in a well-ventilated area and keep bottles away from children, flames and excessive heat.
Check the ingredient list if you have known sensitivities. Some nail products can cause irritation or allergic reactions.
If you experience itching, redness, swelling or other unusual skin symptoms, stop using the product and seek appropriate medical advice.
For additional information, read the UK Health and Safety Executive’s nail and beauty guidance.
Is Buying Nail Polish for Nail Art Worth It?
Absolutely, if you enjoy experimenting with colours and creating your own designs.
Investing in suitable nail polish can make your nail art experience easier, more enjoyable and more rewarding.
You do not need to purchase an expensive professional collection immediately. Instead, start with a few useful shades, a good base coat, a top coat and basic nail art tools.
If you enjoy stamping, consider investing in dedicated stamping polish and a quality stamping kit.
If you prefer hand-painted designs, choose regular nail lacquer with good pigmentation and a smooth consistency.
The most important thing is to select products that match your preferred nail art technique.
Final Thoughts
Finding the right nail polish for nail art can completely change the way you approach creative manicures.
Whether you enjoy simple floral patterns, elegant French tips, glitter decorations or detailed stamping designs, choosing suitable nail polish will help you achieve more attractive results.
For beginners, a small collection of versatile colours is a great starting point. For more detailed artwork, specialised stamping polish and quality nail art brushes can make a noticeable difference.
Before purchasing, compare product features, read customer reviews and consider the type of designs you want to create.
Explore the available options on Amazon UK and choose products that suit your budget and creative needs.
Remember, beautiful nail art is not about owning the most expensive products. It is about choosing the right tools, practising simple techniques and enjoying the creative process. With a little patience and the right nail polish for nail art, you can create beautiful manicures that express your individual style.
Frequently Asked Questions (FAQs)
The best nail polish depends on the design you want to create. Regular nail lacquer works well for simple hand-painted designs, while specialised stamping polish is better for transferring detailed patterns from stamping plates.
Yes. Regular nail polish is suitable for many nail art techniques, including dots, stripes, flowers, French tips and colour blocking. However, some specialised techniques require products with particular formulas.
Dedicated stamping polish is generally the best choice because it has a highly pigmented formula designed to transfer clear images from engraved stamping plates.
Beginners should start with black, white, red, pink, nude, blue and yellow. These versatile shades can be combined to create many attractive nail designs.
Yes. Gel polish can be used as a base colour for decorative nail art. Most gel products require a compatible UV or LED lamp for curing. Ordinary gel polish should not be assumed suitable for stamping.
Prepare your nails properly, use thin polish layers, choose good-quality brushes, allow each layer to dry and finish with a suitable top coat. Practising simple designs also helps improve accuracy.
Regular nail polish is designed primarily for coating nails, while stamping polish is generally thicker and more highly pigmented to help transfer detailed designs from stamping plates.
You can explore nail art polish, stamping colours and nail accessories on Amazon UK. Compare customer reviews, product descriptions, bottle sizes and seller information before ordering.
Not necessarily. Price alone does not determine performance. A reasonably priced polish with good pigmentation, smooth consistency and suitable application properties can produce excellent results.
You can start with five to seven versatile colours. Black, white, red, pink, nude and one or two favourite accent shades provide a useful foundation for experimenting with different designs.
Special nail art brushes are helpful but not essential for every design. You can start with a basic dotting tool and a fine detailing brush, then expand your collection as your skills improve.
Polka dots, simple flowers, glitter accent nails and basic French tips are excellent beginner designs. They require minimal equipment and are relatively easy to practise at home.