
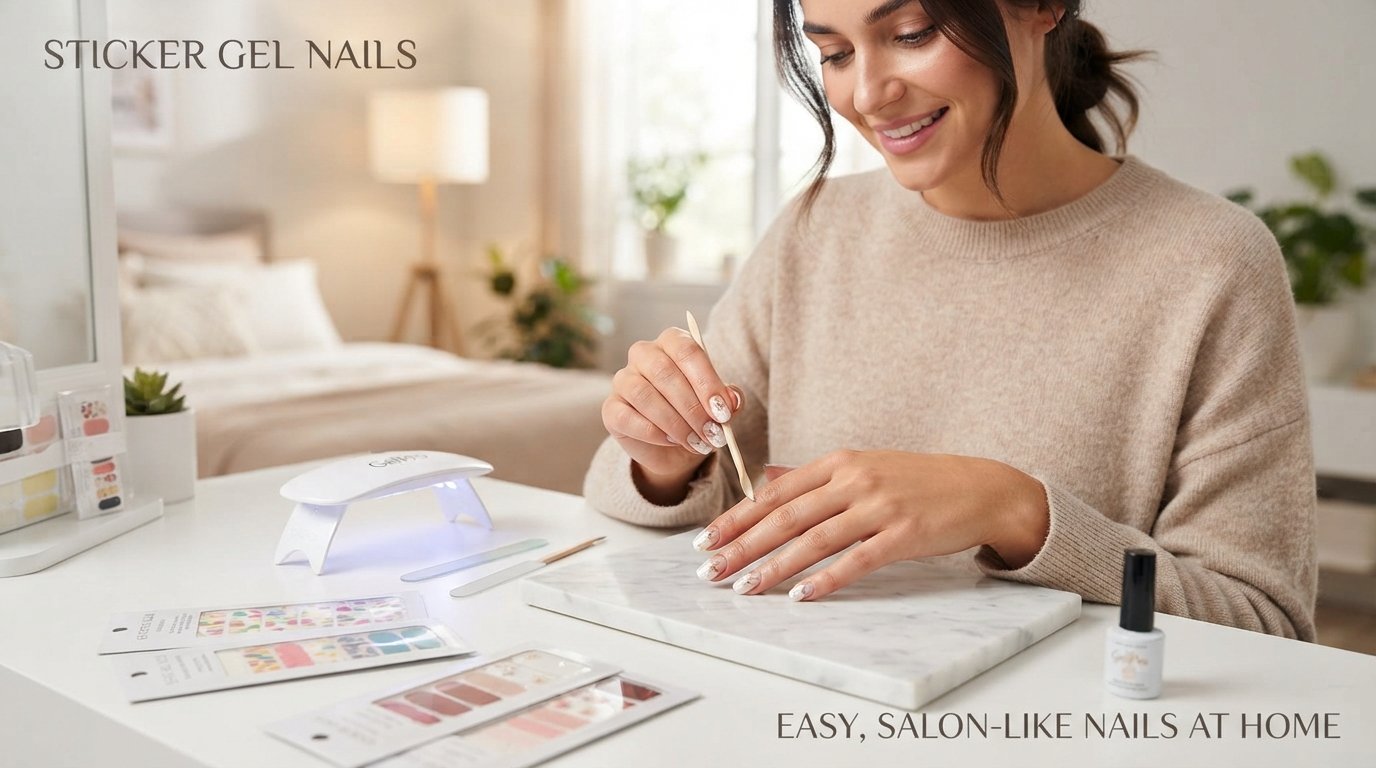
Sticker Gel Nails: A Complete Guide to Easy, Salon-Like Nails at Home
If you love the neat, glossy look of a gel manicure but do not always have the time or budget for a salon appointment, sticker gel nails can be a convenient option. They are designed to give your nails a polished, finished appearance without requiring you to paint each nail from scratch.
Depending on the product, sticker gel nails may refer to adhesive gel nail strips, semi-cured gel strips, or nail stickers that are placed over regular or gel polish. Some products are ready to wear, while others need to be cured under an LED lamp.
The biggest advantage is simplicity. Instead of spending a long time creating nail art with brushes and polish, you can choose a design, apply it to your nail, smooth it down, and finish the manicure. For example, Dashing Diva’s semi-cured gel strips recommend cleaning and drying the nails first, positioning the strip above the cuticle, pressing it firmly, then curing and filing the excess. (Dashing Diva)
In this guide, we will look at what sticker gel nails are, how they work, how to apply them step by step, how to make them last longer, how to remove them safely, and how to choose the right set for your nails.
What Are Sticker Gel Nails?
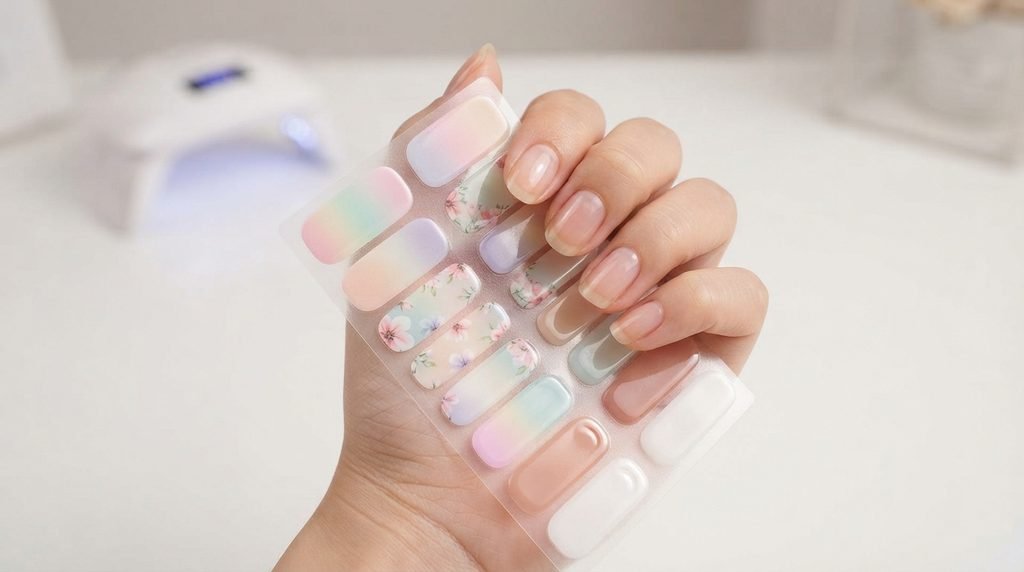
Sticker gel nails are nail products that use an adhesive backing or gel-based strip to cover the natural nail. Rather than applying several layers of liquid polish with a brush, you place the prepared strip directly onto the nail.
Some products are made from a flexible gel-like material, while semi-cured gel nail strips are partially cured and are finished under an LED or UV lamp after application.
This makes them different from traditional nail polish stickers that may simply be thin decorative decals.
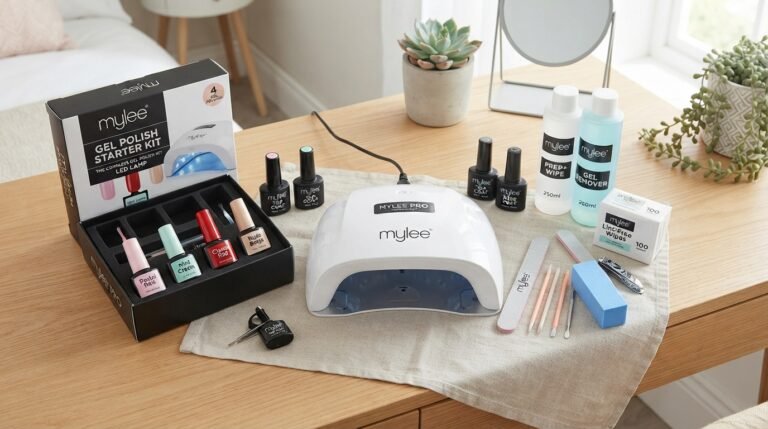
A typical sticker gel manicure may include:
- Adhesive gel nail strips
- Nail prep wipes
- A manicure stick
- A small nail file
- An LED lamp, if curing is required
- Different nail sizes and designs
The exact process depends on the brand, so always follow the instructions supplied with your particular product.
For instance, Dashing Diva’s Glaze system recommends selecting the closest strip size, placing it over the center of the nail, pressing it around the surface, trimming it, and curing it for 60 seconds. (Dashing Diva)
How Do Sticker Gel Nails Work?
The idea behind sticker gel nails is fairly simple.
The strip is designed to sit directly on your natural nail. Its adhesive layer creates contact with the nail surface, while the colored or decorated upper layer gives the manicure its finished appearance.
With semi-cured gel strips, the material is flexible enough to apply but is not completely hardened. After you position the strip correctly, an LED lamp can finish the curing process.
This can give you a smooth, glossy manicure without having to carefully paint several coats.
However, not every product works in exactly the same way.
Some gel nail stickers:
- Do not require a lamp
- Use a pressure-sensitive adhesive
- Can be removed with nail polish remover or a dedicated remover
Others:
- Require an LED lamp
- Need to be trimmed and filed
- Are designed to remain on the nail for several days or longer
That is why checking the product instructions before applying your set is important.
Sticker Gel Nails vs. Regular Gel Polish
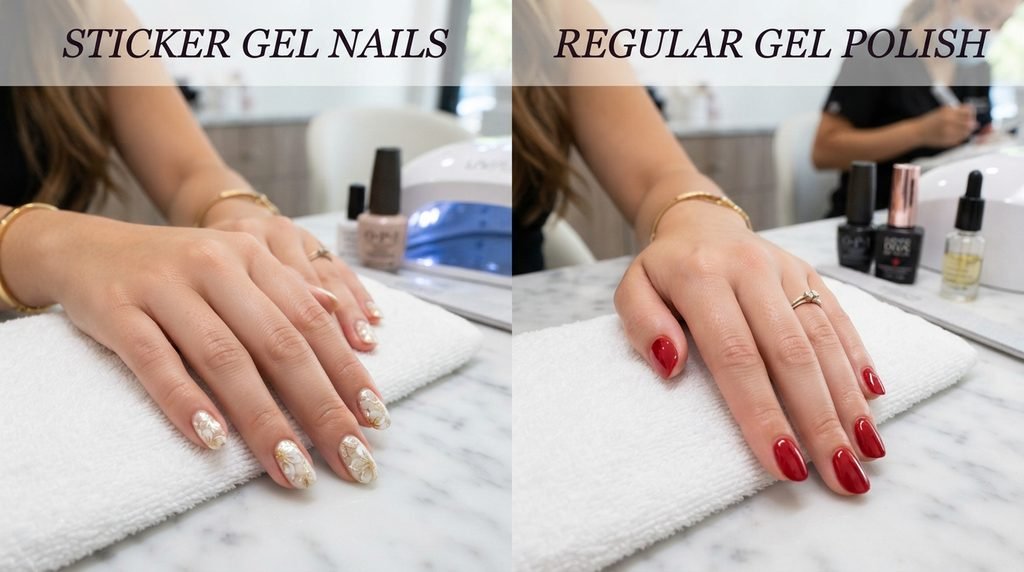
At first glance, sticker gel nails and regular gel polish can look very similar. The application process, however, is quite different.
Regular Gel Polish
With traditional gel polish, you generally need to:
- Prepare the nails
- Apply a base coat
- Apply gel color
- Cure the layer
- Apply another coat if necessary
- Cure again
- Apply top coat
- Cure again
This gives you a lot of control, but it also takes more time and practice.
Sticker Gel Nails
With gel nail stickers, much of the color and design is already prepared.
You generally:
- Prepare your nails
- Select the correct strip
- Apply it
- Smooth the edges
- Trim or file the excess
- Cure if required
So, if your main goal is a quick manicure at home, sticker gel nails can make the process much simpler.
Why Are Sticker Gel Nails So Popular?
One reason people enjoy sticker gel nails is convenience.
Imagine you have a dinner, birthday party, wedding, or weekend trip coming up. You want your nails to look polished, but you do not want to spend an hour carefully painting them.
You open your nail kit, choose your favorite design, and start applying.
That is the appeal.
1. They Are Beginner-Friendly
You do not need to be an expert at nail painting.
Because the color or design is already printed onto the strip, you do not have to worry about creating perfect lines with a polish brush.
2. They Offer Many Designs
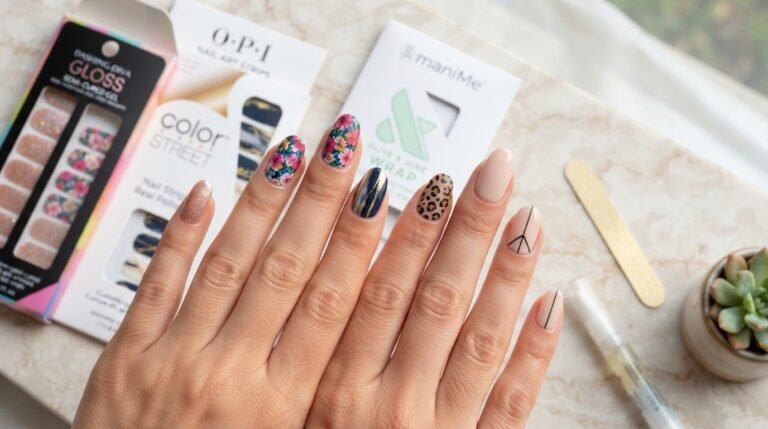
You can find gel nail stickers in many styles, including:
- French tips
- Nude designs
- Floral patterns
- Glitter
- Abstract art
- Chrome-style designs
- Hearts
- Stars
- Seasonal designs
- Minimal patterns
For example, Olive & June offers nail art sticker sets with floral, geometric, letter, sports, and other decorative designs. (Olive and June)
3. They Save Time
Instead of creating nail art from scratch, you are starting with a finished design.
4. They Are Convenient for Home Manicures
You can keep a few sets at home and use them when you want to refresh your manicure.
5. They Can Look Very Neat
The final result depends heavily on preparation and application. When the strip is positioned correctly and the edges are sealed properly, the manicure can look clean and professional.
How to Apply Sticker Gel Nails Step by Step
The application process is where the biggest difference can be made.
Even a good-quality sticker gel nail can lift early if the natural nail is oily, wet, or poorly prepared.
Here is a simple process to follow.
Step 1: Wash and Dry Your Hands
Start with clean hands.
Wash your hands and dry them thoroughly. Your nails should be free from visible dirt, lotion, and excess moisture.
Do not immediately apply hand cream or cuticle oil.
Why?
Because oils can interfere with the adhesive.
Dashing Diva specifically recommends making sure the nails are completely dry and free from oils and residue before application. (Dashing Diva)
Step 2: Shape Your Natural Nails
Use a nail file to create the shape you want.
You can choose:
- Square
- Squoval
- Round
- Oval
- Almond
Try to keep the nails relatively even.
If one nail is significantly longer than the others, the finished manicure may look less balanced.
Step 3: Gently Push Back the Cuticles
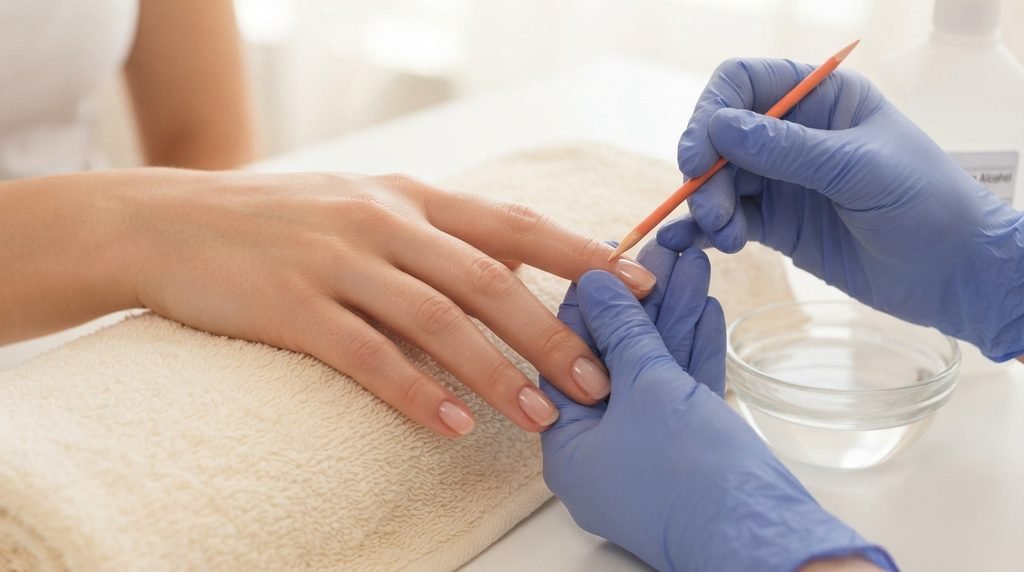
Use a manicure stick or cuticle pusher to gently push back the cuticle area.
Do not aggressively cut or damage the skin around the nail.
The goal is simply to create a clean surface where the gel nail sticker can sit.
Step 4: Clean the Nail Surface
This is one of the most important steps.
Use the prep wipe supplied with your product, or follow the manufacturer’s recommended preparation method.
The surface should be clean and free from:
- Oil
- Lotion
- Dust
- Moisture
- Nail polish residue
Think of it like preparing a wall before applying a sticker. A clean surface generally gives the adhesive a better chance to hold.
Step 5: Choose the Correct Sticker Size
Before removing the backing, compare the strip with your nail.
Choose a strip that fits the nail without touching the surrounding skin.
If you are between two sizes, choosing the slightly smaller option can help prevent the strip from overlapping onto the skin.
Dashing Diva also recommends sizing down when you are between sizes. (Dashing Diva)
Step 6: Remove the Sticker Carefully
Peel the strip from its backing carefully.
Try not to touch the adhesive side too much with your fingers.
Too much handling can transfer oil onto the adhesive.
Step 7: Place the Sticker on the Nail
Position the sticker gel nail near the cuticle area, but do not place it directly over the skin.
Start near the center and gently smooth it toward the sides.
Take your time here.
If the strip is crooked, carefully reposition it according to the product instructions before pressing it firmly.
Step 8: Press the Sticker Down
Use your finger or the included manicure stick to press the strip firmly onto the nail.
Pay special attention to:
- The center
- Side edges
- Cuticle area
- Free edge
Dashing Diva recommends pressing and smoothing the strip thoroughly, including around the cuticle area, to help seal the edges. (Dashing Diva)
This small step can make a big difference.
Step 9: Remove Excess Material
If the strip extends beyond the end of your nail, trim it according to the product instructions.
Some systems allow you to fold the excess underneath before filing it away.
Others recommend trimming first and then filing.
Follow the instructions for your specific gel nail stickers.
Step 10: Cure the Gel Strip If Required
If you are using semi-cured gel nail strips, place your nails under the recommended LED lamp.
For example, Dashing Diva’s Glaze instructions specify curing under its Mini LED Lamp for 60 seconds. (Dashing Diva)
Do not assume every brand requires the same curing time.
Always follow the instructions provided with the product.
Also keep unused semi-cured strips away from the lamp while curing, because exposure to LED light can cause them to harden prematurely. (Dashing Diva)
Step 11: File the Free Edge
Once the strip has been applied and cured as required, file the free edge.
Use smooth, controlled movements to create a clean finish.
The goal is to make the edge follow the shape of your natural nail.
How to Make Sticker Gel Nails Last Longer
Applying them correctly is only half the process.
Your daily habits also affect how long your sticker gel nails stay in place.
Keep Them Away From Water Immediately After Application
Try to avoid unnecessary water exposure immediately after application.
Dashing Diva advises avoiding lotions, oils, and water for at least an hour after application for its Glaze system. (Dashing Diva)
Other products may have different instructions, so follow your brand’s recommendations.
Avoid Picking at the Edges
If you notice a tiny lifted corner, it can be tempting to pull it.
Try not to.
Picking can make the lifting worse and may pull at the natural nail.
Instead, follow the manufacturer’s removal process.
Wear Gloves for Cleaning
Household cleaning products and repeated exposure to water can be hard on a manicure.
Wearing gloves while washing dishes or doing household cleaning can help reduce unnecessary exposure.
Be Careful With Your Nail Tips
Do not use your nails as tools to:
- Open cans
- Scratch labels
- Remove stickers
- Pry objects open
- Scrape surfaces
Your nails are not designed to replace a screwdriver or scraper.
Common Sticker Gel Nail Mistakes
Even beginners can avoid most problems by knowing what to watch for.
Mistake 1: Applying Over Oily Nails
If you apply gel nail stickers immediately after using hand cream or cuticle oil, the adhesive may not bond properly.
Fix:
Clean the nail surface and make sure it is completely dry.
Mistake 2: Putting the Sticker on the Skin
The sticker should sit on the nail, not on the surrounding skin.
When adhesive overlaps onto skin, the edge may lift more easily.
Mistake 3: Choosing a Sticker That Is Too Large
A large strip may touch the cuticle or sidewall.
Instead, select the closest nail size and avoid covering the surrounding skin.
Mistake 4: Not Pressing the Edges
A beautiful design does not matter much if the edges are loose.
Spend extra time pressing around the perimeter.
Mistake 5: Curing Incorrectly
If your product requires curing, use the recommended lamp and curing time.
Do not randomly increase or decrease the curing time.
Mistake 6: Removing Them by Force
This is one of the most important mistakes to avoid.
Do not simply rip or peel off a stubborn gel product.
Improper removal can damage the natural nail. Essie specifically warns against picking or ripping gel because it can contribute to peeling and nail damage. (Essie)
How to Remove Sticker Gel Nails Safely
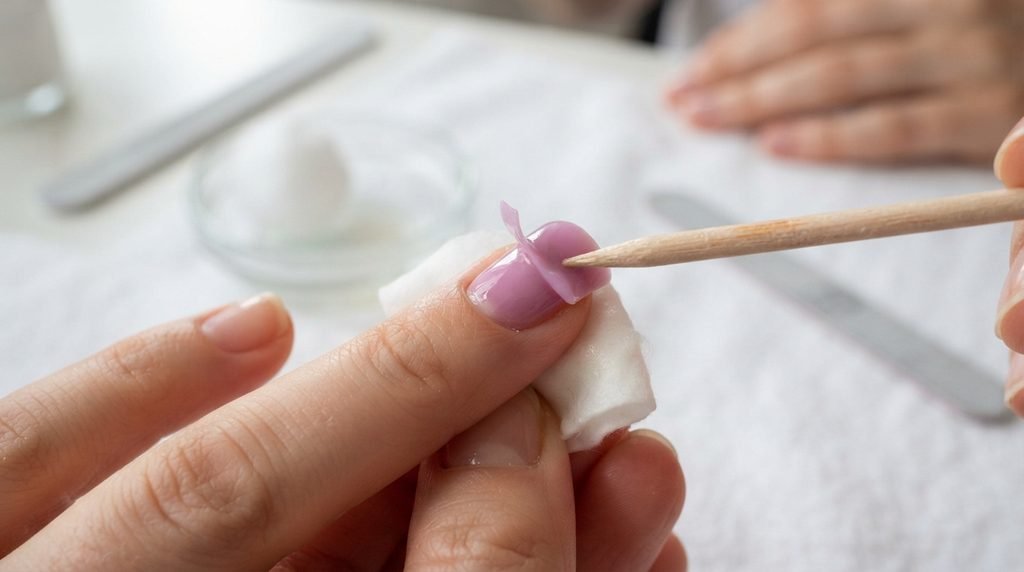
Removal depends on the type of sticker gel nails you purchased.
Some adhesive strips can be loosened with cuticle oil or a dedicated remover.
For example, Dashing Diva recommends applying remover around the base, allowing the adhesive to loosen, and gently lifting the strip rather than forcing it. (Dashing Diva)
General Removal Method
- Apply the recommended remover or oil around the edge.
- Allow it time to loosen the adhesive.
- Gently lift one corner.
- Add more remover if you feel resistance.
- Slowly work the strip toward the tip.
- Clean any remaining residue.
- Wash your hands.
- Moisturize your hands and nails afterward.
The most important rule is simple: if it does not want to come off, do not force it.
Different products use different adhesive systems, so the manufacturer’s removal instructions should always take priority.
Are Sticker Gel Nails Safe for Natural Nails?
For many people, sticker gel nails can be a convenient manicure option when they are applied and removed according to the product instructions.
However, the application and removal process matters.
The natural nail can become dry or damaged when products are repeatedly picked, scraped, filed too aggressively, or removed incorrectly.
After removal, giving your nails some basic care can help them feel comfortable again.
Use:
- Hand moisturizer
- Cuticle oil
- Gentle nail care
- Proper removal techniques
Essie notes that nail products and removers can temporarily make nails appear dry, and recommends rehydrating with cuticle oil after removal. (Essie)
If you have an existing nail problem, irritation, or an unusual reaction to an adhesive or nail product, stop using the product and consider speaking with a qualified healthcare professional.
How to Choose the Right Sticker Gel Nails
Not every set will suit every person.
Before buying, consider the following.
1. Application Method
First, decide whether you want:
- No-lamp nail stickers
- Semi-cured gel strips
- Decorative nail art stickers
If you do not want to use a lamp, choose a product specifically designed for no-lamp application.
If you want a semi-cured gel system, check whether the required LED lamp is included or sold separately.
2. Nail Shape
Look for designs and strips that suit your natural nail shape.
If you have short nails, short-friendly designs may be easier to apply than very long styles.
3. Size Range
A good set should provide enough sizes to accommodate your nails.
If the strips are consistently too wide or narrow, you may spend more time adjusting them.
4. Design
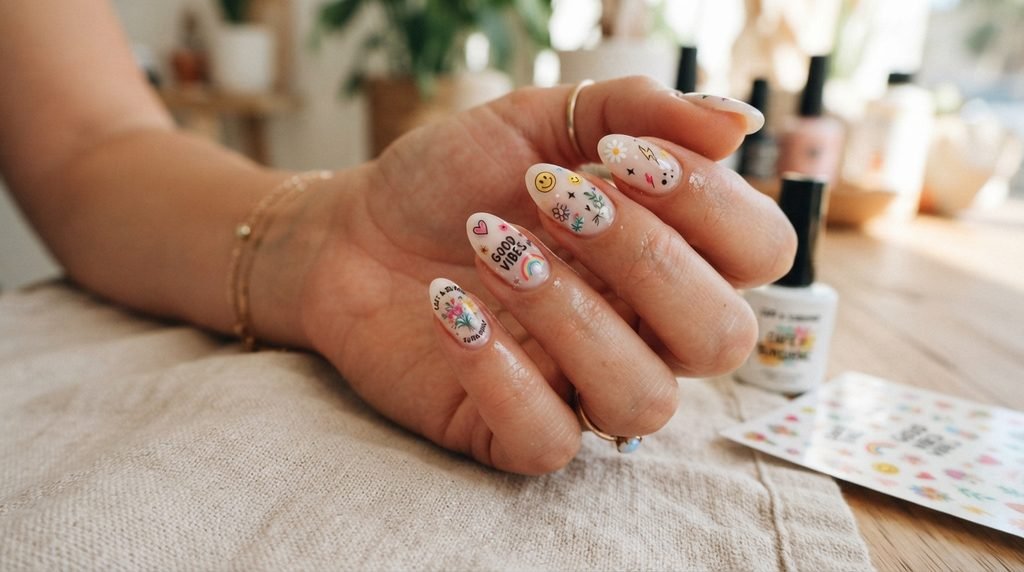
Choose a design that matches how you normally dress.
For everyday use, you might prefer:
- Nude
- Pink
- White
- French
- Simple floral
- Minimal geometric patterns
For events, you might prefer:
- Glitter
- Metallic accents
- Bold colors
- Decorative patterns
- Seasonal designs
Nail art stickers are available in a wide range of designs, including floral and geometric styles. (Olive and June)
5. Removal Method
This is something many buyers forget.
Before purchasing sticker gel nails, check how they are removed.
A convenient application is great, but easy and gentle removal is equally important.
Sticker Gel Nails for Different Occasions
One of the fun parts of using gel nail stickers is changing your manicure according to the occasion.
Everyday Work Look
Try:
- Soft pink
- Nude
- Beige
- Simple French tips
- Small geometric designs
Date Night
Try:
- Deep red
- Pink
- Glitter accents
- Heart designs
Wedding Guest Nails
Try:
- Sheer pink
- White
- Soft floral
- Subtle shimmer
Holiday Nails
You can choose designs around:
- Christmas
- Halloween
- Valentine’s Day
- New Year
- Summer
- Spring
Because the designs are already prepared, changing your look can be much easier than creating detailed nail art yourself.
Can You Use Nail Stickers Over Gel Polish?
Yes, decorative nail stickers can be used over many manicure styles, including gel polish, depending on the sticker and polish system.
For example, nail art stickers can be used to add designs to an existing manicure. Olive & June describes its stickers as suitable for adding decorative details, mixing designs, or creating an accent nail. (Olive and June)
However, do not confuse decorative stickers with semi-cured gel strips.
They are different products and may require different application and removal methods.
Sticker Gel Nails vs. Nail Art Stickers
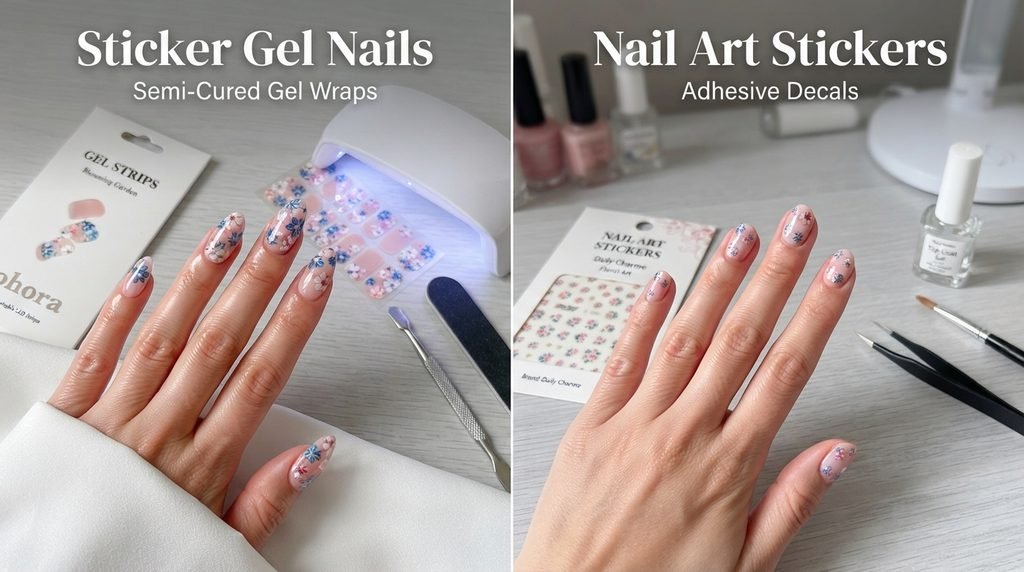
These terms are sometimes used interchangeably online, but they can mean different things.
Sticker Gel Nails
Usually refers to a product designed to cover most or all of the nail and create a complete manicure.
Nail Art Stickers
Usually refers to small decorative designs placed on top of another manicure.
For example, a small flower, star, letter, or geometric shape can be used as an accent.
Olive & June’s nail art collections include individual decorative designs intended to be mixed and matched on manicures. (Olive and June)
Understanding this difference makes shopping easier.
Are Sticker Gel Nails Worth Buying?
For someone who wants a convenient at-home manicure, sticker gel nails can be a practical choice.
They are particularly useful if you:
- Enjoy changing nail designs
- Do not have much time for traditional nail art
- Prefer doing your nails at home
- Want an easy alternative to painting detailed designs
- Like having different manicure styles available
- Want a beginner-friendly application method
The important thing is to choose a product that matches your needs.
If you want a no-lamp manicure, choose a product specifically made for that purpose.
If you want the appearance and application process of semi-cured gel strips, choose a product designed for LED curing.
And if you simply want small decorations, regular nail art stickers may be enough.
Tips for Getting a Salon-Like Finish at Home
You do not need complicated equipment to make your manicure look polished.
Focus on the basics:
Keep the Nails Clean
A clean nail surface helps the adhesive perform properly.
Take Your Time
Do not rush the positioning process.
Avoid the Skin
Keep the strip on the nail plate rather than the surrounding skin.
Press the Edges
Pay attention to the sides and cuticle area.
File Carefully
A neat free edge makes the manicure look much more finished.
Follow the Product Instructions
Different brands use different materials and adhesives, so the instructions that come with your product are more important than a generic tutorial.
Final Thoughts on Sticker Gel Nails
Sticker gel nails have made at-home manicures much more approachable. Instead of spending a long time painting, curing, and creating nail art from scratch, you can start with a ready-made design and focus on getting the application right.
The key is preparation.
Clean and dry your nails, select the correct size, keep the strip away from your skin, press the edges firmly, and cure the product only if the instructions require it.
Just as importantly, do not rush the removal process. If a gel nail sticker does not lift easily, use the recommended remover and give the adhesive time to loosen rather than pulling it away.
When you choose the right product and apply it carefully, sticker gel nails can be an easy way to enjoy neat, stylish nails from home.
Whether you prefer simple nude nails, French tips, floral designs, glitter, or bold seasonal artwork, there is a style to suit almost every manicure mood.
The result? A polished manicure without turning your home into a full nail salon.
One Comment