Mylee Gel Nail Kit: A Complete Guide for Salon-Quality Nails at Home
If you love having neat, glossy nails but do not want to visit a nail salon every few weeks, a mylee gel nail kit can be a convenient option. Instead of buying a lamp, base coat, top coat, gel polish, and nail preparation tools separately, a complete kit brings many of these essentials together.
Mylee has several gel nail kits designed for different needs. There are smaller kits for beginners and travel, as well as larger kits with more colours and nail art accessories. The current range includes The Mini Kit, The Main Kit, and The Massive Kit, so you can choose according to how much equipment and polish variety you actually need.
The idea is simple: prepare your nails, apply the base coat, add your chosen gel colour, cure it under an LED lamp, and finish with a top coat. When the steps are followed properly, Mylee says its gel manicure can last up to three weeks.
But is a Mylee gel nail kit suitable for you? What comes inside it? How do you use it? And what should you know before buying one?
Let’s look at everything step by step.
What Is a Mylee Gel Nail Kit?
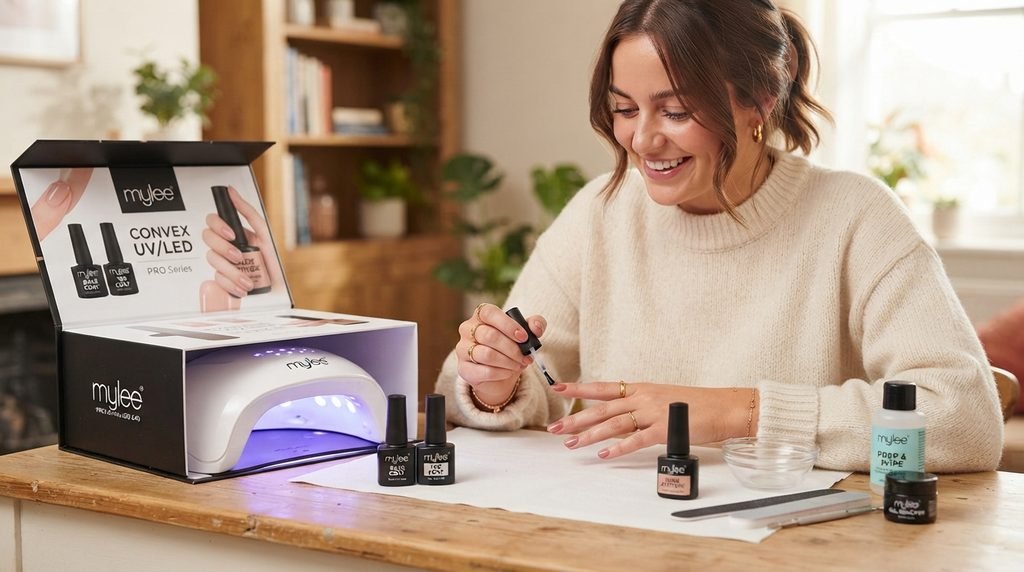
A Mylee gel nail kit is a home manicure system designed to help you create a gel manicure without needing to purchase every product separately.
Depending on the kit you choose, it can include:
- An LED nail lamp
- Gel polish
- Base coat
- No-wipe top coat
- Builder gel
- Nail files
- Nail preparation products
- Cuticle tools
- Lint-free wipes
- Gel remover
- Nail art tools
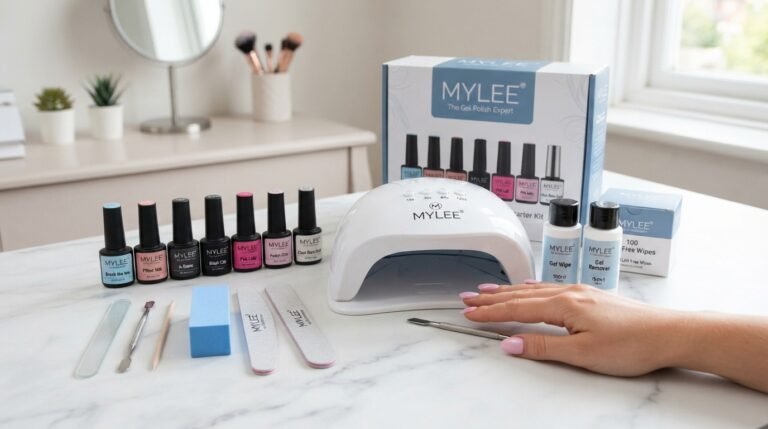
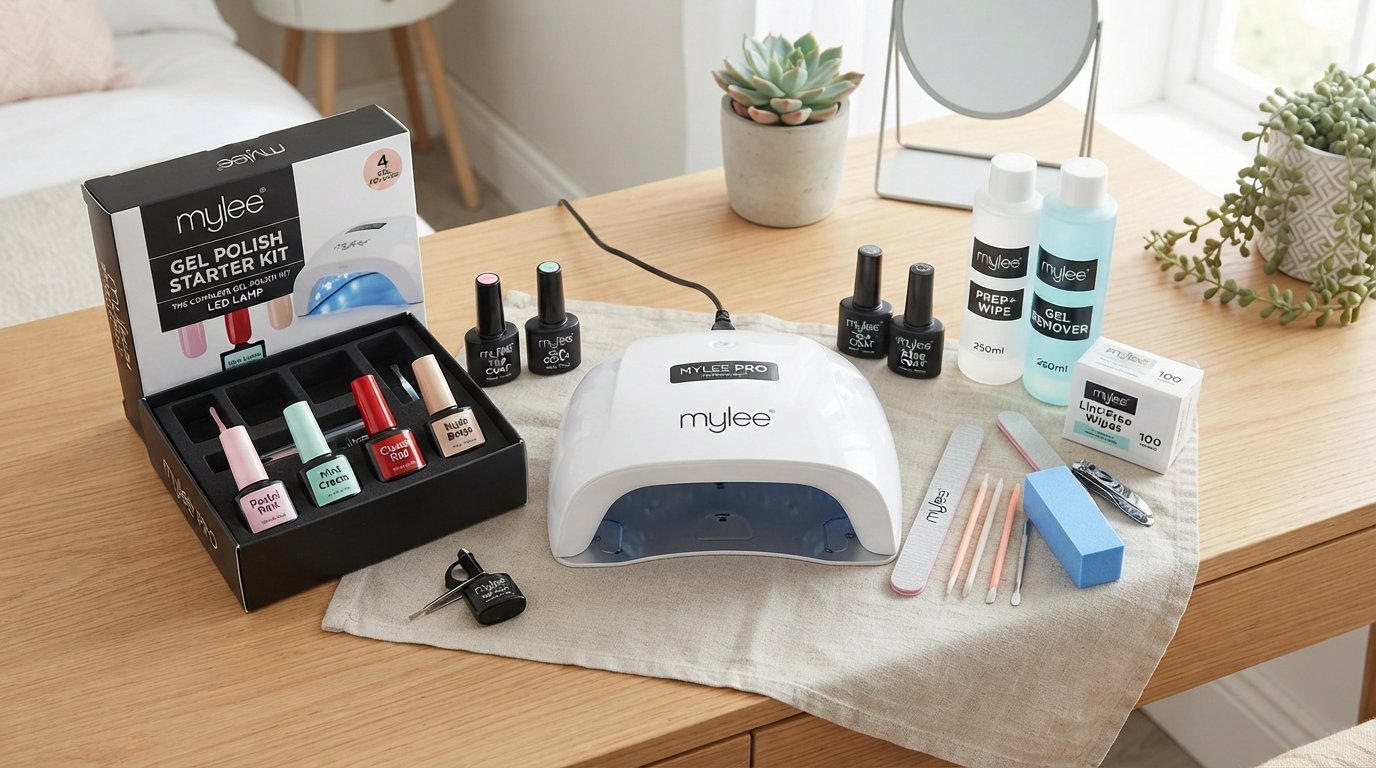
For example, Mylee The Main Kit currently includes a Grande LED Lamp, base coat, no-wipe top coat, clear 5-in-1 builder gel, Prep & Wipe, a cuticle pusher, nail buffer, files, lint-free wipes, and four gel polish shades.
You can check the current contents directly on the official Mylee Main Kit page.
This makes a gel nail starter kit particularly useful if you are starting from scratch.
Why Choose a Mylee Gel Nail Kit?
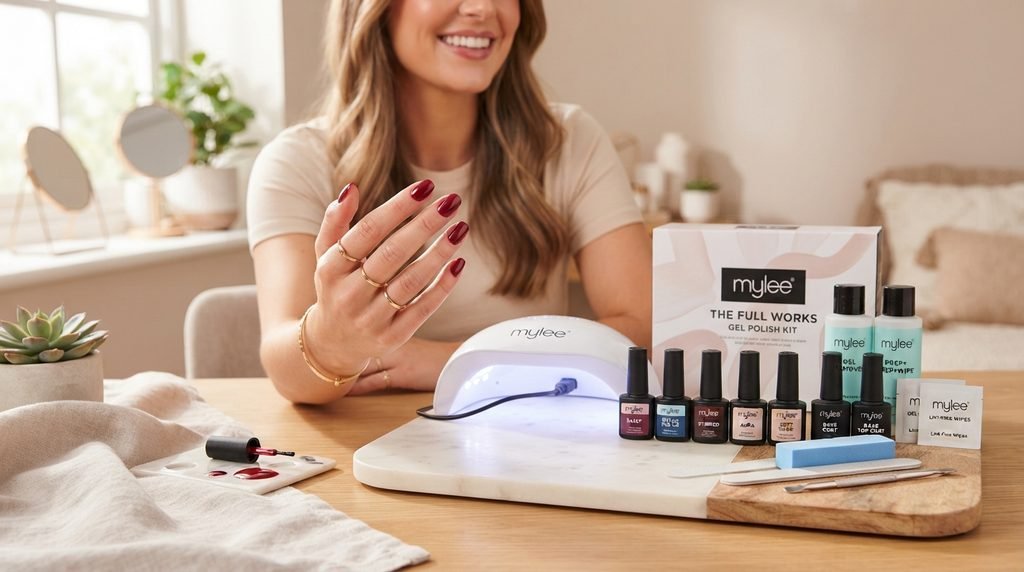
One of the biggest advantages of a complete Mylee nail kit is convenience.
Imagine buying everything separately. You would need to choose a suitable lamp, find a base coat, select a top coat, buy colours, get nail files, purchase preparation products, and then work out what you need for removal.
It can quickly become confusing.
A kit simplifies that process.
Mylee’s current kits are designed around the same basic manicure routine: prep, base, colour, and finish.
That means beginners do not have to spend hours trying to work out which products are compatible.
Another benefit is that you can use the same LED nail lamp for curing your gel layers. The Grande Lamp included with the larger kits has a five-finger curing design and multiple timer settings.
For someone who wants to do their nails regularly at home, having everything organised in one system can make the whole process easier.
What Comes in the Mylee Main Kit?
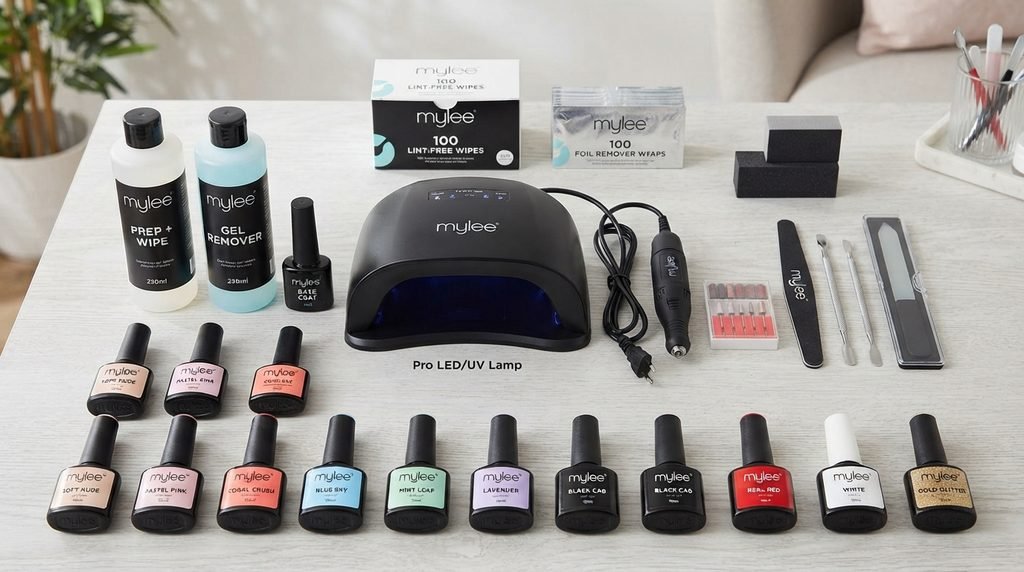
If you are searching for a mylee gel nail kit for beginners, The Main Kit is worth looking at because it sits between the smaller Mini Kit and the larger Massive Kit.
The current Main Kit includes four full-size gel polish colours and a Grande LED Lamp. It also includes the basic products needed for preparation, application, curing, and finishing.
Here is a closer look.
1. Mylee Grande LED Lamp
The LED lamp is one of the most important parts of a gel nail kit.
Unlike regular nail polish, gel polish needs to be cured under a suitable lamp. Mylee states that its Grande LED Lamp cures gel polish in 60 seconds.
The lamp also has different timer options, making it easier to control curing times.
2. Base Coat
The gel base coat is applied before your colour.
It creates the first layer of the manicure and helps prepare the surface for the colour coat.
The important thing here is to avoid applying a thick layer. A thin, even application is much easier to cure correctly.
3. Gel Polish Colours
The Main Kit includes four gel polish shades. Mylee currently lists shades such as French Cancan, Peony, Peach Perfect, and Disco Ball for this kit, although available colour options can change.
This gives you a few different looks without needing to purchase several individual bottles immediately.
You can also expand your collection later by buying additional Mylee gel polish colours.
4. No-Wipe Top Coat
The no-wipe top coat is the final gel layer.
It helps create the glossy finish that many people associate with a professional gel manicure.
Because it is a no-wipe formula, you do not have to wipe away a sticky residue after curing in the same way you might with some other gel systems.
5. 5-in-1 Builder Gel
The Main Kit also includes a clear 5-in-1 builder gel.
Builder gel can be useful when you want additional structure, strength, or length. However, beginners should take their time learning how much product they actually need.
More product does not automatically mean stronger nails.
6. Nail Preparation Tools
Good preparation can make a noticeable difference to your manicure.
The Main Kit includes products such as Prep & Wipe, a nail buffer, cuticle pusher, nail files, and lint-free wipes.
These products help you prepare the nail before applying gel.
Mylee Mini Kit vs Main Kit vs Massive Kit
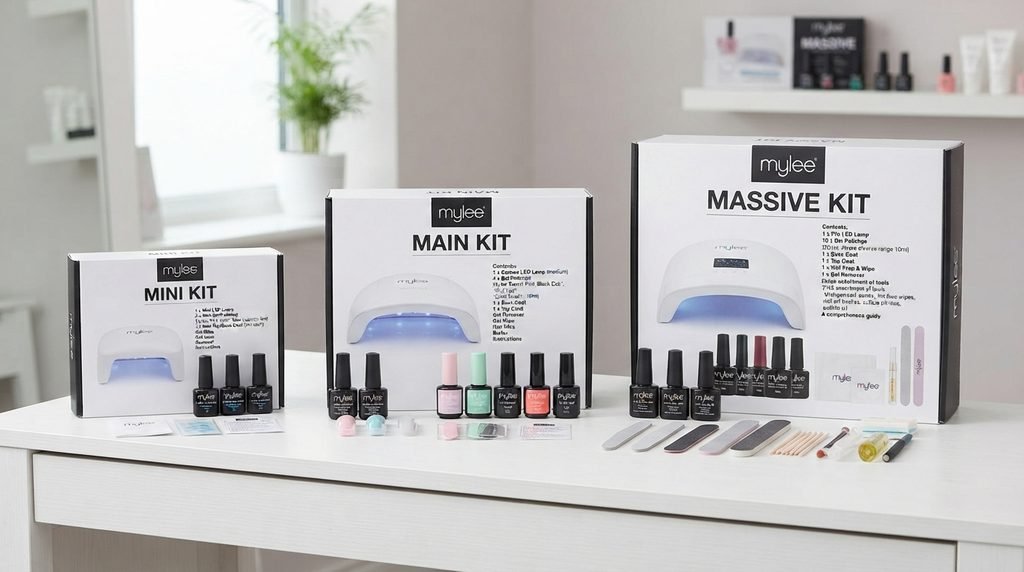
Mylee currently offers three main kit sizes, so it helps to understand the differences before buying.
| Feature | Mini Kit | Main Kit | Massive Kit |
|---|---|---|---|
| Lamp | Petite LED Lamp | Grande LED Lamp | Grande LED Lamp |
| Colour selection | 3 mini colours | 4 full-size colours | 8 full-size colours |
| Base Coat | Yes | Yes | Yes |
| Top Coat | Yes | Yes | Yes |
| Builder Gel | Yes | Yes | Yes |
| Nail preparation | Basic | More complete | Extensive |
| Nail art tools | Limited | Some | More extensive |
| Removal products | Basic | Included | More complete |
The Mini Kit is designed as a more compact entry-level option and includes a travel-friendly Petite LED Lamp and three mini colour shades.
The Main Kit adds four full-size colours and the larger Grande Lamp, making it a more comprehensive home manicure setup.
The Massive Kit is aimed at people who want more colour choices and additional nail art and removal accessories. It currently includes eight full-size colours along with a larger selection of tools.
So, rather than automatically choosing the biggest kit, think about how often you do your nails and how much variety you actually want.
How to Use a Mylee Gel Nail Kit Step by Step
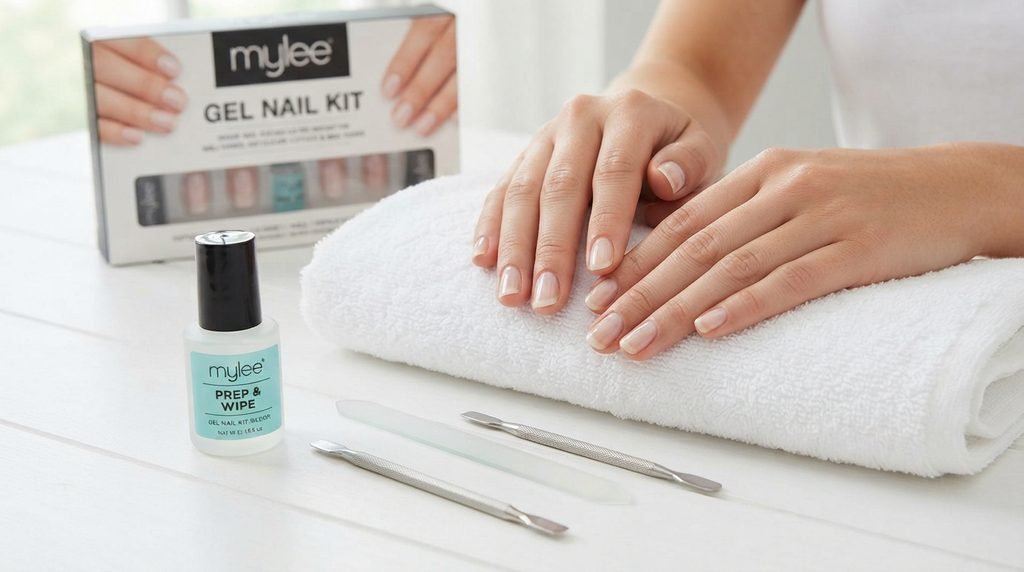
Using a Mylee gel nail kit becomes much easier once you understand the correct order.
Here is a simple routine.
Step 1: Prepare Your Nails
Start with clean, dry nails.
Remove any old nail polish and gently shape your nails using a nail file.
Next, carefully push back the cuticles using the appropriate cuticle tool.
You can lightly buff the nail surface if required by the product instructions. The goal is to prepare the nail without aggressively filing it.
Mylee’s own application guide starts with filing, buffing, degreasing, and cleansing the nails using Prep & Wipe.
Step 2: Clean the Nail Surface
Use the supplied Prep & Wipe according to the product instructions.
This step removes surface residue and helps prepare the nail for the gel application.
Do not rush this part.
I have found that many home manicure problems begin before the polish is even applied. If the nail is not properly prepared, the final result can suffer even when the gel polish itself is good.
Step 3: Apply Base Coat
Apply a thin layer of Mylee base coat.
Try not to flood the cuticle area.
If gel touches the surrounding skin, clean it carefully before curing according to the manufacturer’s instructions.
Then cure the base coat under the LED lamp.
Mylee’s current guide recommends curing the base layer for 60 seconds using the appropriate lamp.
Step 4: Apply Your Gel Colour
Now comes the fun part.
Choose your favourite Mylee gel polish colour and apply a thin layer.
Do not worry if the first coat looks slightly transparent. Gel manicures are normally built up gradually.
Cure the layer according to the manufacturer’s instructions.
Then apply another thin coat if needed and cure again.
Building the colour with thin layers is generally easier than trying to create full coverage with one thick layer.
Step 5: Apply Top Coat
Once you are happy with the colour, apply the Mylee no-wipe top coat.
Make sure you cover the nail evenly and avoid flooding the cuticle.
Cure the top coat according to the manufacturer’s instructions.
Mylee’s current four-step guide recommends a 60-second cure for its top coat with the Pro LED Lamp.
Step 6: Finish and Moisturise
After curing, wash your hands if appropriate and apply cuticle oil and hand moisturiser.
This small step can make your finished manicure look more polished while helping keep the surrounding skin comfortable.
Mylee also includes aftercare guidance as part of its manicure routine.
How Long Does Mylee Gel Polish Last?
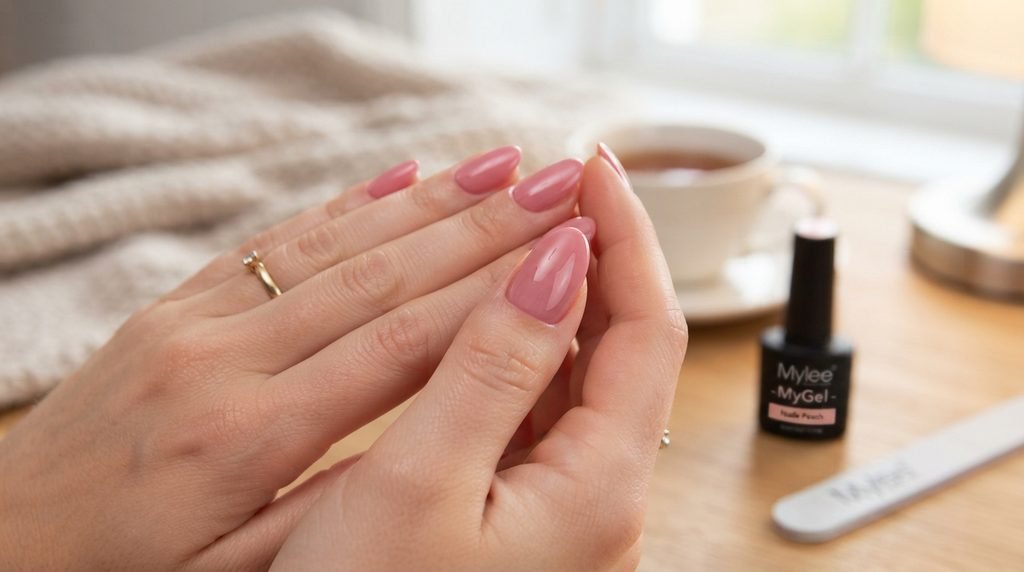
One of the main reasons people choose a gel nail kit instead of traditional nail polish is longevity.
Mylee states that its gel manicures can last up to three weeks when applied correctly.
However, the exact wear time can vary.
Factors include:
- Nail preparation
- Application technique
- Nail growth
- Everyday activities
- Exposure to water and chemicals
- How carefully the gel is removed
- The condition of your natural nails
For example, if you frequently wash dishes without gloves or use your nails to open packages, your manicure may not last as long.
That is normal.
The three-week figure should therefore be viewed as a manufacturer’s stated maximum-style claim rather than a guarantee that every manicure will last exactly 21 days.
Can Beginners Use a Mylee Gel Nail Kit?
Yes, the kits are designed for home users as well as people with more nail experience.
Mylee specifically describes its Main Kit as suitable for both nail professionals and beginners.
Still, there is a learning curve.
Your first manicure may not look like something from a professional salon.
You might apply too much gel. You might struggle to keep the polish away from the cuticle. You may need practice getting an even shape.
That is completely normal.
The good news is that the basic process is repetitive:
Prep → Base → Cure → Colour → Cure → Top Coat → Cure
After a few attempts, the routine becomes much more familiar.
Mylee Builder Gel: Is It Useful?
If you want more than just colour, the Mylee 5-in-1 Builder Gel can be an interesting addition.
Builder gel is designed for creating additional structure and can be used for strengthening or extending nails, depending on the product and technique.
The Main and Massive Kits include clear 5-in-1 builder gel.
However, beginners should learn the basic gel manicure first.
Once you are comfortable with prep, base coat, curing, and colour application, you can start exploring builder gel techniques.
How to Remove Mylee Gel Polish
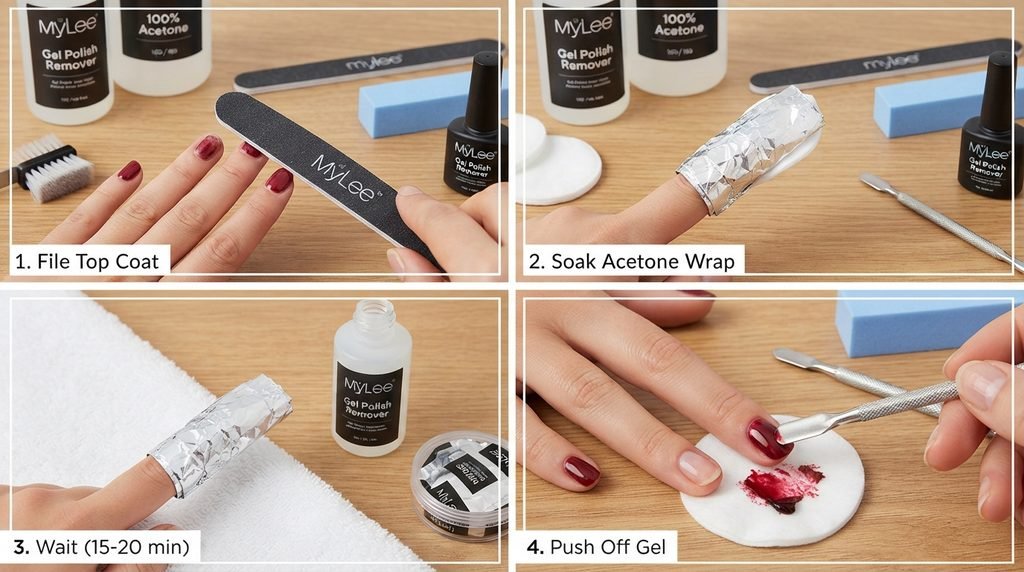
Removal is just as important as application.
Never simply peel or pick gel polish away from the natural nail.
Doing this can remove layers from the nail surface and leave the nails feeling weak or rough.
Mylee’s larger kits include gel removal products and tools. The Massive Kit, for example, includes gel remover, soak-off clips, and a gel scraper.
A basic removal process generally involves softening the gel with an appropriate remover and then gently removing the softened product.
Always follow the specific removal instructions supplied with your Mylee products.
If the gel does not lift easily, do not force it.
Mylee Gel Nail Kit Safety Tips
Although doing your nails at home can be convenient, gel products should be handled carefully.
Mylee’s product information warns that gel polish can cause serious eye irritation and may cause skin irritation or an allergic skin reaction.
For that reason:
- Keep gel products away from your eyes.
- Avoid getting uncured gel on your skin.
- Clean accidental skin contact before curing.
- Follow the manufacturer’s curing instructions.
- Use products as directed.
- Keep gel products away from direct sunlight.
- Do not pick or peel cured gel from the natural nail.
- Stop using a product if you experience an unusual reaction.
Mylee currently describes its listed gel polishes as compliant with applicable UK and EU safety regulations, but that does not mean every individual is guaranteed to tolerate every cosmetic product.
Is the Mylee Gel Nail Kit Worth It?
Whether a Mylee gel nail kit is worth buying depends mainly on how often you want to do gel nails.
If you only want a gel manicure once or twice a year, buying a complete kit may not make much sense.
However, if you regularly book gel manicures, a home kit can become much more useful.
You get the lamp, gel products, and preparation tools in one system, and you can reuse the equipment for future manicures.
For example, someone who normally visits a salon every few weeks may appreciate having the option to do a quick manicure at home instead.
There is also the creative side.
Once you have the basic equipment, you can experiment with:
- French manicures
- Nude nails
- Glitter nails
- Simple nail art
- Ombre-style designs
- Seasonal colours
- Builder gel overlays
- Short natural-looking manicures
The larger kits are particularly useful if you enjoy changing colours frequently because the Massive Kit includes eight full-size shades.
Which Mylee Gel Nail Kit Should You Choose?
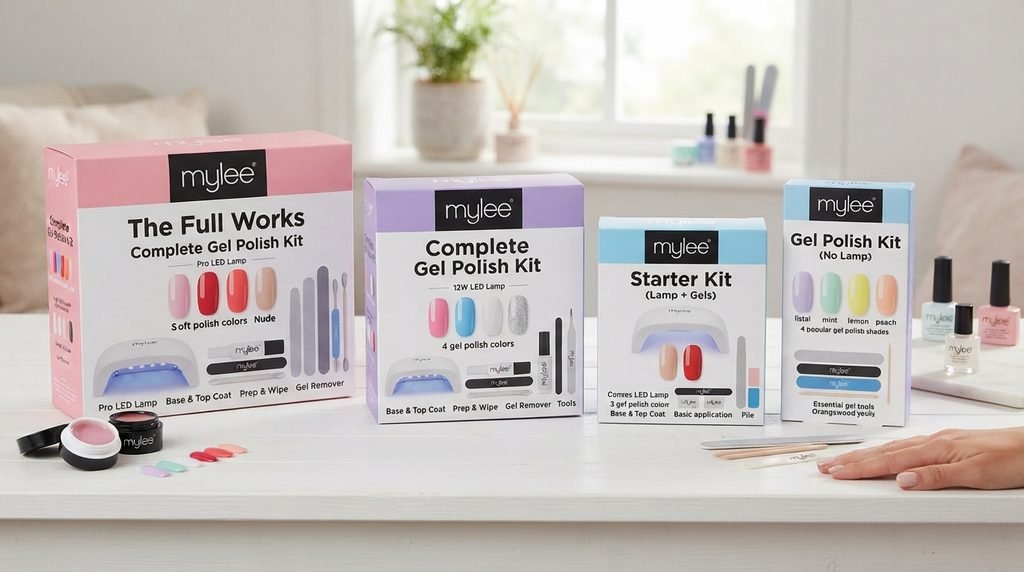
The answer depends on your needs.
Choose the Mini Kit If:
You are completely new to gel nails, want something compact, or prefer a smaller collection of colours.
The Mini Kit includes a Petite LED Lamp and three mini gel polish shades.
Choose the Main Kit If:
You want a more complete home setup without going straight for the largest kit.
The Main Kit provides the Grande LED Lamp, four full-size colours, base and top coats, builder gel, and a useful collection of preparation tools.
Choose the Massive Kit If:
You love having plenty of colour choices and want additional nail art and removal accessories.
The Massive Kit currently includes eight full-size colours and a broader collection of manicure and nail art tools.
You can compare the current options on Mylee’s official kit comparison page.
Tips for Getting Better Results With Your Mylee Kit
Your equipment is only part of the final result. Technique matters too.
Keep Your Layers Thin
Thick gel layers can create an uneven finish and may affect curing.
Thin, controlled layers are easier to manage.
Take Your Time With Prep
Do not rush the preparation stage.
Clean, well-prepared nails give you a better starting point.
Avoid the Cuticle
Try to leave a tiny amount of space around the cuticle instead of flooding the skin with gel.
Cure Every Layer Properly
Follow the manufacturer’s recommended curing instructions.
Do not assume that leaving the lamp on for longer or shorter will automatically produce a better result.
Do Not Pick Your Gel Off
If your manicure starts lifting, resist the temptation to peel it away.
Use the proper removal process instead.
Look After Your Nails Between Manicures
Give your nails and surrounding skin proper care.
Using cuticle oil and hand moisturiser can help keep your manicure area looking neat and cared for.
Final Thoughts on the Mylee Gel Nail Kit
A mylee gel nail kit can make home gel manicures much simpler because many of the essential products are packaged together.
Instead of starting with a lamp from one brand, gel polish from another, and preparation products from somewhere else, you can build your manicure routine around one system.
The range also gives you choices.
The Mini Kit is compact and beginner-friendly, the Main Kit provides a more complete home setup, while the Massive Kit gives you more colours and additional tools.
Mylee states that its gel manicures can last up to three weeks, and its larger kits include an LED lamp designed to cure gel polish efficiently.
Most importantly, the kit does not require you to become an expert overnight.
Start with simple colours.
Learn the preparation process.
Practice applying thin layers.
Get comfortable with curing.
Then, once you have mastered the basics, experiment with builder gel and nail art.
For anyone who enjoys doing their own nails and wants the convenience of a complete at-home gel manicure kit, exploring the current Mylee gel nail kits can be a practical next step.