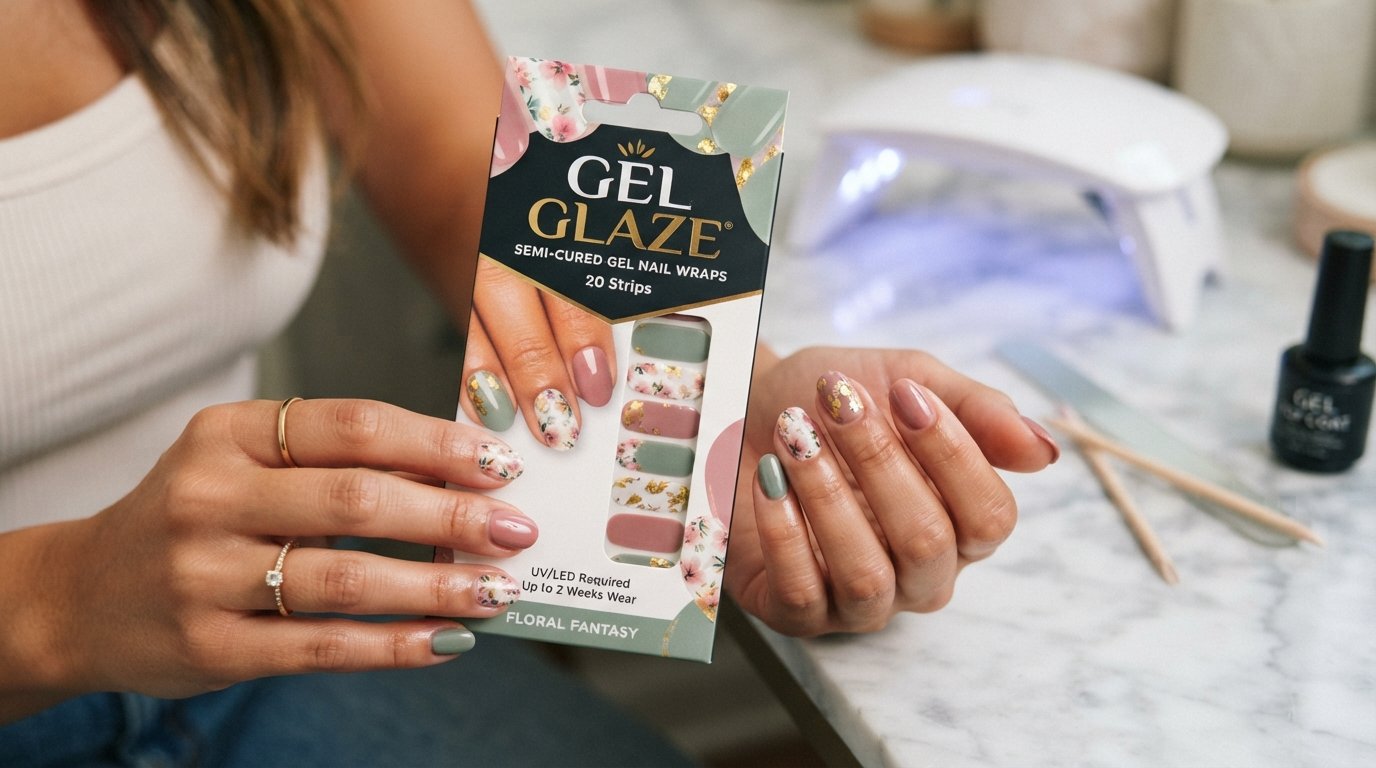
Gel Nail Wraps: A Complete Guide to Beautiful Nails at Home
If you love the look of a fresh salon manicure but do not always have the time or budget for regular salon appointments, gel nail wraps can be a convenient option. They make it possible to create a neat, polished manicure at home without spending a long time painting several layers of nail polish.
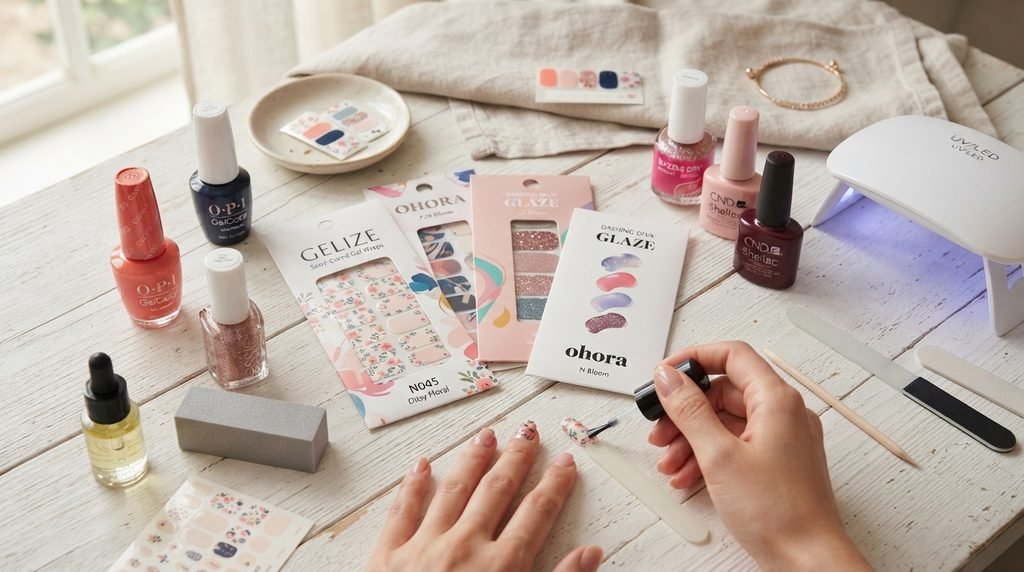
Unlike traditional nail polish, gel nail wraps are pre-shaped strips designed to fit over your natural nails. Depending on the type you choose, they may be fully cured or semi-cured and may require an LED lamp. They are available in simple colors, French designs, glitter finishes, patterns, and many other styles.
For someone who wants attractive nails without complicated nail art skills, gel nail wraps can make the process much easier.
What Are Gel Nail Wraps?
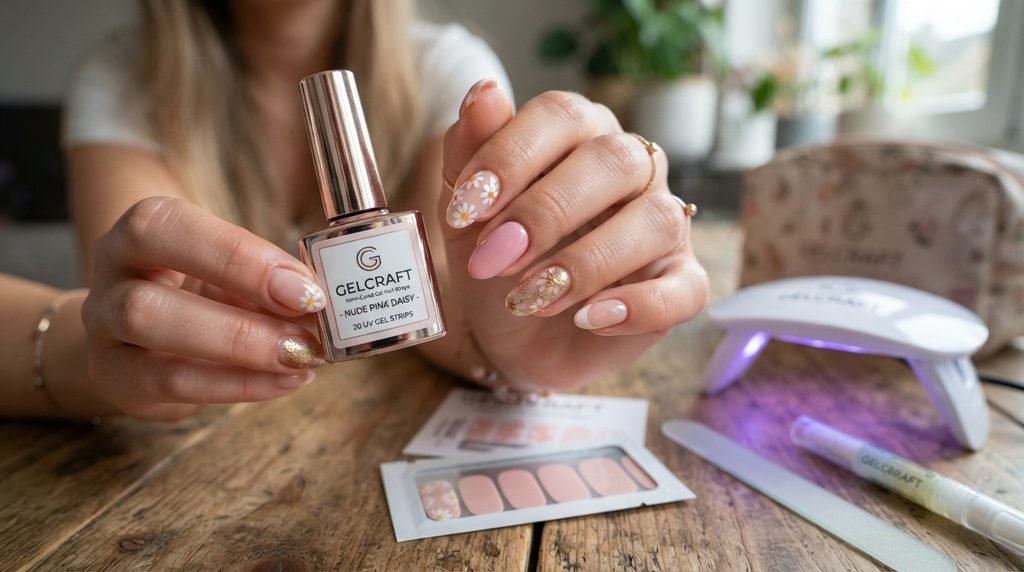
Gel nail wraps are thin adhesive nail strips designed to cover the surface of your natural nails. They are sometimes called gel nail strips, gel nail stickers, or semi-cured gel nail strips, depending on the product and how it is made.
Some nail wraps are already fully cured and can be applied directly to the nail. Others are made from partially cured gel and need to be placed on the nail before being cured under an LED nail lamp.
The basic idea is simple: instead of applying liquid gel polish with a brush, you apply a ready-made strip.
Many modern nail wraps come in different sizes, so you can choose a strip that closely matches the width of each nail. Proper sizing is important because the wrap should sit on the nail rather than overlap onto the surrounding skin.
Dashing Diva, for example, describes its Glaze products as semi-cured gel wraps and recommends placing the strip above the cuticle line while avoiding contact with the skin.
Why Are Gel Nail Wraps So Popular?
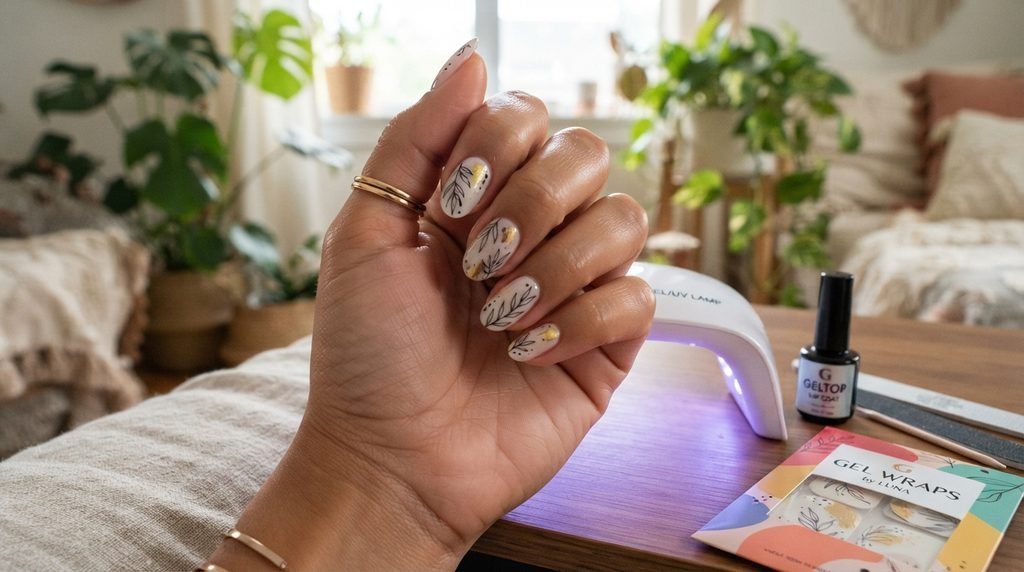
There is a simple reason gel nail wraps have become popular: they make a traditionally time-consuming manicure much easier.
With regular gel polish, you usually need to prepare the nails, apply base coat, apply color, cure it, apply another layer, cure again, and finish with a top coat.
With nail wraps, much of that work has already been done.
1. Easy for Beginners
You do not need advanced nail-art skills to use gel nail wraps. The main skills are choosing the correct size, placing the strip carefully, smoothing it properly, and finishing the edge.
2. Lots of Designs
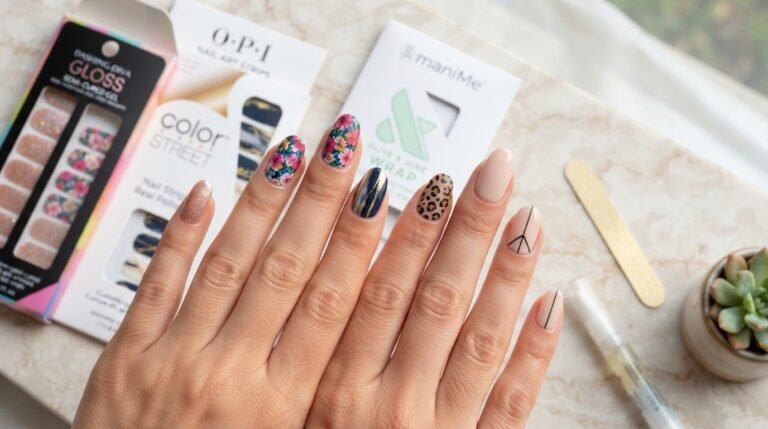
You can find gel nail wraps in:
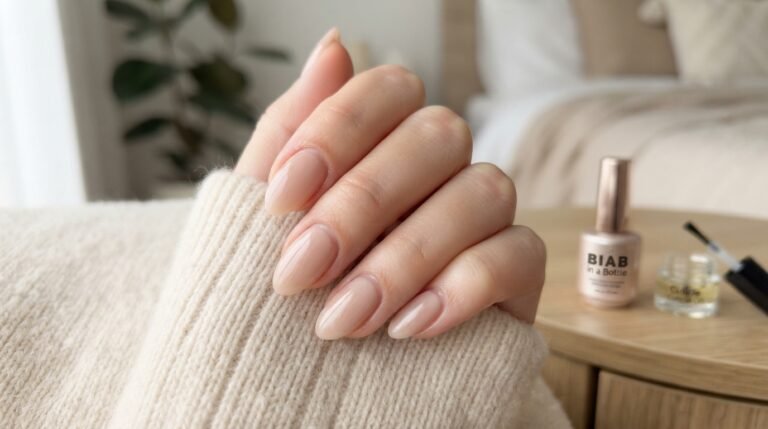
- Nude shades
- Pink nails
- French tips
- Glitter designs
- Floral patterns
- Marble effects
- Simple solid colors
- Seasonal designs
- Minimalist nail art
- Short and long nail styles
This makes them useful when you want to change your manicure without learning complicated nail-art techniques.
3. Less Mess
Traditional nail polish can spill, streak, or accidentally get onto your skin. Gel nail wraps reduce much of this mess because you are working with a prepared strip rather than wet polish.
4. Salon-Like Appearance
When applied correctly, a quality nail wrap can give your nails a smooth and polished appearance. The final result depends heavily on preparation and application.
5. Convenient for Busy People
Imagine having an event tomorrow morning. You want your nails to look polished, but you do not want to spend an hour painting them.
You can prepare your nails, select the wraps, apply them, cure them if necessary, and finish the edges.
That convenience is one of the biggest reasons people choose gel nail wraps.
Gel Nail Wraps vs. Traditional Gel Polish
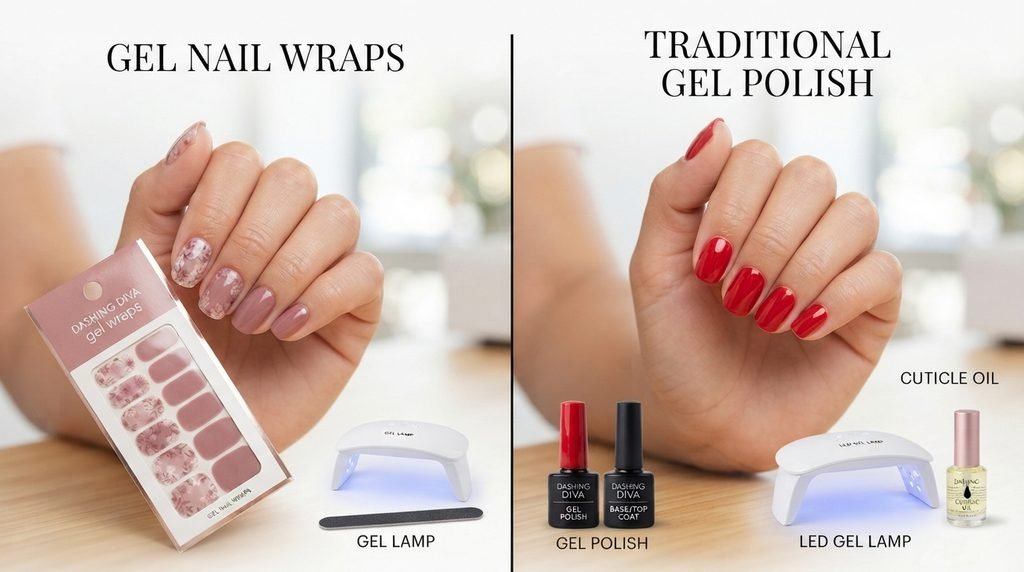
It is helpful to understand the difference before buying.
Traditional gel nail polish is a liquid product applied with a brush. It normally involves a base coat, gel color, and top coat, with curing under an LED or UV lamp according to the system’s instructions.
Gel nail wraps, on the other hand, arrive in strip form.
| Feature | Gel Nail Wraps | Traditional Gel Polish |
|---|---|---|
| Application | Ready-made strip | Applied with a brush |
| Nail art | Often already included | Usually created separately |
| Skill level | Beginner-friendly | Requires more practice |
| Drying/Curing | Depends on product | Usually requires curing |
| Mess | Low | Can be messy |
| Designs | Many pre-made options | More customizable |
| Application time | Generally quick | Usually longer |
The right option depends on what you want from your manicure. If you enjoy creating your own colors and layers, gel polish may give you more flexibility. If convenience is your priority, gel nail wraps can be an attractive alternative.
What You Need Before Applying Gel Nail Wraps
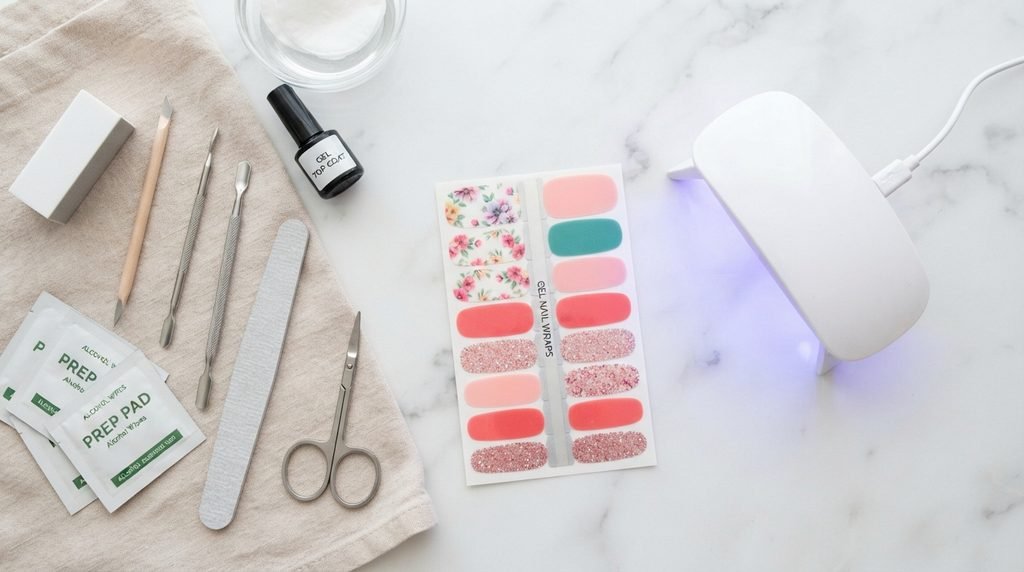
Before beginning, gather everything you need.
You may need:
- Gel nail wraps
- Nail file
- Nail clippers or nail scissors
- Cuticle pusher
- Nail prep pad or cleanser
- LED lamp if your wraps require curing
- Cuticle oil for after removal
- Clean, dry workspace
Some kits include most of these items, while others require you to purchase them separately.
Always read the instructions supplied with your particular product because application and curing times can differ between brands.
How to Apply Gel Nail Wraps Step by Step
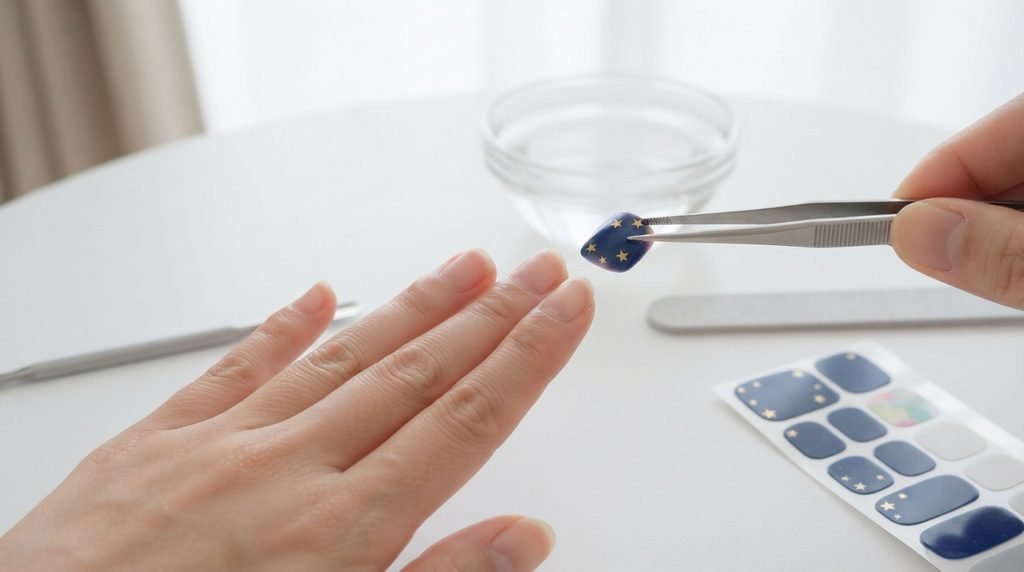
The preparation stage is one of the most important parts of the entire process.
A beautiful wrap can still lift quickly if the nail surface is oily, wet, or poorly prepared.
Step 1: Clean Your Hands and Nails
Start with clean hands.
Wash your hands and dry them completely. Your nails should be free from lotion, cream, oil, and other residue.
For example, Dashing Diva recommends cleaning the nails and using its prep pad to remove oils and residue before applying its Glaze strips.
Why does this matter?
Because excess oil or moisture can interfere with adhesion.
Step 2: Shape Your Natural Nails
Before applying your gel nail wraps, decide what nail shape you want.
You can use a nail file to create:
- Round nails
- Square nails
- Squoval nails
- Oval nails
- Almond-style nails
If your nails are too long, trim them first.
A clean nail shape can make the final manicure look much more professional.
Step 3: Gently Push Back the Cuticles
Use a clean cuticle pusher to gently push back the cuticles.
Do not aggressively cut or damage the skin around your nails.
The goal is simply to create a clean working area so the gel nail wrap can sit properly on the nail.
Step 4: Prepare the Nail Surface
Use the recommended nail prep product or prep pad to clean the nail.
Make sure the nails are completely dry before moving forward.
Avoid applying hand cream or cuticle oil before the wraps because oily products can affect adhesion.
Step 5: Choose the Correct Gel Nail Wrap Size
This is one of the most important steps.
Hold each gel nail wrap over your nail and compare the width.
The wrap should cover the nail without touching the surrounding skin.
If you are between two sizes, choosing the slightly smaller option can help prevent the wrap from extending onto the skin.
Dashing Diva specifically recommends sizing down when you are between sizes.
Step 6: Remove the Protective Film
If your product has a protective film, remove it carefully.
Then lift the selected wrap from its backing.
Try not to touch the adhesive surface more than necessary.
This helps keep the surface clean.
Step 7: Position the Wrap Carefully
Place the gel nail wrap near the cuticle area without allowing it to touch the skin.
Do not push it directly onto the cuticle.
Instead, leave a small gap and place the strip onto the nail.
This small detail can make a significant difference to how clean the manicure looks.
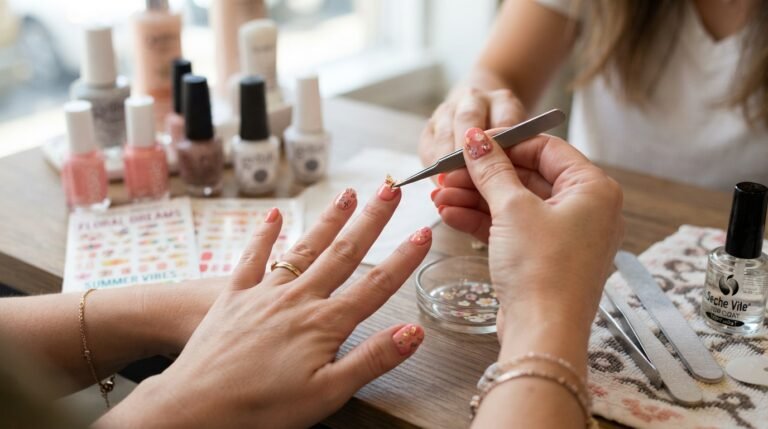
Step 8: Smooth the Wrap From the Center Outward
Once the strip is positioned correctly, press it firmly onto the center of the nail.
Then smooth it toward both sides.
This helps reduce:
- Air bubbles
- Wrinkles
- Uneven edges
- Loose sections
Take your time during this step.
A few extra seconds of careful smoothing can improve the final result considerably.
Step 9: Press Down the Edges
Use your finger or a manicure stick to press around the edges.
Pay particular attention to the sidewalls and area near the cuticle.
The goal is to make sure the wrap is firmly attached to the nail surface without touching the skin.
Dashing Diva recommends thoroughly pressing the edges before curing its semi-cured gel products.
Step 10: Trim the Excess
If the wrap extends beyond the end of your nail, trim the excess material according to the product instructions.
You can use nail scissors or clippers for suitable products.
Do not leave a large amount of material hanging beyond the nail because excess material can contribute to lifting, chipping, or cracking.
Step 11: Cure the Gel Nail Wraps If Required
This step depends on the type of gel nail wraps you purchased.
Fully cured strips generally do not need additional curing.
Semi-cured gel strips usually require an LED nail lamp.
Follow the curing time recommended by the manufacturer rather than guessing.
For example, Dashing Diva’s Glaze instructions specify curing under its Mini LED Lamp for 60 seconds.
Different products may have different requirements, so always follow the instructions supplied with your wraps.
Step 12: File the Free Edge
After curing, file away any remaining excess material.
Use the nail file in the direction recommended by the manufacturer.
The goal is to create a smooth, clean edge that follows the natural shape of your nail.
Do not aggressively file the natural nail itself.
How to Make Gel Nail Wraps Last Longer
Once your manicure is finished, a little care can help protect it.
Keep the Edges Sealed
Make sure the edges are firmly pressed down during application.
Avoid Water Immediately After Application
Some manufacturers recommend avoiding water, lotions, and oils for a period after application. For example, Dashing Diva advises avoiding lotions, oils, and water for at least one hour after applying its Glaze products.
Wear Gloves for Household Cleaning
Cleaning chemicals and repeated exposure to water can put extra stress on your manicure.
Wearing household gloves can help protect your nails.
Do Not Use Your Nails as Tools
Avoid using your nails to open cans, scratch surfaces, or lift objects.
Even a strong manicure can become damaged when the nails are repeatedly used as tools.
Keep Your Hands Moisturized
Once your manicure is properly finished, use hand cream and cuticle oil as appropriate, while avoiding excessive oil around the wrap edges.
Healthy-looking surrounding skin can make any manicure look better.
How Long Do Gel Nail Wraps Last?
The lifespan of gel nail wraps depends on several factors.
These include:
- Product quality
- Nail preparation
- Application technique
- Nail growth
- Exposure to water
- Household cleaning
- Individual nail condition
- How carefully the manicure is maintained
Some brands advertise wear times of around two weeks for certain nail-wrap products, but actual results can vary.
For example, Dashing Diva states that its quality wraps can last up to two weeks with proper preparation and care.
Therefore, it is better to treat advertised wear time as a guideline rather than a guarantee.
How to Remove Gel Nail Wraps Safely
Removing your manicure is just as important as applying it.
Do not simply rip or peel off your gel nail wraps if they are strongly attached.
Pulling or picking at nail products can damage the natural nail surface.
The exact removal method depends on the product.
Some wraps may peel away according to the manufacturer’s instructions, while semi-cured or gel-based systems may have specific removal procedures.
If your product requires soaking, follow the manufacturer’s instructions carefully.
For gel products that use acetone-based removal, professional nail-care guidance generally recommends softening the product first rather than forcing it off.
OPI, for example, recommends breaking the seal, soaking with remover, and gently removing softened gel rather than scraping aggressively.
Common Gel Nail Wrap Mistakes to Avoid
Even beginners can get great results when they know what mistakes to avoid.
Mistake 1: Applying Wraps to Oily Nails
Oil can interfere with adhesion.
Solution: Clean and dry the nail thoroughly before application.
Mistake 2: Letting the Wrap Touch the Skin
If the strip overlaps onto your skin, lifting may happen more easily.
Solution: Keep the wrap slightly above the cuticle line.
Mistake 3: Choosing a Wrap That Is Too Wide
A strip that is too wide can touch the surrounding skin.
Solution: Choose a smaller size when necessary.
Mistake 4: Rushing the Smoothing Process
Wrinkles and air bubbles can appear when the strip is not pressed properly.
Solution: Smooth from the center toward the sides.
Mistake 5: Incorrect Curing
If your product requires curing, using the wrong lamp or curing time can affect the finished result.
Solution: Follow the manufacturer’s exact instructions.
Mistake 6: Peeling the Product Off
Peeling aggressively can pull at the natural nail surface.
Solution: Use the recommended removal process.
Are Gel Nail Wraps Good for Beginners?
For many beginners, gel nail wraps can be easier than traditional gel polish because the color or design is already prepared.
You do not need to learn how to create perfect brush strokes or complicated nail-art patterns.
However, “easy” does not mean “no preparation required.”
The biggest learning curve is usually getting the sizing and positioning right.
After a few applications, you may find that you can identify the correct wrap size much faster.
How to Choose Good Gel Nail Wraps
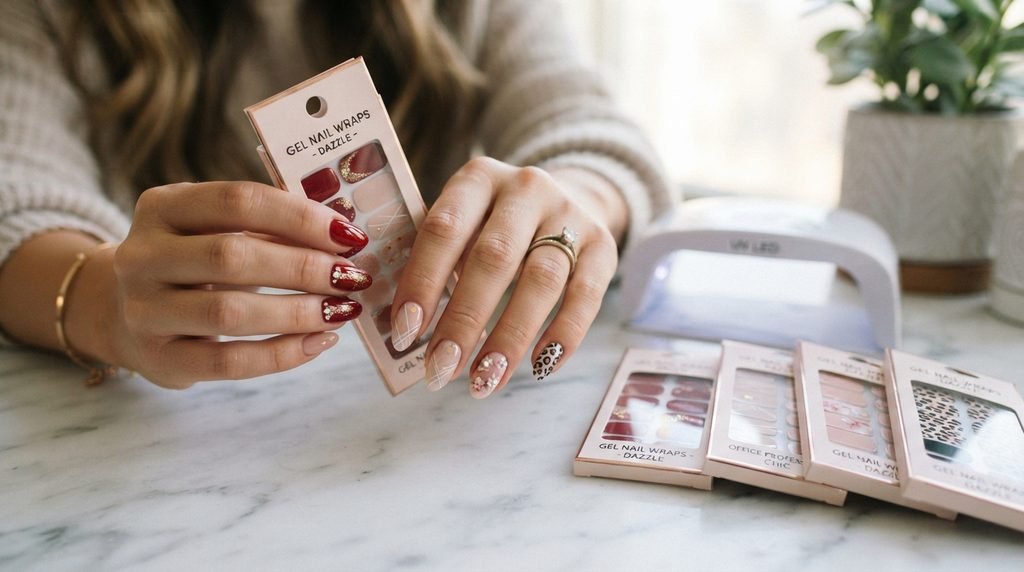
If you are planning to buy gel nail wraps, look beyond the design.
Consider these factors:
1. Size Range
Look for a kit with enough sizes to accommodate your natural nails.
2. Material
Check whether the product is a fully cured nail strip or a semi-cured gel product.
3. Curing Requirements
If the product needs an LED lamp, make sure you understand the required curing process.
4. Instructions
A good product should provide clear instructions for preparation, application, curing, and removal.
5. Design Quality
Choose designs that match your everyday style.
Neutral, nude, pink, French, and minimalist designs can be versatile for everyday wear, while glitter and patterned designs can work well for events.
6. Customer Reviews
Reviews can help you understand how other buyers experienced application, sizing, durability, and removal.
However, remember that individual results can vary because everyone’s nails, lifestyle, and application technique are different.
Gel Nail Wraps for Different Occasions
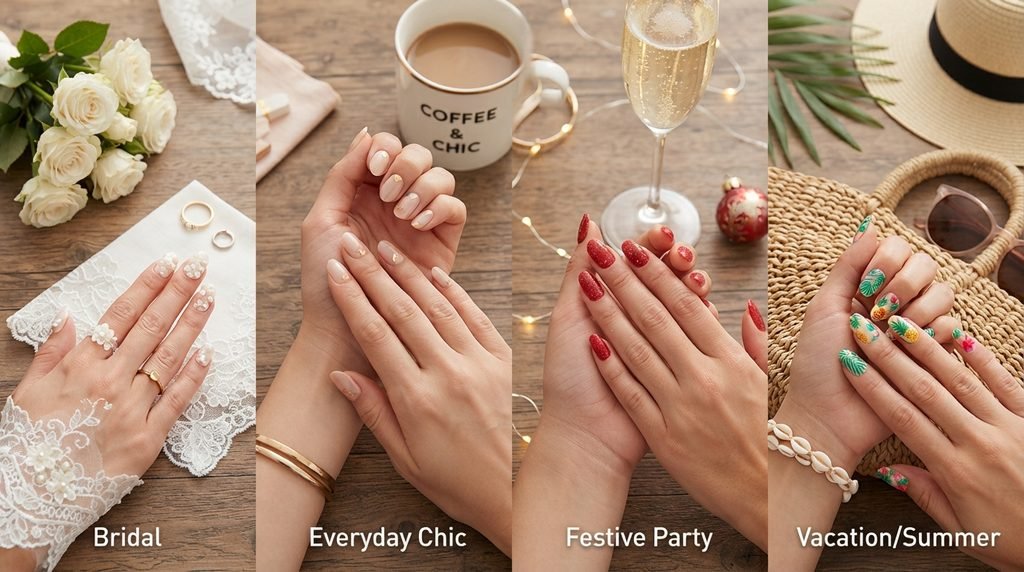
One of the fun parts of using gel nail wraps is changing your manicure according to the occasion.
For everyday use, try:
- Nude wraps
- Soft pink
- Simple French tips
- Natural-looking designs
- Minimalist patterns
For parties, consider:
- Glitter
- Chrome-style effects
- Bold colors
- Sparkle designs
For weddings, soft pink, white, nude, and French-inspired designs can create a clean appearance.
For holidays, seasonal patterns can make your manicure more playful without requiring professional nail-art skills.
A Simple Gel Nail Wrap Routine for Beginners
If you are using gel nail wraps for the first time, keep your routine simple:
- Clean your hands.
- Shape your nails.
- Push back the cuticles gently.
- Remove oil and residue.
- Let your nails dry completely.
- Select the correct wrap size.
- Place the wrap above the cuticle.
- Smooth from the center outward.
- Press down the edges.
- Trim or file excess material.
- Cure if the product requires it.
- Finish the free edge carefully.
- Follow the manufacturer’s removal instructions when it is time for a change.
Once you become comfortable with these steps, the process becomes much faster.
Frequently Asked Questions About Gel Nail Wraps
Can you use gel nail wraps on natural nails?
Yes. Many gel nail wraps are specifically designed to be applied over natural nails. However, always check the product instructions because formulations and application requirements vary.
Do gel nail wraps need an LED lamp?
Not all of them.
Fully cured nail strips generally do not require curing, while semi-cured gel strips commonly require an LED lamp.
Always check the manufacturer’s instructions.
Can gel nail wraps damage natural nails?
The wrap itself is not the only factor to consider. Nail preparation, application, removal, and picking or peeling can all affect the condition of natural nails.
The safest approach is to follow the manufacturer’s instructions and avoid forcibly removing the product.
Can you file gel nail wraps?
Many products can be filed after application, but the exact method depends on the product. Follow the supplied instructions for trimming and filing.
Can you reuse gel nail wraps?
Most adhesive nail wraps are intended for one application rather than repeated use. Check the manufacturer’s instructions before attempting to reuse them.
Are gel nail wraps better than gel polish?
They serve different purposes.
Gel nail wraps focus on convenience and pre-designed results, while traditional gel polish offers more flexibility for custom colors and application.
The better option depends on your personal needs.
Final Thoughts: Are Gel Nail Wraps Worth Trying?
If you want a convenient way to create attractive nails at home, gel nail wraps can be a practical choice.
They combine the convenience of nail stickers with the polished appearance associated with gel-style manicures. You can find simple everyday designs, French tips, glitter styles, seasonal patterns, and many other options.
The most important thing is not to rush.
Clean your nails properly, choose the correct size, keep the wrap away from your skin, smooth the strip carefully, and follow the manufacturer’s curing and removal instructions.
Once you understand these basics, applying gel nail wraps can become a simple part of your regular nail-care routine.
For beginners especially, they offer an easy way to experiment with different nail designs without needing advanced nail-art skills or a full salon setup.
If you are considering buying your first set, start with a design you genuinely like and a kit that provides clear application instructions and the necessary tools. That combination can make your first experience much easier and help you get a cleaner, longer-lasting manicure at home.