
Gel X Nails: The Complete Guide to Application, Benefits, Cost, and Aftercare
Gel X nails have become a popular choice for people who want longer, beautifully shaped nails without the traditional process of building extensions with acrylic. They offer a smooth, polished finish, a wide range of shapes, and plenty of room for creative nail art. Whether you prefer short natural-looking nails, elegant almond tips, or long coffin-shaped extensions, Gel X can help you achieve your desired look.
However, before booking a salon appointment or buying a Gel X nail kit, it is important to understand how this nail extension system works, how long it lasts, how much it costs, and how to care for your natural nails.
In this guide, you will learn everything you need to know about Gel X nails, including their advantages, possible disadvantages, application steps, removal methods, and the products worth considering before making a purchase.
What Are Gel X Nails?
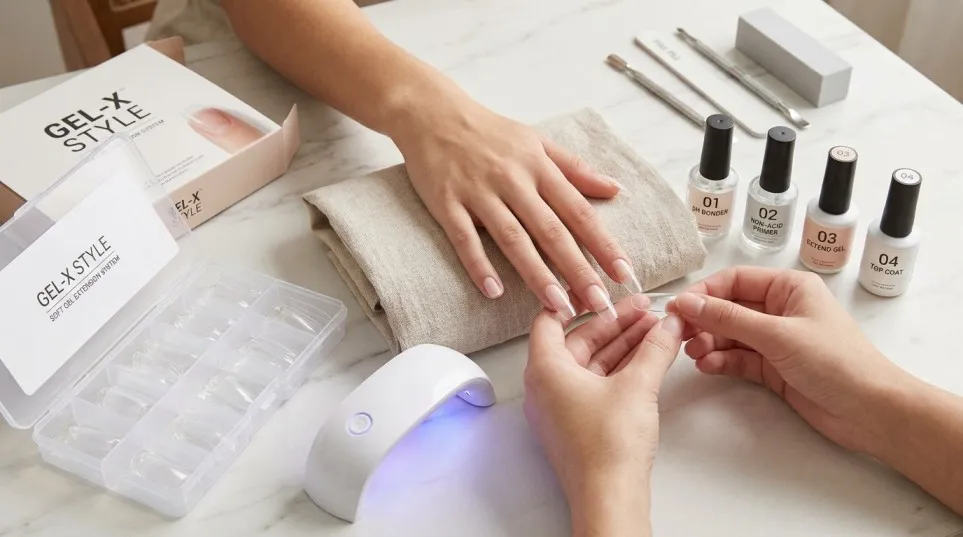
Gel X nails are nail extensions made from pre-shaped, full-cover soft gel tips. These tips cover the natural nail and are attached using a special gel adhesive that cures under an appropriate UV or LED nail lamp.
Unlike traditional acrylic extensions, which are built by combining liquid monomer with acrylic powder, Gel X uses ready-made tips. This means the nail technician does not need to sculpt the entire extension from scratch.
The original Gel-X system by Aprés Nail introduced this approach as a full-coverage soft gel extension system. Today, people also use the phrase “Gel X” more generally when discussing similar soft gel nail tips from other brands.
One of the biggest advantages is consistency. Since the tips come in prepared shapes and lengths, it is easier to create a matching set of nails with a smooth, professional appearance.
For example, imagine preparing for a wedding or an important event. You want elegant nails that look polished in photographs but do not require the lengthy sculpting process associated with some other extension methods. Gel X nails can be a practical option, provided they are applied and removed correctly.
How Do Gel X Nails Work?
The Gel X nail system uses three main components:
- Full-cover soft gel tips: These provide the length and shape of the extensions.
- Extend gel or compatible gel adhesive: This bonds the tips to the natural nails.
- A compatible UV or LED nail lamp: This cures the gel according to the manufacturer’s instructions.
First, the natural nails are cleaned and prepared. Next, the correct tip sizes are selected. A controlled amount of gel is applied, and each tip is positioned carefully over the natural nail.
The gel is then cured using the appropriate lamp. After the extensions are secure, the technician can refine the shape and apply gel polish, a top coat, or decorative nail art.
For a visual demonstration, watch the official Aprés Nail Gel-X application tutorial.
The important point is that Gel X nails are not simply plastic press-on nails attached with ordinary nail glue. They use a specific gel-bonding process, and the adhesive must be cured properly.
Benefits of Gel X Nails

There are several reasons why Gel X nails appeal to people who enjoy salon-quality manicures.
1. A Natural-Looking Finish
One of the main attractions of Gel X nails is their smooth, even appearance. Properly fitted tips can blend neatly with the natural nail and create an elegant finish without excessive bulk.
This makes them suitable for everyday wear, office settings, celebrations, and special occasions.
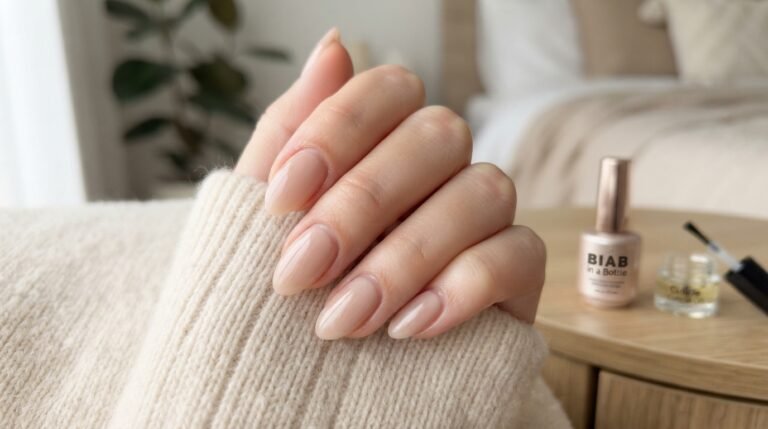
If you prefer a subtle look, choose short almond tips with a sheer pink or nude polish. For something more noticeable, try a glossy red manicure or a classic French design.
2. Different Shapes and Lengths
Another advantage is the variety of styles available. Depending on the brand and product range, you may find square, almond, coffin, round, oval, and stiletto-shaped tips.
Popular options include:
- Short Gel X nails: Practical for daily activities and a neat appearance.
- Almond Gel X nails: A soft, tapered shape that creates an elegant look.
- Coffin Gel X nails: A tapered shape with a flat tip, popular for modern nail art.
- French tip Gel X nails: A timeless combination of a natural-looking base and contrasting tips.
- Chrome Gel X nails: A reflective finish created with suitable nail art products.
- Nude Gel X nails: A simple, versatile choice for everyday wear.
The best shape depends on your personal taste, natural nail bed, and preferred length.
3. A More Streamlined Application Process
Because the extensions are pre-shaped, Gel X nail application can be more straightforward than methods that require an entire extension to be sculpted.
This does not mean every set can be completed instantly. Nail preparation, sizing, careful placement, curing, shaping, and finishing still take time.
For beginners, practising with shorter tips and a simple colour can make the process easier to manage.
4. Lightweight and Flexible Extensions
Many soft gel tips are designed to feel lightweight and flexible. When the tip matches the natural nail correctly, the finished extension can feel comfortable during ordinary daily activities.
However, comfort depends on proper sizing, application technique, the condition of your natural nails, and the length you choose.
5. A Variety of Creative Designs
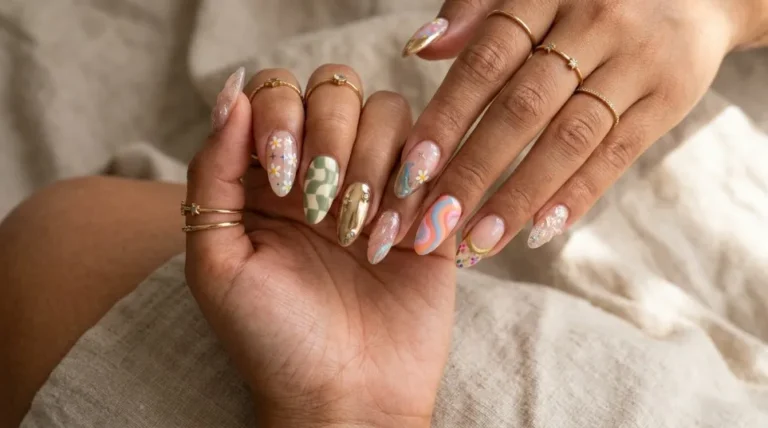
Gel X nail designs can be as simple or elaborate as you like. You can use one solid colour, add glitter, create a French manicure, or experiment with floral patterns and seasonal designs.
The extensions provide a consistent base for nail art, so you can change your style to suit your outfit, holiday, or special occasion.
Gel X Nails vs. Acrylic Nails
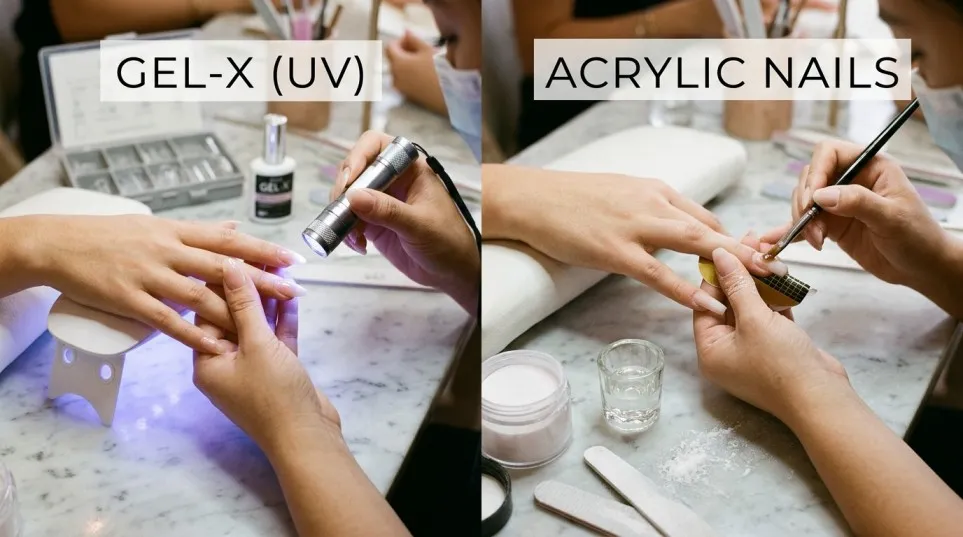
If you are deciding between Gel X and acrylic extensions, understanding the differences can help you choose the right option.
| Feature | Gel X Nails | Acrylic Nails |
|---|---|---|
| Application | Pre-shaped soft gel tips are bonded to the nail | Extensions are sculpted or applied using acrylic product |
| Main material | Soft gel | Acrylic polymer system |
| Nail shaping | Tips arrive in prepared shapes | Shape is built and refined during application |
| Curing | Gel requires a compatible UV/LED lamp | Acrylic generally hardens through a chemical reaction |
| Removal | Designed for soak-off removal when compatible products are used | Removal depends on the acrylic system and application |
| Style options | Different lengths, shapes, colours, and nail art | Different lengths, shapes, colours, and nail art |
| Best suited for | People who want pre-shaped soft gel extensions | People who prefer traditionally sculpted extensions |
Neither method is automatically better for everyone. Your choice should depend on your nail condition, desired style, budget, and the experience of your nail technician.
It is also worth remembering that poor application or aggressive removal can damage natural nails with either system.
Gel X Nails vs. Builder Gel
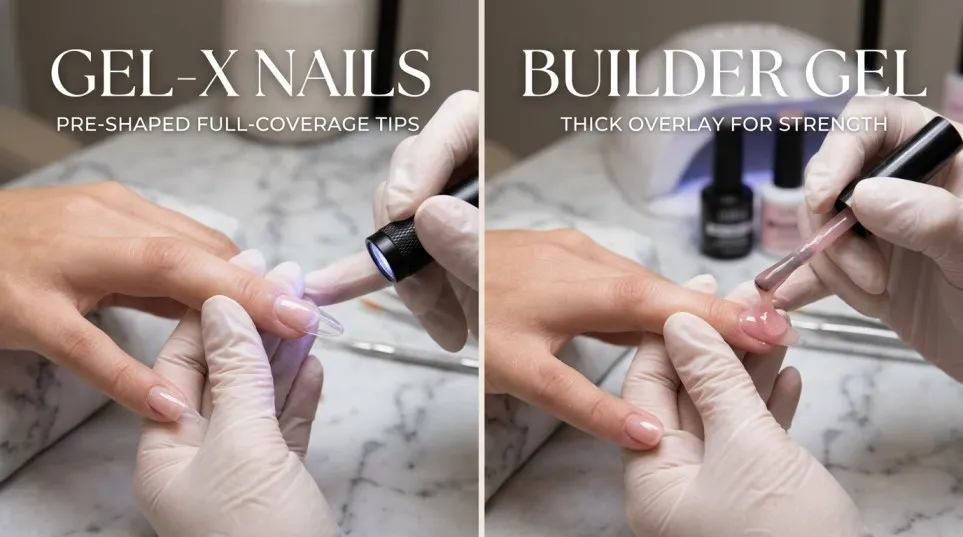
Another common comparison is Gel X nails vs. builder gel.
Gel X uses full-cover tips to create length and shape. Builder gel, on the other hand, is applied over the natural nail or used to construct an extension, depending on the product and technique.
Choose Gel X if you want a consistent extension shape and added length without sculpting each nail from scratch.
Choose builder gel if your main goal is to add structure or reinforcement to your natural nails without necessarily covering the entire nail with a full-cover tip.
Some people enjoy both methods at different times. For example, someone might wear Gel X extensions for a holiday and choose a natural nail overlay when they want a shorter manicure.
How to Apply Gel X Nails at Home: Step-by-Step Guide
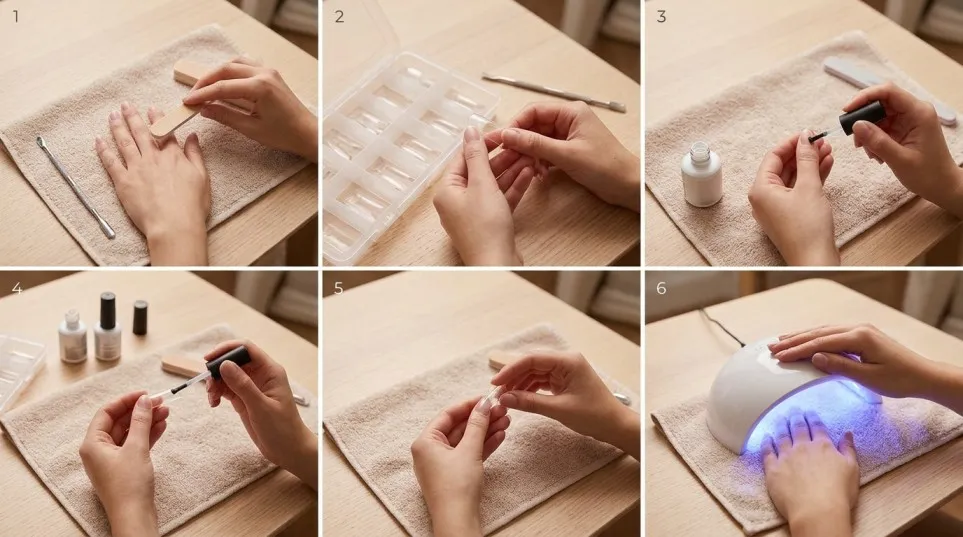
Applying Gel X nails at home requires patience, suitable products, and careful attention to hygiene. Beginners should practise slowly and follow the instructions supplied with their chosen system.
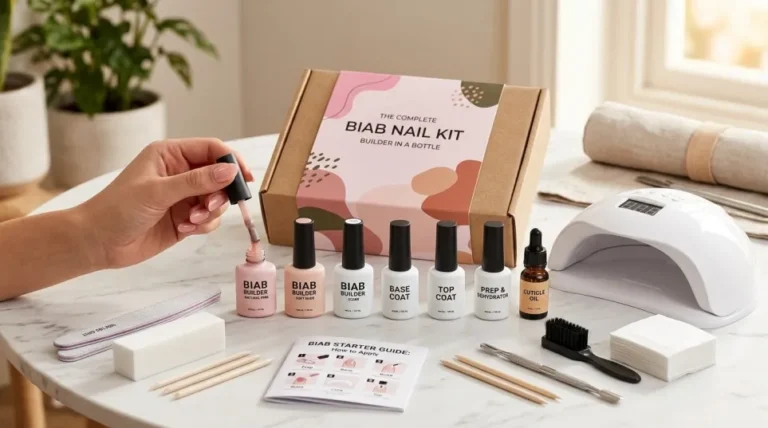
Step 1: Gather Your Gel X Nail Kit
Before starting, prepare the essential supplies:
- Full-cover soft gel nail tips.
- Compatible Extend Gel or gel adhesive.
- A compatible UV/LED nail lamp.
- Nail file and gentle buffer.
- Cuticle pusher.
- Nail cleanser and lint-free wipes.
- The preparation products recommended by the system.
- Gel polish and top coat, if desired.
- Acetone and suitable removal supplies for later use.
A complete kit may include several of these items, but not every kit contains everything you need. Check the product description carefully before buying.
Step 2: Prepare Your Natural Nails
Remove existing nail polish and clean your hands. Gently push back the cuticles without cutting living tissue or damaging the nail plate.
Shape your natural nails and lightly remove surface shine only if the product instructions require it. Clean away dust and use the recommended nail preparation products.
Good preparation helps the extensions adhere correctly. However, avoid aggressive filing because thinning the natural nail can lead to sensitivity and damage.
Step 3: Choose the Correct Tip Sizes
Lay out the tips and match one to each natural nail before applying adhesive.
Each tip should cover the nail plate from sidewall to sidewall without pressing into the surrounding skin. If a tip is too narrow, it may create pressure. If it is too wide or poorly shaped, the edges may lift.
Take your time with this step. Correct sizing is one of the most important factors in achieving comfortable, long-lasting Gel X nails.
Step 4: Prepare the Inside of the Tips
Some systems require the inside of each tip to be etched or prepared to improve adhesion. Other systems use specially designed preparation products.
Follow the exact instructions for your chosen brand rather than mixing unrelated products or assuming every tip requires the same treatment.
Step 5: Apply the Gel Adhesive
Apply the recommended amount of gel adhesive according to the manufacturer’s directions.
Position the tip near the cuticle area and gently lower it toward the free edge, allowing the gel to spread without trapping air.
Do not allow uncured gel to touch the skin. If gel spills onto the surrounding skin, remove it completely before curing.
Important safety note: Never cure gel that has contacted your skin. Uncured gel ingredients can cause allergic reactions, and repeated exposure can increase the risk of developing an allergy.
Step 6: Secure the Tip and Cure It
Hold the tip in position and use the recommended flash-curing method if your system requires one.
After positioning the tips, complete the full curing process using the specified lamp and curing time.
A small flash-curing lamp is not necessarily a substitute for a full curing lamp. Using an incompatible or inadequate lamp may leave gel incompletely cured, even when the surface looks dry.
Never guess the curing time or rely on wattage alone. Follow the product manufacturer’s compatibility and curing instructions.
Step 7: Shape the Extensions
Once the tips have been properly cured, refine the free edges if needed. Keep the length manageable, especially if you are applying Gel X nails for the first time.
Avoid excessive filing near the natural nail or the skin.
Step 8: Apply Colour and Top Coat
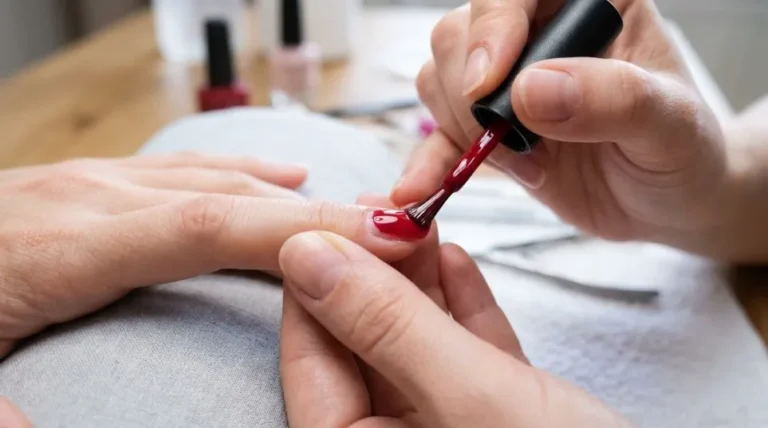
Apply your preferred gel colour in thin, even layers. Cure each layer as directed, then finish with a compatible top coat.
You can choose a classic nude manicure, a French tip design, glossy red, or another style that suits your taste.
For a simpler first attempt, stick to one colour. Once you are comfortable with the application process, you can experiment with more detailed Gel X nail designs.
Step 9: Check the Finished Set
Inspect every nail for lifting, trapped air, sharp edges, discomfort, or gel touching the skin.
Do not ignore pain, persistent redness, itching, swelling, or nail separation. Remove the cause safely and seek professional advice if symptoms develop.
How Long Do Gel X Nails Last?
Gel X nails typically last around three to four weeks when applied correctly, according to the original system’s manufacturer. However, actual wear time varies with nail preparation, tip fit, product compatibility, nail growth, daily activities, and aftercare.
You should not assume that every set will last four weeks.
For example, someone who regularly washes their hands, works with cleaning products, or uses their nails to open packages may experience earlier lifting than someone whose daily activities put less stress on their extensions.
To help your Gel X manicure last longer:
- Keep your nails clean and dry.
- Wear gloves when cleaning or handling harsh household products.
- Avoid using your nails as tools.
- Apply cuticle oil around the nails as appropriate.
- Never pull or pick at lifting extensions.
- Arrange professional removal or follow the manufacturer’s safe removal instructions when the set needs to come off.
Read the manufacturer’s Gel-X longevity guidance for additional information.
How Much Do Gel X Nails Cost?
The cost of Gel X nails depends on your location, the salon’s experience, the nail design, the length of the extensions, and the products used.
A basic set with a single colour will generally cost less than a long set with intricate nail art. Removal, repairs, and additional services may also increase the total price.
At-home application has a different cost structure. You may pay less per future manicure after purchasing your equipment, but the initial investment includes the tips, gel adhesive, preparation products, lamp, and removal supplies.
When comparing prices, consider the complete service rather than the advertised starting price.
For example, a lower-priced kit may look attractive until you discover that it does not include a compatible full-curing lamp or the necessary preparation products.
A better purchasing decision considers product compatibility, clear instructions, a suitable range of tip sizes, and safe removal.
What to Look for When Buying a Gel X Nail Kit
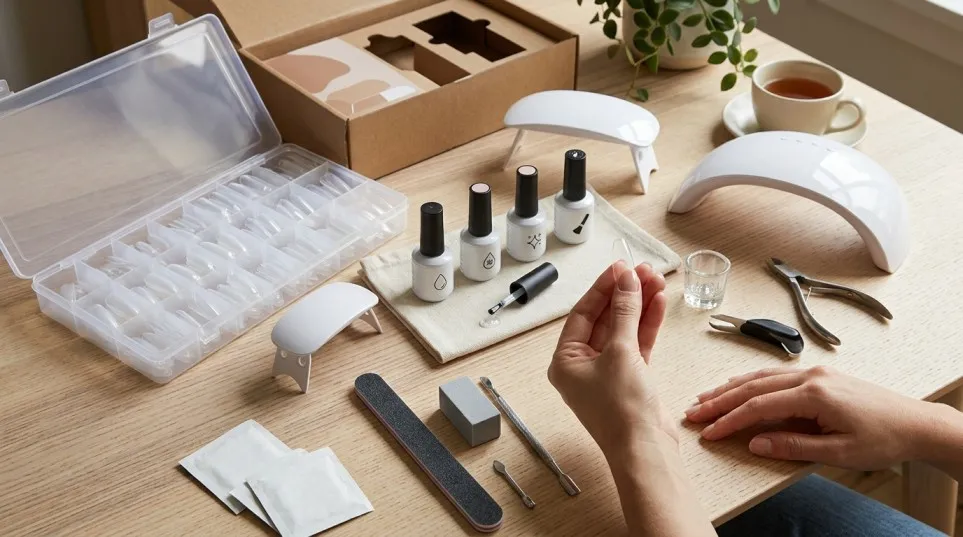
If you want to purchase a Gel X nail kit, evaluate the products carefully rather than choosing only by price or the number of items in the box.
1. Check the Tip Quality
Look for soft gel tips with a suitable range of sizes and shapes. The tips should fit your natural nail without forcing or excessive pressure.
If your nail beds are relatively flat or more curved, look for a tip style designed for your nail shape.
2. Check the Adhesive System
The kit should include a gel adhesive designed for the extension tips, with clear application and curing instructions.
Using random products together can create compatibility problems. A complete system from a reputable manufacturer may make the process easier to understand.
3. Check the Nail Lamp
A suitable curing lamp is essential for gel extensions. Confirm that the lamp is compatible with the gel system and that the manufacturer provides clear curing instructions.
Do not assume that a lamp is suitable simply because it is advertised as a UV or LED lamp.
4. Read the Ingredients and Safety Information
Review the ingredient list, warnings, and instructions before purchasing. Products labelled HEMA-free may reduce exposure to that particular ingredient, but they are not automatically allergy-proof.
Avoid products that encourage unsafe skin contact or provide unclear curing guidance.
5. Compare the Complete Kit
Check whether the kit includes tips, adhesive, preparation products, a full-curing lamp, top coat, and removal supplies.
This prevents unexpected purchases later and helps you compare the true cost of different options.
Recommended Buying Option: Gel X Nail Kits on Amazon UK
If you are shopping in the United Kingdom, begin by comparing available kits and checking the full product details before placing an order.
Shop Gel X Nail Kits on Amazon UK
This search link lets you compare different soft gel extension kits, tip shapes, included tools, customer feedback, and current prices.
Before purchasing, confirm that the listing is for full-cover soft gel extensions rather than ordinary press-on nails or a conventional gel polish kit.
Pay particular attention to the following:
- Whether the kit includes a compatible full-curing lamp.
- Whether the adhesive and tips are designed to work together.
- Whether the set offers enough sizes for your nails.
- Whether instructions explain safe application and removal.
- Whether the seller and product details are trustworthy.
- Whether delivery to your address and any applicable charges are clearly shown.
Prices, availability, and delivery options can change. The Amazon UK link is a shopping search rather than a guarantee that any particular product is in stock or suitable for every user.
Is a Gel X Starter Kit Worth Buying?
A Gel X starter kit can be worthwhile if you regularly enjoy nail extensions and are prepared to learn the correct application and removal techniques.
It may also be useful for people who want to experiment with different shapes without purchasing every item separately.
However, if you only want extensions for an occasional wedding, holiday, or special event, a professional salon appointment may be more convenient.
The right choice depends on how often you plan to wear extensions, your budget, and your confidence with gel products.
How to Remove Gel X Nails Safely
Correct removal is just as important as correct application.
Gel X nails are designed as a soak-off system when used with compatible products. However, the exact removal method depends on the products used and the manufacturer’s instructions.
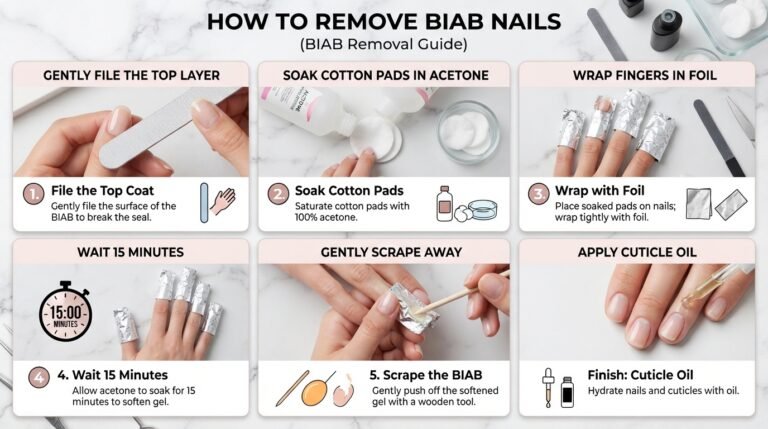
A typical removal process involves the following steps:
- Shorten the extensions carefully if necessary.
- Gently file down the top coat and excess bulk without filing into the natural nail.
- Apply acetone using a suitable soak-off method, such as foil wraps or removal clips.
- Allow sufficient time for the product to soften according to the system’s instructions.
- Remove softened product gently without scraping or forcing it off.
- Repeat soaking if necessary rather than pulling at resistant material.
- Clean the nails and apply moisturiser or cuticle oil.
Do not peel, bite, or forcibly pull off extensions. Doing so can remove layers of the natural nail and leave it weak or sore.
If the product does not soften as expected, stop and seek advice from a qualified nail technician. Some products are not designed for acetone removal.
You can also review the Aprés Nail FAQ for information about its soak-off system.
Are Gel X Nails Safe for Natural Nails?
Gel X nails can be worn without significant damage when they are applied, maintained, and removed properly. However, no extension system is completely risk-free.
Damage can occur when the natural nail is filed too aggressively, extensions are pulled off, or lifting product is left untreated.
Another concern is skin sensitivity. Gel products may contain ingredients capable of causing allergic contact dermatitis, particularly when uncured product repeatedly touches the skin or is not cured correctly.
To reduce risks, use products according to their instructions, avoid skin contact, ensure proper curing, and never apply extensions over nails that appear infected or significantly damaged.
People who experience itching, swelling, redness, blistering, or nail separation should stop using the suspected product and seek medical advice.
If you have existing nail problems or are unsure whether extensions are suitable for you, consult a qualified nail professional or healthcare provider before proceeding.
Gel X Nail Aftercare Tips
Good aftercare helps maintain the appearance of your manicure while protecting your natural nails.
Keep Your Nails Clean
Wash your hands regularly and dry them thoroughly. Pay attention to the areas underneath longer extensions, where dirt and moisture can collect.
Moisturise Your Cuticles
Use cuticle oil and hand cream to help keep the surrounding skin comfortable and moisturised.
Although moisturising is useful, it does not repair structural damage caused by aggressive filing or forced removal.
Avoid Picking and Biting
If an extension starts to lift, do not pull it away from the nail. Picking can damage the natural nail plate and increase the risk of irritation.
Have the extension assessed and removed or repaired appropriately.
Choose a Practical Length
Long extensions can look striking, but shorter lengths are often easier to manage during typing, cooking, exercise, and other daily activities.
If you are new to Gel X nails, begin with a short or medium length before trying more dramatic shapes.
Give Damaged Nails Time to Recover
If your nails become sore, thin, or damaged, take a break from extensions and avoid further filing. Seek professional advice if damage persists or you notice signs of infection.
Healthy nail care is more important than maintaining a continuous manicure.
Popular Gel X Nail Designs to Try
Once you understand the basics, you can experiment with different colours and styles.
1. Classic French Gel X Nails
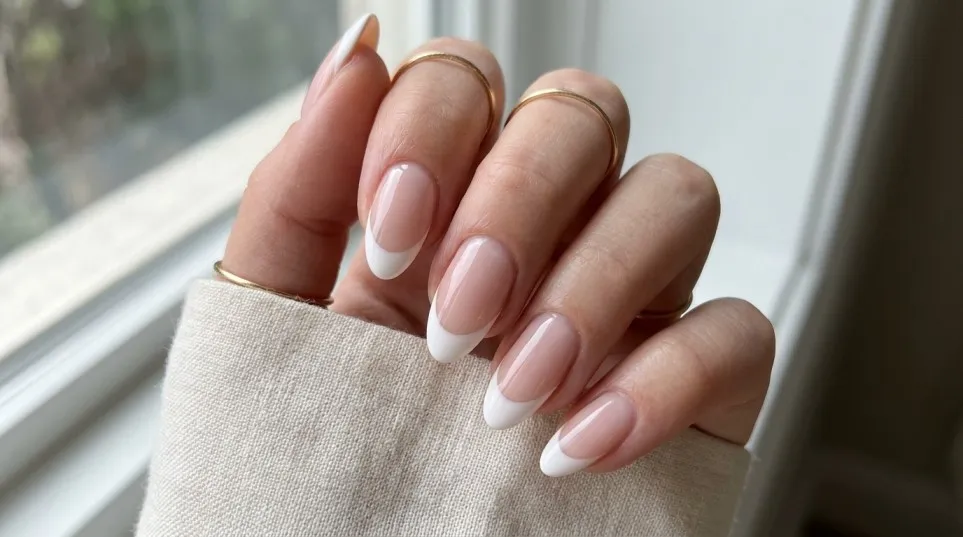
A sheer pink or nude base with white tips creates a clean, timeless manicure. This style works well for weddings, professional settings, and everyday wear.
2. Short Nude Gel X Nails
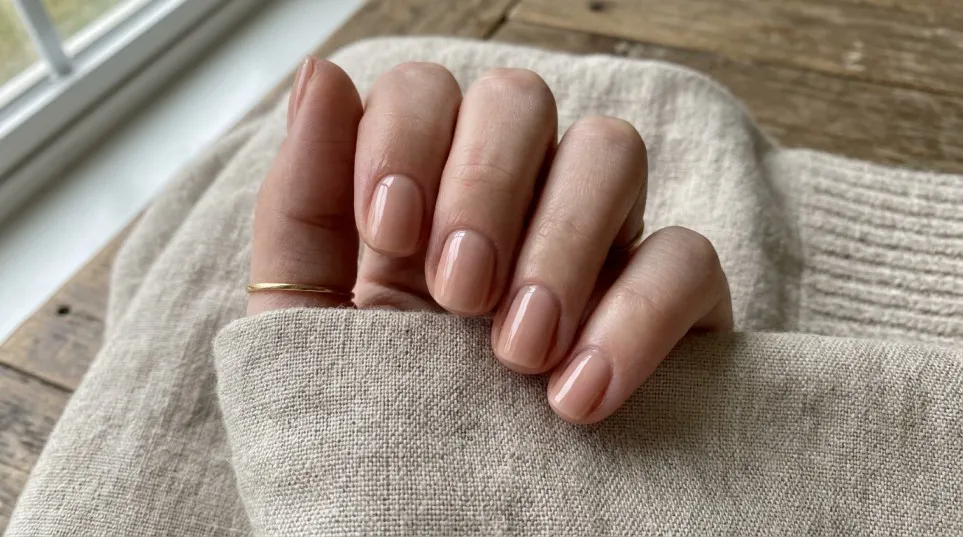
Short nude extensions provide a subtle finish that pairs easily with different outfits. They are also a practical choice for beginners who want a manageable length.
3. Almond Gel X Nails
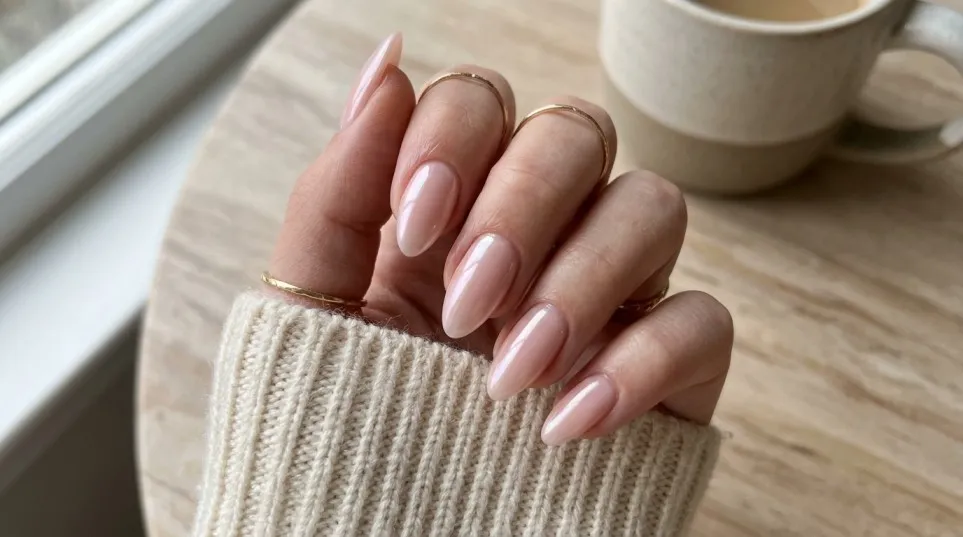
The tapered almond shape gives the manicure a soft, elegant appearance. Pale pink, beige, and milky white shades work particularly well with this style.
4. Chrome Gel X Nails
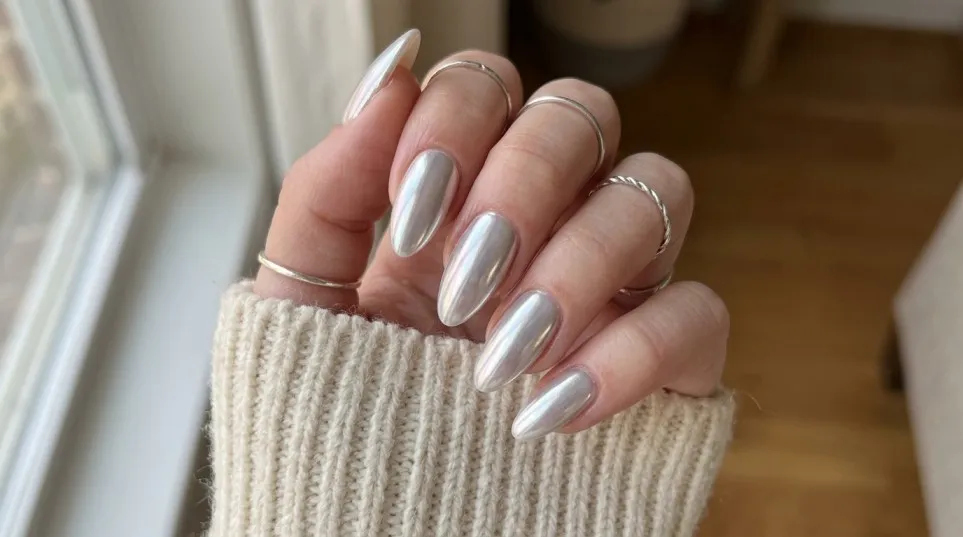
Chrome powder can create a reflective finish over a suitable gel base. Popular options include pearl, silver, and glazed finishes.
Follow the nail art product’s instructions and ensure all gel layers are cured correctly.
5. Red Gel X Nails
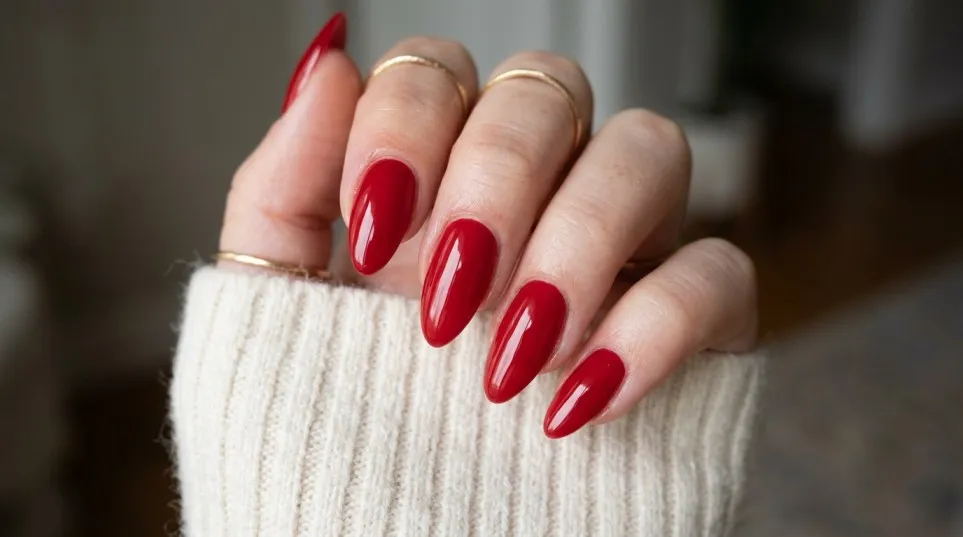
A glossy red manicure is a classic choice for parties, celebrations, and evening events. It can look especially striking on short square or medium almond tips.
6. Minimalist Gel X Nail Art
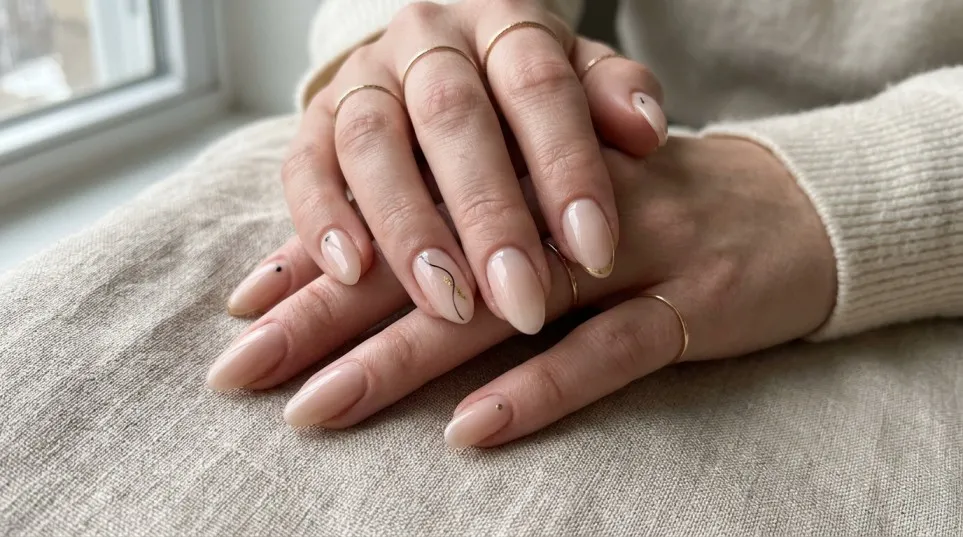
Small dots, fine lines, simple flowers, and subtle accent nails offer a creative look without making the manicure overly busy.
If you are applying extensions yourself, begin with simple designs and add more detail as your technique improves.
Final Thoughts: Are Gel X Nails Worth It?
Gel X nails are a useful option for people who want attractive extensions with consistent shapes, a smooth finish, and a wide choice of designs.
Their main advantages are the convenience of pre-shaped tips, the variety of styles, and the possibility of achieving a professional-looking manicure. However, the results depend on correct sizing, compatible products, proper curing, and careful removal.
If you want to try them at home, invest in a suitable system rather than choosing a kit based only on its price. Check the ingredients, lamp compatibility, instructions, tip sizes, and removal method before buying.
You can begin by exploring the Amazon UK Gel X nail kit selection, comparing complete kits, and reading the product information carefully.
Ultimately, the best Gel X nails are not simply the ones that look beautiful on the first day. They are the ones that suit your lifestyle, feel comfortable, and can be maintained and removed without unnecessary damage to your natural nails.
Frequently Asked Questions About Gel X Nails
Related BIAB Guides
- How to Remove Gel X Nails at Home: 8 Easy Steps
- Builders Gel Nails Near Me: Your Complete Guide to Beautiful, Strong and Natural-Looking Nails
- Art Nail Gel: Complete Beginner’s Guide to Beautiful, Creative and Long-Lasting Nail Art
- White Gel Nail Polish: 10 Beautiful Ideas, Application Tips & Best Products for a Perfect Manicure
Gel X nails are full-cover soft gel nail extensions attached to natural nails with a compatible gel adhesive and cured under a UV or LED lamp. They provide added length and a prepared nail shape.
Gel X nails can last approximately three to four weeks when applied correctly. Actual wear time varies with nail preparation, tip fit, product compatibility, nail growth, and daily activities.
Neither method is universally better. Gel X offers pre-shaped soft gel extensions, while acrylic nails are generally sculpted or constructed using an acrylic system. Your preferred style, nail condition, and technician’s skill should guide your choice.
They can cause damage if the nail plate is over-filed, extensions are pulled off, or removal is performed aggressively. Correct application and gentle removal help reduce these risks.
Yes, beginners can learn the process, but they need suitable products, a compatible curing lamp, careful technique, and an understanding of safe removal. Skin contact with uncured gel must be avoided.
You generally need full-cover soft gel tips, compatible gel adhesive, a suitable UV/LED lamp, nail preparation products, a file, and finishing products. You should also have an appropriate removal method before starting.
Many Gel X systems are designed for soak-off removal. Follow the exact product instructions, soften the material properly, and never peel or force off an extension that will not release.
The price varies according to the brand, number of products, lamp, tip selection, and kit contents. Compare complete kits on Amazon UK and check whether you need to purchase any essential items separately.
Gel X tips are generally intended to be applied as extensions and removed according to the manufacturer’s instructions. Reuse is not recommended unless the specific product manufacturer explicitly permits a safe reuse method.
You can compare soft gel extension kits, tip shapes, accessories, and customer reviews through the Amazon UK Gel X nail kit search. Check the seller, product details, lamp compatibility, and delivery terms before purchasing.
2 Comments