How to Remove BIAB Nails at Home: A Safe Step-by-Step Guide
If you love BIAB nails, you probably already know how strong, neat, and long-lasting they can be. But eventually, the time comes when you need to take them off.
The good news is that you can remove BIAB nails at home, but you need to be patient. Trying to peel, pick, or force the product off can damage the natural nail underneath.
So, if you are wondering how to remove BIAB nails at home safely, this guide will walk you through everything from the tools you need to the actual removal process and aftercare.
Important: Not every BIAB product is removed in exactly the same way. Some formulas are soak-off BIAB, while others are file-off products. Always check the removal instructions for the exact product you have before starting.
What Are BIAB Nails?
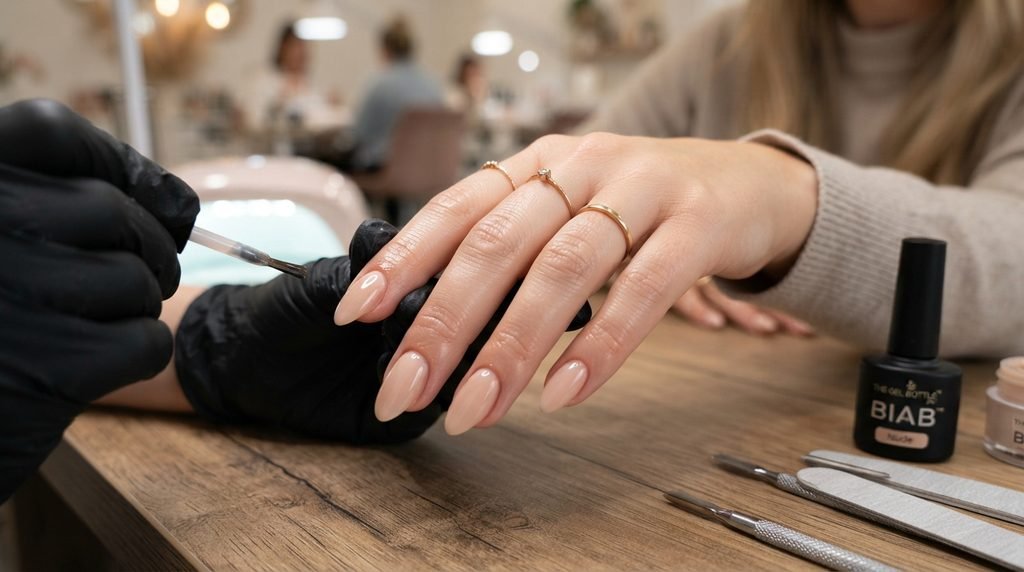
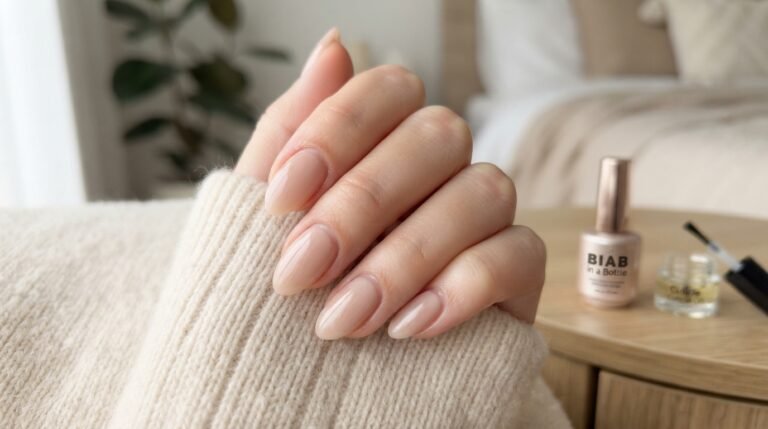
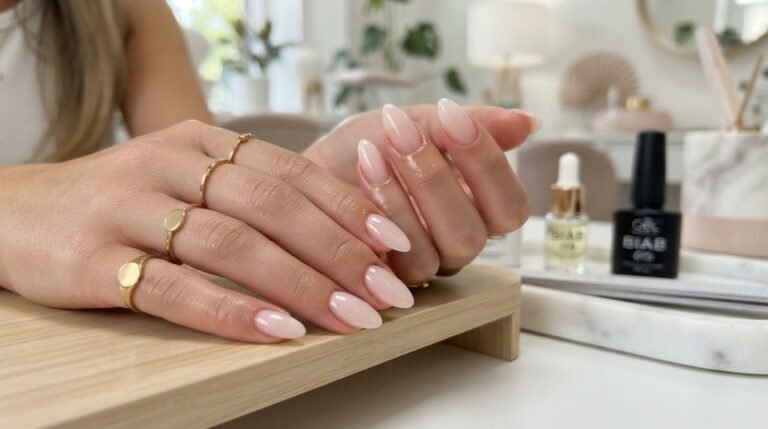
BIAB stands for Builder In A Bottle. It is a type of builder gel designed to add strength and structure to the natural nail.
Unlike ordinary gel nail polish, BIAB has a thicker consistency and is generally used to create a stronger overlay over the natural nail. Depending on the formula, it can also be used for certain extensions.
One reason people love builder gel nails is their durability. However, that same durability means you should not expect BIAB to simply wipe away with ordinary nail polish remover.
Can You Remove BIAB Nails at Home?
Yes, BIAB nails can sometimes be removed at home, but the correct method depends on the formula.
For a soak-off BIAB, the usual process involves:
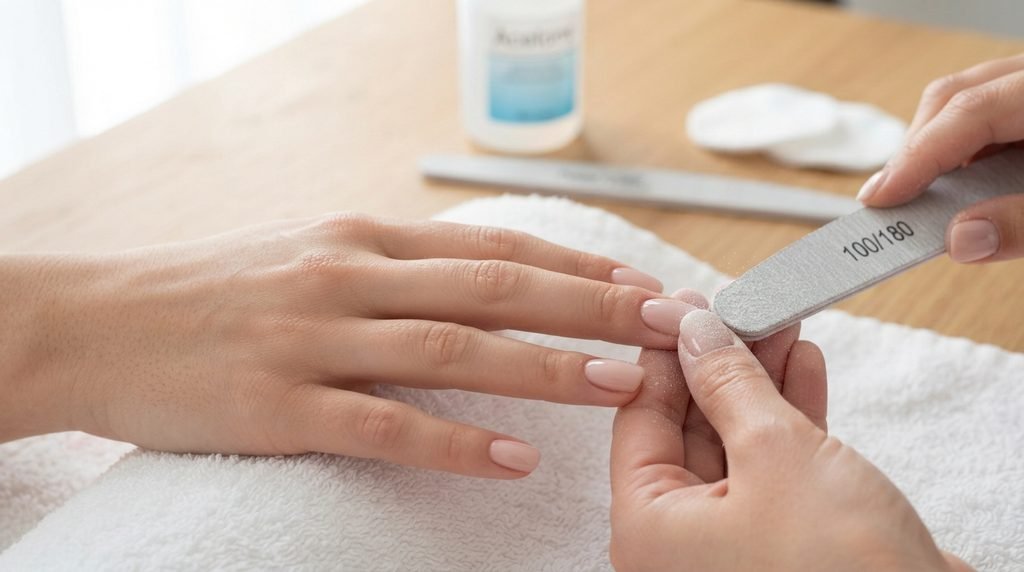
- Filing away the shiny top layer
- Soaking the remaining product in 100% acetone
- Gently removing the softened product
- Repeating the soak if necessary
- Lightly buffing and caring for the natural nail
However, some BIAB formulas are file-off products. This distinction is extremely important because soaking a file-off formula may not remove it effectively.
Before you begin, check the product bottle, packaging, manufacturer’s website, or salon information to find out which removal method your BIAB requires.
What You Need to Remove BIAB Nails at Home
If you have a soak-off BIAB system, gather everything before starting.
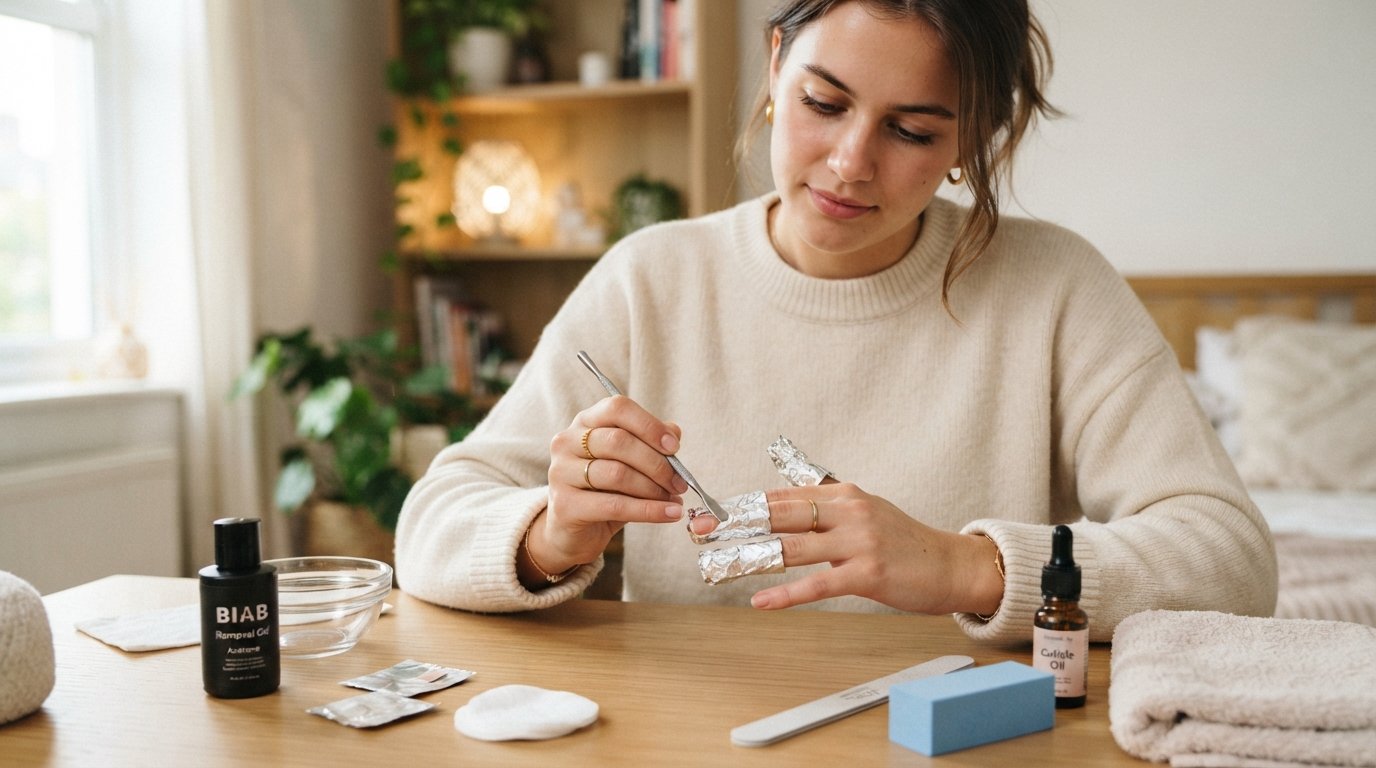
Your basic BIAB removal kit should include:
- 100% pure acetone
- Nail file, ideally around 120/180 grit
- Cotton pads or lint-free wipes
- Small pieces of aluminium foil or nail removal foils
- A cuticle pusher
- Nail buffer
- Cuticle oil
- Hand cream
- A clean towel
You don’t need an expensive collection of tools to get started. What matters most is using the tools gently and giving the product enough time to soften.
How to Remove BIAB Nails at Home Step by Step
Now let’s get into the actual process.
Step 1: Wash and Clean Your Hands
Start with clean hands and nails.
Wash your hands with soap and water, then dry them completely.
This gives you a clean surface to work with and makes it easier to see the condition of your nails.
If you have any cuts, broken skin, redness, swelling, or irritation around your nails, it is better to avoid soaking the area in acetone and consider getting professional advice.
Step 2: Trim Your Nails If They Are Long
If your BIAB nails are quite long, carefully shorten them using a suitable nail clipper or nail file.
You don’t have to take them all the way down to the natural nail.
The goal is simply to make the removal process easier and reduce unnecessary length.
If you have BIAB extensions, be particularly careful because excessive pressure can bend the natural nail underneath.
Step 3: File Away the Top Coat
This is one of the most important steps when learning how to remove BIAB nails.
Take a 120/180 grit nail file and gently file the shiny surface of the nail.
You are not trying to file all the BIAB away.
Instead, your goal is to break the top seal so that acetone can reach the soak-off product more effectively.
Move the file gently across the surface.
Don’t do this:
- Don’t aggressively file the natural nail.
- Don’t press extremely hard.
- Don’t keep filing once you reach the natural nail.
- Don’t try to remove everything with the file if your product is designed to soak off.
Step 4: Soak Cotton in Acetone
Once the shiny top layer has been removed, prepare your acetone.
Take a cotton pad or lint-free wipe and soak it thoroughly with 100% acetone.
The pad should be wet enough to keep the product in contact with the nail.
Then place it directly over the nail.
Why 100% acetone?
Regular nail polish remover may not contain enough acetone to soften builder gel effectively.
Pure acetone is commonly used for soak-off gel removal because it acts as the solvent that softens the coating.
Step 5: Wrap Each Nail With Foil
Place the acetone-soaked cotton directly over your nail.
Then wrap the fingertip with aluminium foil.
Try to make the wrap reasonably snug so the cotton stays against the nail.
You can also use ready-made gel removal foils, which are designed specifically for this purpose.
Repeat this process for all your nails.
At this point, your hands might look a little funny.
It can be tempting to unwrap the first nail after just a few minutes because you want to see whether anything is happening. But resist that temptation.
The soaking time is part of the removal process.
Step 6: Wait for the BIAB to Soften
For many soak-off BIAB systems, you may need around 10–15 minutes of soaking.
However, the exact time can vary depending on:
- The BIAB formula
- How thick the product is
- Number of layers
- Whether there is nail art
- The type of top coat
- Whether you filed enough of the surface first
So don’t treat 10 minutes as a magic number.
Think of it as a first check.
Step 7: Check One Nail
After the first soak, unwrap one nail.
Look closely at the BIAB.
If it has become soft, flaky, or lifted from the nail, you’re ready for the next step.
If it is still hard and firmly attached, don’t force it.
Simply apply fresh acetone to the cotton, wrap the nail again and allow it to soak for another few minutes.
This is much safer than trying to scrape hard product from the nail.
Step 8: Gently Push Away the Softened BIAB
Once the product has softened, use the flat end of a cuticle pusher to gently push away the softened BIAB.
Work slowly.
The product should come away relatively easily if it has been properly softened.
The golden rule:
If you have to use a lot of force, stop.
Hard, stubborn BIAB usually means it needs more soaking or it may be a file-off formula.
Step 9: Re-Soak Stubborn Areas
You may find that some areas remove easily while other areas remain attached.
That’s normal.
Instead of scraping harder, put the acetone-soaked cotton back onto the nail.
Wrap it again and give it another 5–10 minutes.
Then check again.
This simple approach can make a huge difference.
Remember:
More patience = less aggressive filing and scraping.
Step 10: Remove the Remaining Product Carefully
Once the remaining BIAB has softened, gently remove it.
Don’t dig underneath the product.
Don’t use a sharp metal tool aggressively.
And don’t try to lift a large piece in one go if it is still attached.
The goal is to remove the product, not layers of your natural nail.
Step 11: Lightly Buff the Natural Nail
After the majority of the BIAB has been removed, you may notice a small amount of residue.
Use a fine nail buffer and very gently smooth the surface.
You do not need to make the nail perfectly shiny.
In fact, excessive buffing can unnecessarily thin the natural nail.
Step 12: Shape Your Natural Nails
Now is a good time to give your nails a simple shape.
You can choose:
- Round
- Oval
- Squoval
- Almond
- Short square
For everyday nails, a shorter rounded or squoval shape can be practical if your nails feel delicate after removal.
Use a nail file rather than repeatedly clipping back and forth.
Step 13: Apply Cuticle Oil
This is an easy step to forget, but it makes your nails feel much better after removal.
Apply a good cuticle oil around:
- The cuticle
- Sidewalls
- Nail plate
- Skin surrounding the nail
Massage it gently into the area.
Acetone can make the surrounding skin feel dry, so moisturizing afterwards is a sensible part of your BIAB nail aftercare routine.
Step 14: Moisturize Your Hands
Finish with a good hand cream.
Massage it into your fingers and around the nails.
If your hands feel particularly dry, apply cuticle oil first and hand cream afterwards.
This simple combination can make your hands feel much more comfortable after gel nail removal.
What If Your BIAB Nails Won’t Soak Off?
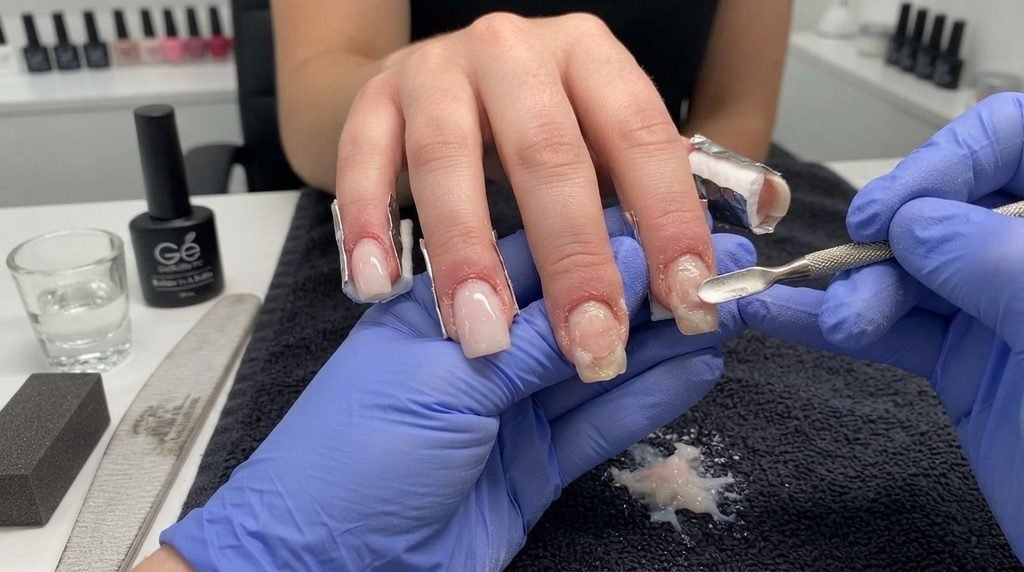
This is one of the most common problems beginners face.
You may soak your nails for 10–15 minutes and think:
“Why isn’t this coming off?”
There are several possible reasons.
1. You didn’t file the top coat enough
If the surface remains sealed, acetone may not reach the product effectively.
Solution: File the surface gently before soaking.
2. The BIAB layer is very thick
Thicker applications can take longer to soften.
Solution: Give the product additional soaking time instead of scraping harder.
3. You have a file-off BIAB
Some BIAB products are specifically designed to be filed off rather than completely soaked off.
Solution: Check the manufacturer’s removal instructions.
4. You are using the wrong remover
Regular nail polish remover may not be suitable for removing builder gel.
Solution: Use the removal product recommended for your specific system.
5. Your product contains multiple layers
A thick combination of builder gel, colour and top coat may require additional filing before soaking.
Should You Peel or Pick Off BIAB Nails?
No.
This is probably the most important thing to remember.
When a corner of your BIAB starts lifting, it can be incredibly tempting to grab it and peel the entire layer away.
Don’t.
Picking or peeling can take layers of the natural nail plate with the product.
The result may be nails that look:
- Thin
- Weak
- Rough
- Flaky
- Sensitive
If the BIAB won’t come away easily, soak again rather than forcing it.
Can You Remove BIAB With a Nail File Only?
Sometimes, yes.
A file-off BIAB is designed to be removed by filing rather than soaking.
However, filing product away requires much more control than simply soaking it.
For this reason, if you’re not confident with an e-file or manual filing technique, professional removal may be the safer option.
Some professional systems recommend leaving a very thin layer of product rather than repeatedly filing directly against the natural nail.
What About Using an E-File at Home?
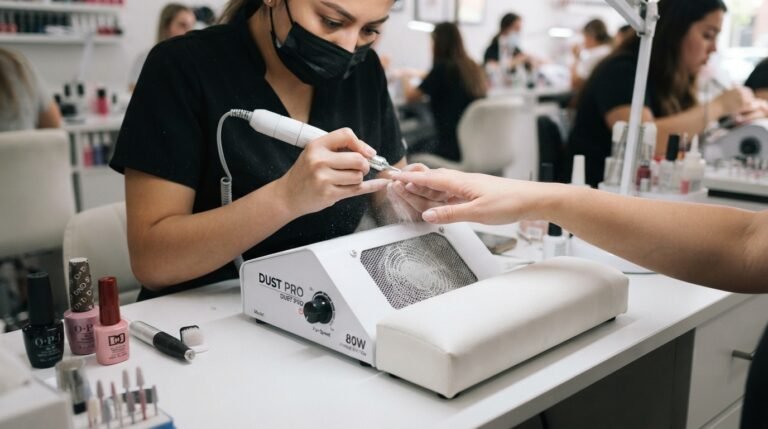
An electric nail file, or e-file, can make BIAB removal faster.
However, it also requires skill.
A professional technician knows how to control:
- Speed
- Pressure
- Bit selection
- Direction
- Heat
- Product thickness
- Distance from the natural nail
If you have never used an e-file before, it is better not to learn on your natural nails.
BIAB Removal Mistakes to Avoid
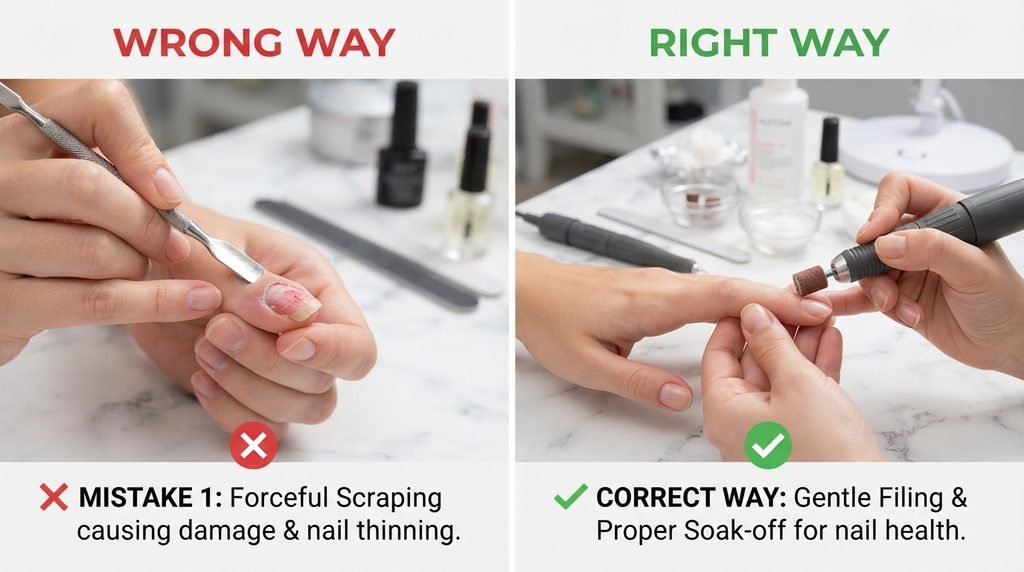
Here are the biggest mistakes beginners should avoid.
Mistake 1: Peeling the BIAB
This is one of the easiest ways to cause unnecessary damage.
Solution: Soak or file according to the product’s instructions.
Mistake 2: Scraping Too Hard
If the product is still hard, don’t fight it.
Solution: Re-soak and let the acetone do more of the work.
Mistake 3: Filing Too Deep
You only need to remove the product.
Solution: Slow down when you get close to the natural nail.
Mistake 4: Using a Random Product Removal Method
Not all builder gels are identical.
Solution: Check the manufacturer’s instructions.
Mistake 5: Ignoring Nail Condition
If you notice unusual redness, swelling, pain, lifting, discoloration, or other concerning changes, don’t simply cover the nail with another layer of product.
Give the nail a proper look and seek professional advice when appropriate.
How to Keep Your Nails Healthy After BIAB Removal
After removing BIAB nails, your natural nails may feel different from what you’re used to.
They may feel softer, lighter or slightly dry.
That doesn’t automatically mean that the BIAB has damaged your nails. The removal process itself can temporarily change how the nail surface looks and feels.
A simple aftercare routine can help.
Use cuticle oil regularly
Apply cuticle oil once or twice a day, especially around the cuticle area.
Keep nails at a manageable length
If your nails feel fragile, keep them shorter until they feel comfortable again.
Avoid picking
Don’t pick at flakes or leftover product.
Wear gloves for cleaning
Household cleaning products and frequent water exposure can be hard on the hands and surrounding skin.
Give your nails a break if they need one
You don’t necessarily need a long “nail holiday” simply because you’ve removed BIAB. The important thing is to assess the condition of your natural nails and avoid aggressive removal or over-filing.
How Often Should You Remove BIAB?
There isn’t one universal schedule because it depends on the product, application, nail growth and your nail condition.
Some professional guidance discusses infill services rather than completely removing the BIAB every time. BIAB can often be maintained through professional infills when the product and natural nail are suitable.
If you are unsure whether you need a BIAB infill or full removal, a qualified nail technician can assess your nails.
BIAB Removal vs Gel Polish Removal
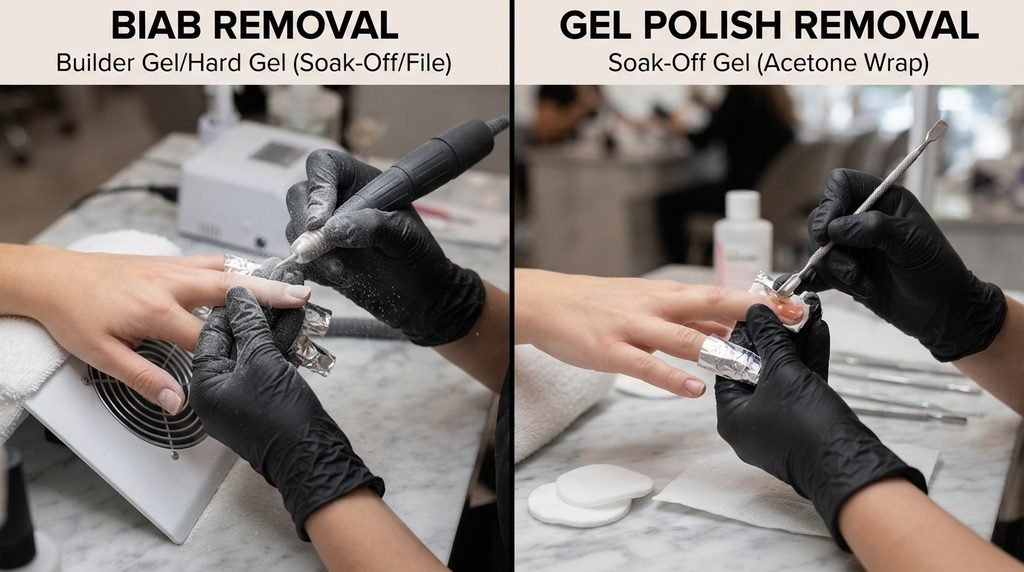
It is useful to understand that these aren’t always the same thing.
Gel polish is generally a thinner colour coating.
BIAB is a builder product designed to provide additional structure and strength.
Therefore, BIAB can be thicker and more difficult to remove.
This is why trying to treat BIAB exactly like ordinary gel polish can lead to frustration.
How Long Does BIAB Removal Take?
The exact time depends on the formula and how much product is on the nail.
For some soak-off BIAB systems, the initial acetone soak can take around 10–15 minutes, but thicker applications may require additional soaking.
If you include:
- Filing
- Soaking
- Re-soaking
- Gentle removal
- Buffing
- Shaping
- Cuticle care
the complete process can take considerably longer.
That’s completely fine.
BIAB removal isn’t a race.
Taking an extra 10 minutes is much better than damaging your natural nails by trying to finish quickly.
Can You Put New BIAB on Immediately?
You may be able to have a new BIAB application after removal, but the condition of your natural nails matters.
If the nail plate looks healthy and the product has been removed correctly, a professional nail technician can determine whether you are ready for another application.
However, if your nails are:
- Extremely thin
- Painful
- Damaged
- Peeling significantly
- Cracked
- Showing unusual changes
it’s better to deal with the underlying problem first.
Don’t use a new BIAB layer simply to hide damaged nails.
A Simple BIAB Removal Checklist
Before you start, save this checklist.
Before Removal
- Check whether your BIAB is soak-off or file-off
- Wash and dry your hands
- Gather acetone and removal tools
- Prepare your foil and cotton
- Have cuticle oil ready
During Removal
- File away the shiny top coat
- Soak cotton with 100% acetone
- Wrap each nail
- Wait around 10–15 minutes initially
- Check one nail
- Gently push softened product away
- Re-soak stubborn areas
- Never force hard product
After Removal
- Lightly buff if needed
- Shape your nails
- Apply cuticle oil
- Apply hand cream
- Check the condition of your natural nails
Frequently Asked Questions About Removing BIAB Nails
Can I remove BIAB nails with normal nail polish remover?
Usually, ordinary nail polish remover is not the right choice for removing builder gel.
A soak-off system generally requires an appropriate acetone-based removal process. Always check the manufacturer’s instructions for your specific BIAB formula.
How long should I soak BIAB nails in acetone?
For many soak-off systems, an initial soak of around 10–15 minutes is common. However, thicker product or different formulas may require longer.
Why is my BIAB not coming off with acetone?
Your BIAB may be a file-off formula, the layer may be too thick, or the surface may not have been filed enough to break the seal.
Check the manufacturer’s removal instructions before continuing.
Can I peel off lifting BIAB?
No.
Even if the product is already lifting, peeling can remove layers of the natural nail.
It’s better to remove it using the correct technique.
Is acetone bad for your nails?
Acetone can make the surrounding skin and nail surface appear dry because it removes surface oils. Using cuticle oil and hand cream after removal can help with the dry feeling.
Can I remove BIAB without acetone?
Yes, if your particular BIAB is designed to be filed off.
However, file-off removal requires care because aggressive filing can thin the natural nail.
Final Thoughts: The Safest Way to Remove BIAB at Home
Learning how to remove BIAB nails at home isn’t difficult, but it does require patience.
The biggest mistake is treating BIAB like something that needs to be ripped or scraped away.
Instead, remember these four simple rules:
Check the formula. File gently. Soak patiently. Never force it.
If you have a soak-off BIAB, filing away the top seal followed by an acetone soak can make the product soft enough to remove gently. If you have a file-off BIAB, don’t keep soaking it and expecting it to disappear. Follow the product’s specific filing instructions instead.
And if you’re unsure about the product or don’t feel confident filing close to your natural nail, getting it removed professionally is worth considering.
Your goal isn’t simply to get the BIAB off.
Your goal is to remove it while keeping your natural nails looking and feeling healthy.