
Gel Nails with Stickers: A Complete Guide to Beautiful, Long-Lasting Nail Art
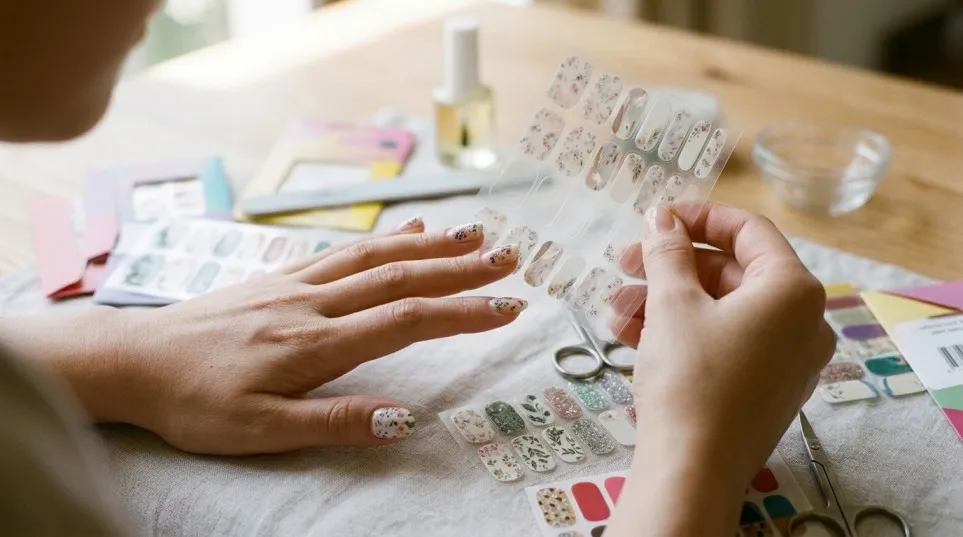
Gel nails with stickers are a simple and stylish way to create beautiful nail art at home without spending hours painting tiny designs by hand. Whether you love delicate flowers, shiny stars, cute hearts, French tips, or modern geometric patterns, nail stickers can help you achieve a salon-style look with less effort.
By combining gel nail polish with decorative stickers, you can create a manicure that looks neat, colourful, and personal. In this guide, you will learn how to apply gel nails with stickers, which stickers work best with gel polish, how to make your nail art last longer, and which products are worth considering when shopping in the UK.
What Are Gel Nails with Stickers?
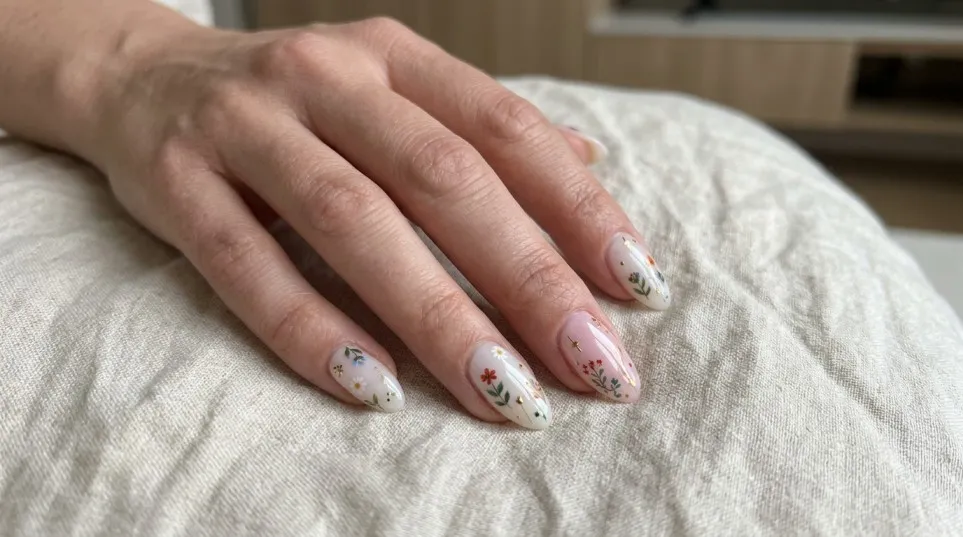
Gel nails with stickers are manicures that combine gel nail polish or gel nail extensions with decorative nail stickers. These stickers come in many designs, sizes, colours, and finishes, making it easy to personalise your nails for everyday wear, holidays, parties, weddings, or special occasions.
Unlike traditional nail art, which often requires a steady hand and a fine nail brush, nail stickers allow you to add detailed patterns in just a few minutes. For example, you could apply a soft pink gel colour and add tiny white flowers for a fresh spring look. Alternatively, you could choose a nude base with gold stickers for a more elegant finish.
There are different types of stickers for gel manicures, including:
- Self-adhesive nail stickers: These stick directly onto the nail surface and are usually easy to apply.
- Water decals: These are transferred onto the nail using water and can create very fine, detailed designs.
- Foil nail stickers: These add metallic effects, such as gold, silver, or rose gold.
- 3D nail stickers: These have raised designs for a more textured look.
- Gel nail wraps: These are thin, patterned nail coverings that may need a compatible curing process, depending on the product.
The best choice depends on your nail style, the type of gel manicure you have, and how much time you want to spend creating your design.
Why Are Gel Nails with Stickers So Popular?
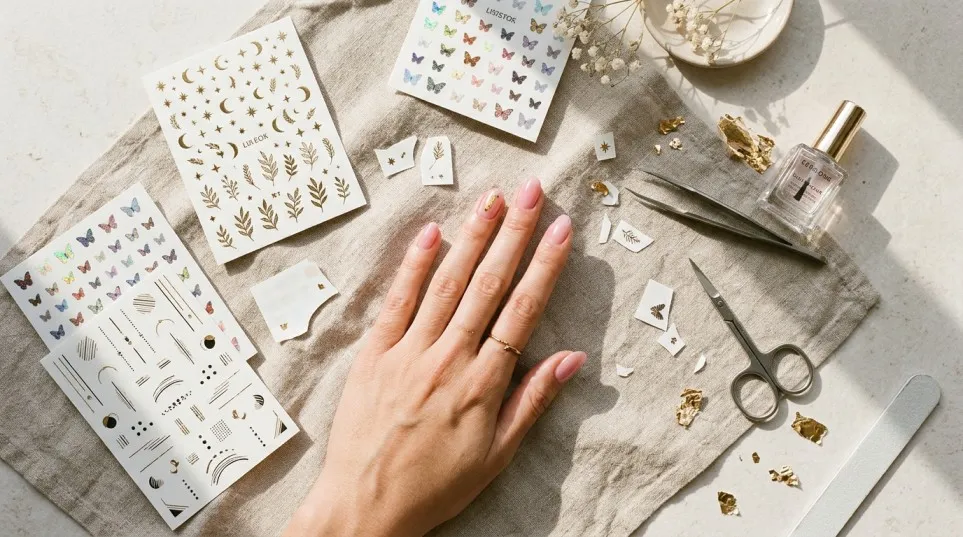
There is a good reason why gel nail stickers and gel nail art have become popular with people who enjoy doing their nails at home. They make creative nail designs easier, even if you have never used a nail art brush before.
Here are some of the main benefits.
1. Easy to Apply at Home
You do not need to be a professional nail artist to create attractive nail designs. Most self-adhesive stickers can be placed onto a prepared nail with tweezers or a small applicator. You can also use a wooden manicure stick to press the sticker gently into place.
2. Plenty of Designs to Choose From
You can find nail stickers in almost every style, including floral patterns, butterflies, stars, hearts, animal prints, abstract shapes, and metallic details. This makes it easy to change your manicure according to your mood or outfit.
3. A More Personal Manicure
Plain gel polish can look beautiful on its own. However, adding a few stickers can make your manicure feel more special. For example, a single gold star on each ring finger can give a simple nude manicure a polished, elegant appearance.
4. Less Time Spent on Nail Art
Hand-painting detailed designs can take a long time. Stickers offer a quicker option because the design is already made. This is especially useful when you want a beautiful manicure before a wedding, holiday, birthday, or night out.
5. Suitable for Different Nail Lengths
Gel nails with stickers can look lovely on short natural nails, medium-length nails, and long gel extensions. You simply need to choose a sticker size that fits your nail without covering the surrounding skin.
Best Types of Stickers for Gel Nails
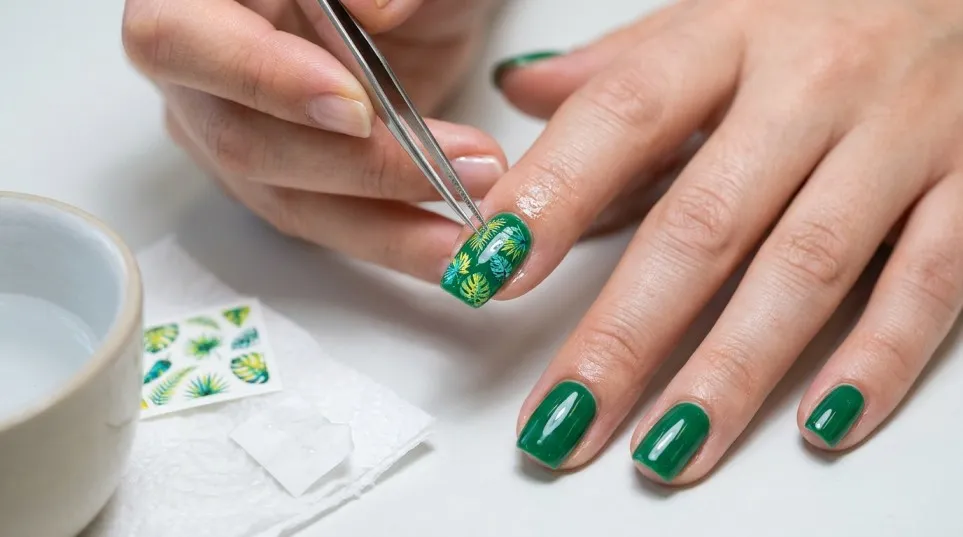
Before buying nail art stickers, it helps to understand how each type works. Not every sticker is designed to be applied in exactly the same way.
Self-Adhesive Nail Stickers
These are among the easiest options for beginners. Peel a design from the backing sheet, place it on a fully prepared and dry nail surface, and seal it with a compatible top coat. They work well for flowers, hearts, tiny stars, and simple decorative details.
Water Transfer Nail Decals
Water decals are thin designs transferred from a backing sheet after being moistened according to the manufacturer’s instructions. They are useful for detailed flowers, lace patterns, and delicate illustrations. Allow the decal to dry fully before applying a suitable top coat.
Metallic Nail Stickers
Gold, silver, and rose-gold designs can add a luxurious touch without covering the whole nail. Try thin metallic lines over milky white, nude, burgundy, or black gel polish.
3D Nail Stickers
Raised flowers, pearls, and decorative gems create texture and dimension. They are ideal for party nails and statement manicures, although raised decorations may catch on clothing or hair more easily than flat decals.
Gel Nail Wraps
Wraps cover much or all of the nail rather than adding just one small decoration. Some are ordinary adhesive strips, while others are designed to be cured under a lamp. Always check the product instructions because these types are not interchangeable.
How to Choose the Best Nail Stickers for Gel Polish
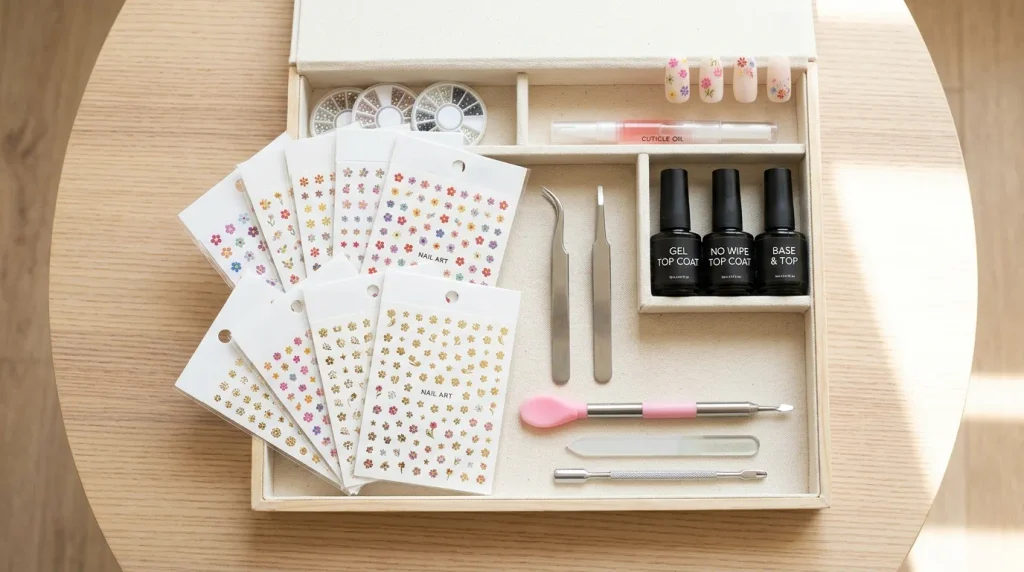
Choosing the right stickers is just as important as applying them correctly. A beautiful design will not look its best if it is too large, difficult to position, or unsuitable for your manicure.
Consider the Size of Your Nails
If you have short nails, choose small flowers, delicate lines, tiny hearts, or minimalist designs. These details can make your nails look neat without overcrowding the available space.
For longer nails, you can experiment with larger patterns, butterfly decals, decorative borders, and bold geometric shapes.
Check Whether the Stickers Are Gel-Compatible
Some nail stickers are designed to be covered with a gel top coat, while others are intended for use with regular nail polish. Read the product instructions before purchasing.
A sticker that works well with ordinary polish may not tolerate a particular curing process. Likewise, certain gel nail wraps are designed to cure under a lamp, but this does not mean that every adhesive sticker should be exposed to UV or LED light.
Choose a Design That Matches Your Base Colour
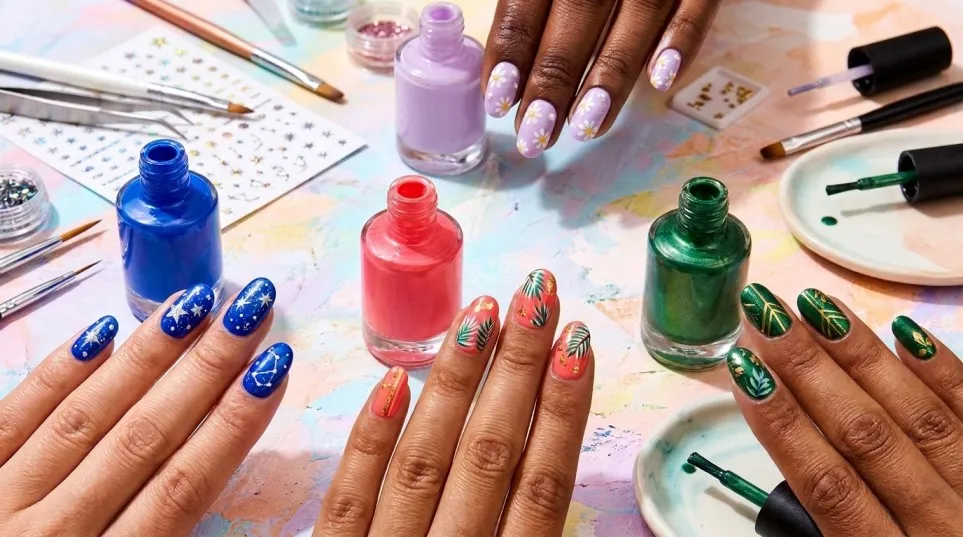
The best sticker colours usually stand out against the gel polish underneath them.
| Gel polish colour | Sticker designs that work well |
|---|---|
| Nude or beige | Gold lines, white flowers, pearls |
| Milky white | Silver stars, pastel flowers, butterflies |
| Baby pink | Hearts, bows, white floral decals |
| Black | Gold foil, silver shapes, bright stars |
| Red | Gold details, tiny hearts, black patterns |
| Sage green | Cream flowers, botanical leaves, gold accents |
| Lavender | White butterflies, silver stars, delicate flowers |
Look at the Number of Designs Included
If you enjoy changing your manicure regularly, a mixed sticker sheet may offer better value than a pack containing only one design. Floral, minimalist, and metallic collections are particularly useful because they can be combined with several different gel polish colours.
However, do not judge a nail sticker set by quantity alone. Check the size of the decals, the quality of the printed designs, the application instructions, and the reviews from other buyers.
Recommended Products: What to Buy for Gel Nails with Stickers
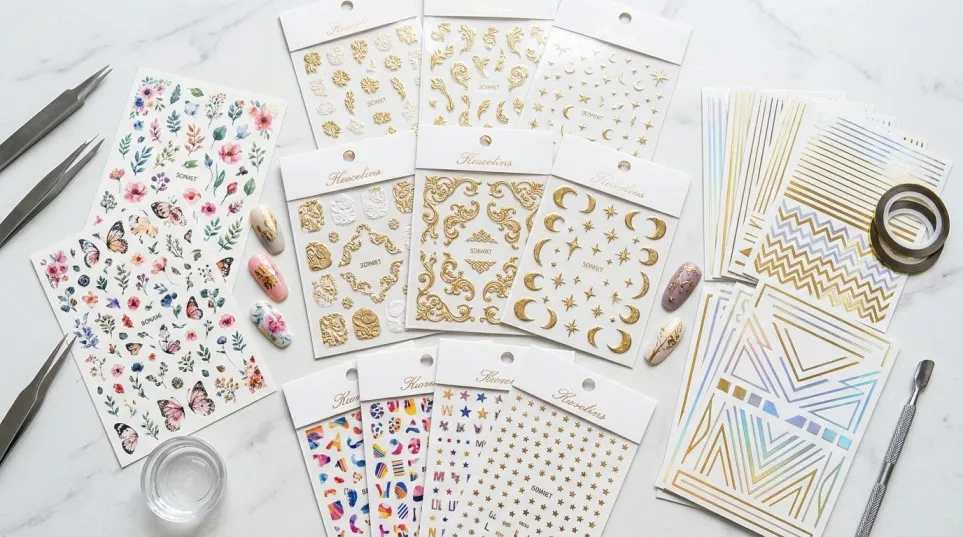
You do not need a large collection of products to get started. A few well-chosen items can help you create attractive nail art at home.
A good starting point for beginners. Look for a mixed pack with flowers, hearts, stars, or minimalist designs that work with several polish colours.
Best for: everyday manicures and simple nail art.
1. Self-Adhesive Nail Art Stickers
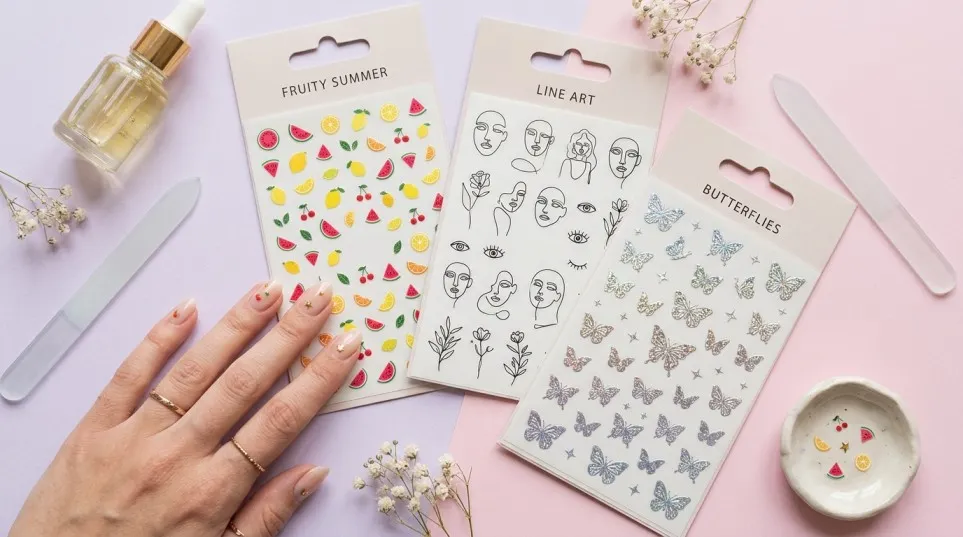
Shop nail art stickers on Amazon UK
2. Gel Nail Polish Set
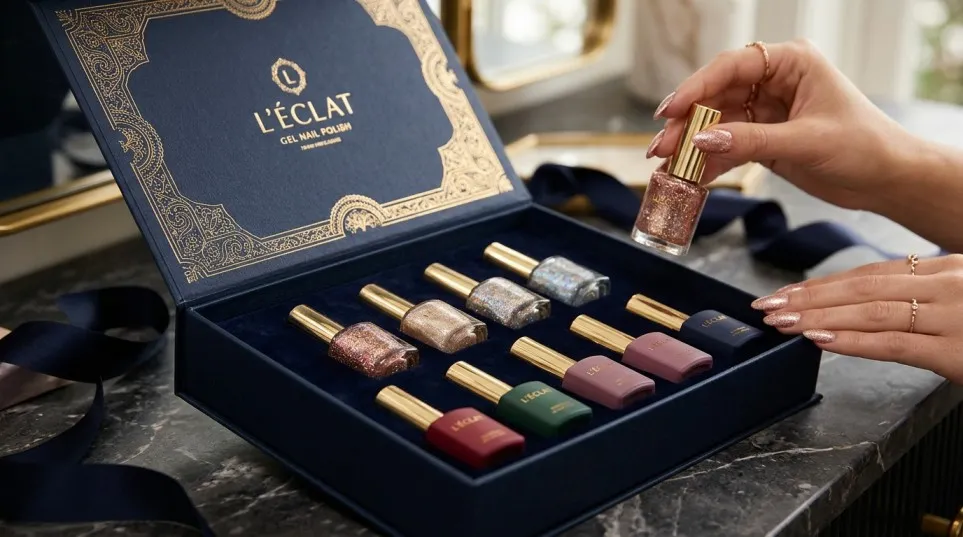
Choose a few versatile shades, such as nude, pink, white, or red. These colours provide a useful base for many sticker designs.
Best for: creating different looks with one sticker collection.
Browse gel nail polish on Amazon UK
3. Compatible Gel Top Coat
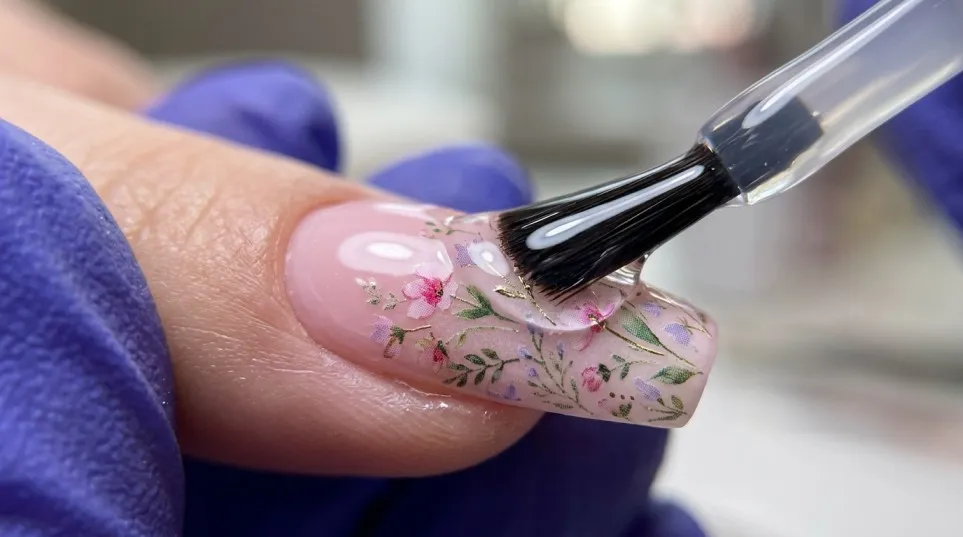
A suitable top coat helps create a smooth, glossy finish and protects many flat nail decals from everyday wear. Check that it is compatible with your gel system and sticker type.
Best for: sealing compatible flat decals and adding shine.
Browse gel top coats on Amazon UK
4. Nail Art Tweezers
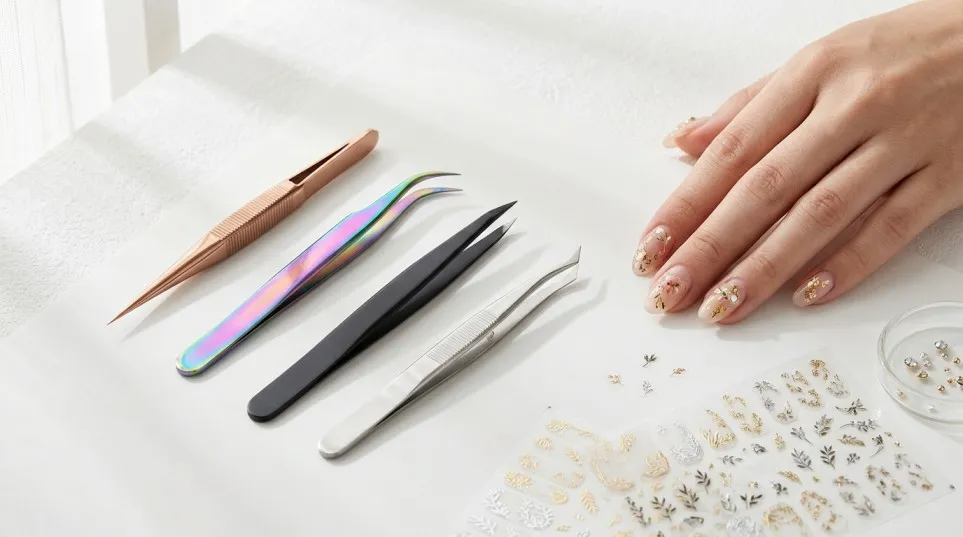
Fine-point tweezers make it easier to lift small stickers and position them accurately without touching the adhesive too much.
Best for: tiny designs and detailed placement.
Browse nail art tweezers on Amazon UK
My buying tip: If you are new to nail art, start with a mixed pack of flat self-adhesive stickers, a few gel polish shades, and a compatible top coat. You can add 3D decorations and more specialised products later. Compare current prices, customer reviews, delivery details, and product instructions before buying, as availability and prices can change.
How to Apply Gel Nails with Stickers at Home: Step-by-Step Guide
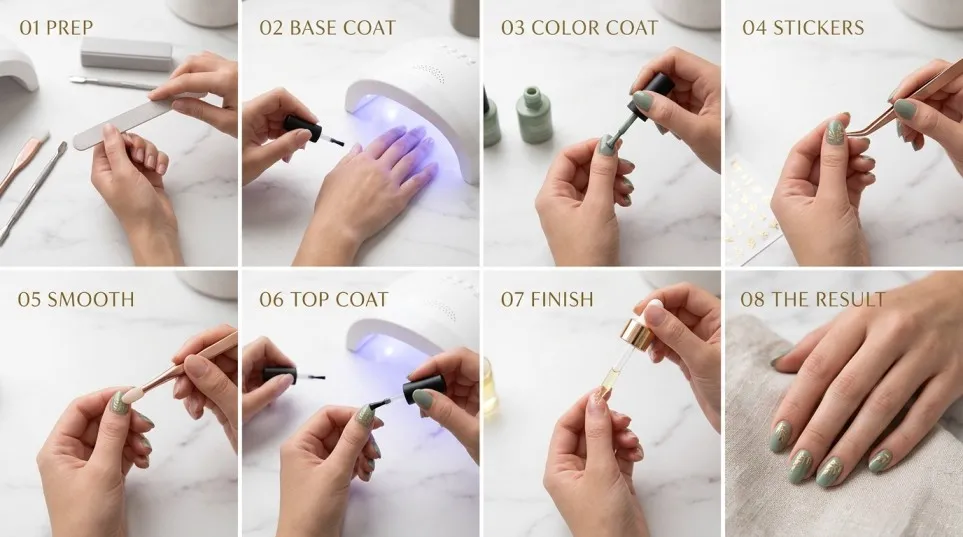
Creating gel nails with stickers at home can be straightforward when you follow the correct order. The key is to prepare your nails properly, cure gel polish according to its instructions, and apply stickers without trapping air underneath them.
Imagine you are getting ready for a weekend event. You want glossy pink nails with delicate gold flowers, but you do not want to spend money on a salon appointment. With the right products and a little patience, you can create this look yourself.
Step 1: Gather Your Nail Art Supplies
Before starting, collect everything you need so you do not have to search for tools while your gel polish is uncured.
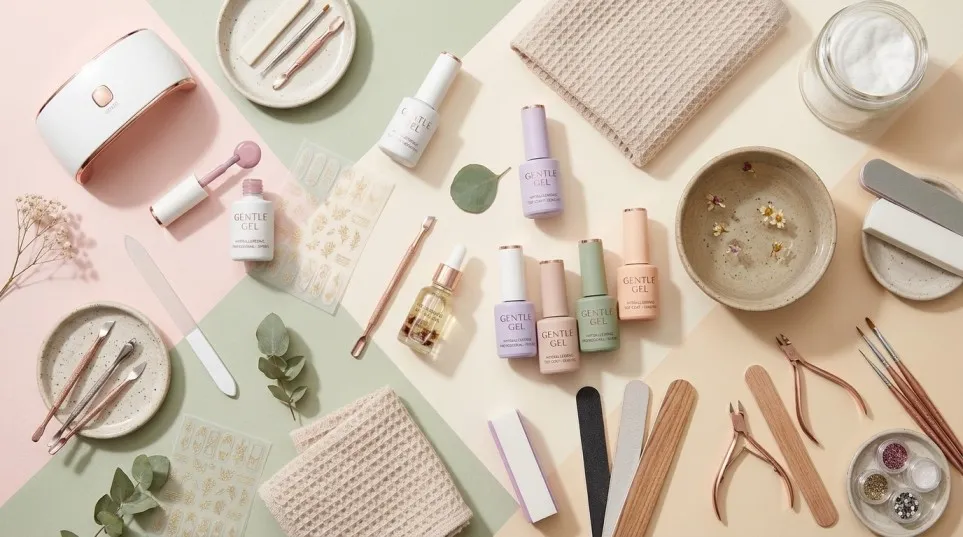
Your basic kit should include:
- Nail file and gentle buffer.
- Nail cleanser suitable for your gel system.
- Gel base coat.
- Gel nail polish in your chosen colour.
- A compatible UV or LED nail lamp.
- Nail stickers or water decals.
- Gel top coat suitable for your chosen decoration.
- Tweezers for placing small stickers.
If you are using a gel system that requires a primer or dehydrator, follow its instructions. Avoid buying unnecessary products until you understand which ones your chosen system needs.
Step 2: Prepare Your Natural Nails
Good nail preparation helps your manicure look neat and reduces the chance of early lifting.
First, remove any old nail polish. File your nails into your preferred shape, such as square, oval, almond, or squoval. Then gently tidy the nail surface and remove dust.
Push back the cuticles carefully if needed, but avoid cutting living skin around the nail. Clean your nails using a suitable cleanser and allow them to dry.
Important: Avoid filing your natural nails aggressively. Excessive buffing can thin the nail plate and leave your nails weak.
Step 3: Apply a Gel Base Coat
Apply a thin layer of the base coat recommended for your gel polish system. Keep the product away from your skin and cuticles.
Cure the base coat for the exact time specified by the manufacturer, using the compatible lamp. Do not guess the curing time or assume every lamp works with every gel product.
If gel touches your skin, remove it before curing according to the product instructions. Repeated skin contact with uncured gel products can lead to an allergy.
Step 4: Apply Your Gel Nail Colour
Choose a base colour that suits your stickers. For example:
- Soft pink for romantic floral designs.
- Nude beige for minimal nail art.
- White for a clean, fresh look.
- Black for striking metallic details.
- Lavender for delicate spring designs.
Apply a thin coat and cure it as directed. Add a second thin coat if the colour needs more coverage, curing it as instructed.
Avoid applying thick layers because they may not cure properly. If the gel remains wet, unusually soft, or wrinkled after curing, do not simply cover it with another layer. Follow the manufacturer’s troubleshooting guidance.
Step 5: Apply the Nail Stickers
Once your colour layer is ready, it is time to add the design.
For ordinary self-adhesive stickers, follow these steps:
- Select the sticker you want to use.
- Lift it gently from the backing sheet with tweezers.
- Position it over the cured gel colour.
- Press it gently from the centre towards the edges.
- Smooth out any visible air bubbles or lifted corners.
Do not place stickers over wet gel polish unless the product specifically instructs you to do so. Most ordinary adhesive decals work best on a fully cured, clean surface.
For water decals, follow the manufacturer’s transfer instructions instead. Let the design dry fully before sealing it.
Step 6: Seal the Design with a Compatible Top Coat
This step can make a big difference to the appearance and durability of your manicure.
Apply a thin, even layer of a compatible top coat over the sticker. Where the product instructions allow, cover the edges of flat decals and lightly seal the free edge of the nail.
Avoid using excessive product, especially around the cuticles. Gel should never touch the surrounding skin.
Cure the top coat according to its instructions. If it leaves a tacky layer, remove it only if the manufacturer specifies that a cleanser is needed. Some top coats are designed to remain tack-free.
Remember: Not all stickers, foils, and 3D decorations can be sealed in the same way. Follow the instructions for your particular product.
Step 7: Finish and Moisturise
Once the manicure is complete, check that the stickers are flat and the surface looks smooth. If the top coat requires cleansing, use the recommended product.
Finish with a little cuticle oil and hand moisturiser, keeping oils away from the nail surface during application.
Your gel nails with stickers are now ready to show off!
15 Beautiful Gel Nails with Stickers Ideas to Try
If you are unsure which design to choose, these ideas offer a mix of simple everyday styles and more eye-catching nail art.
1. Pink Gel Nails with Flower Stickers
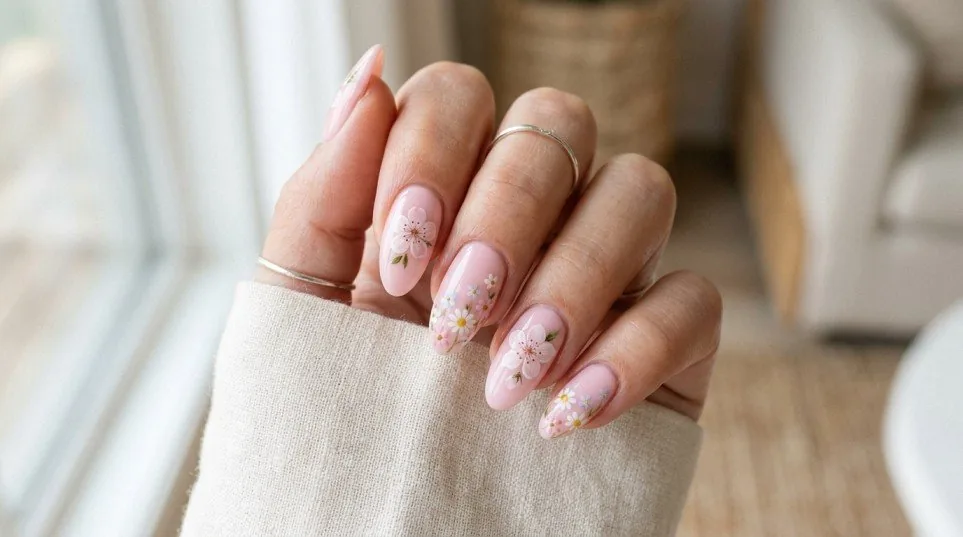
Soft pink polish with tiny white flowers is a lovely choice for everyday wear. Keep the stickers on one or two accent nails for a clean appearance.
2. Milky White Nails with Gold Stars
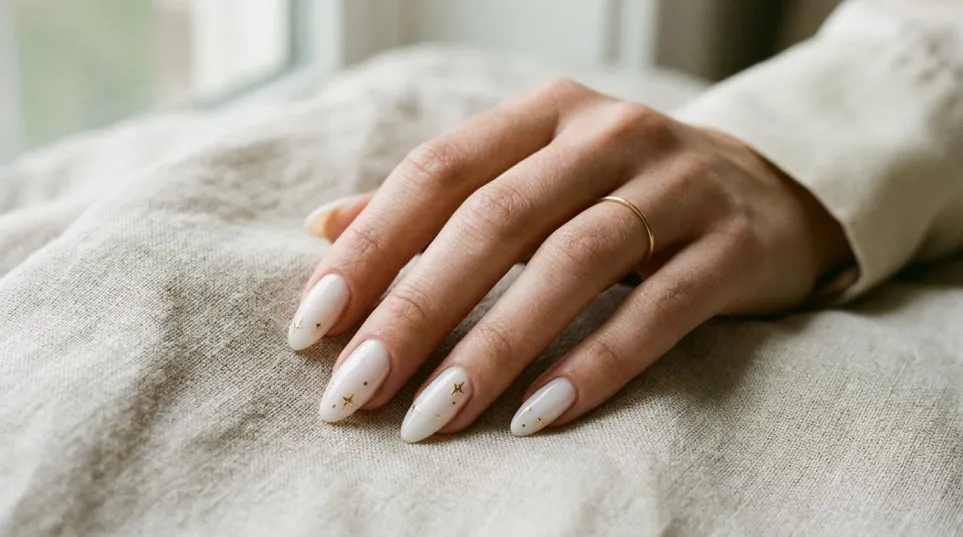
A milky base creates a fresh, understated look, while gold stars add a subtle sparkle. This design works beautifully for celebrations and evening events.
3. Nude Gel Nails with Gold Lines
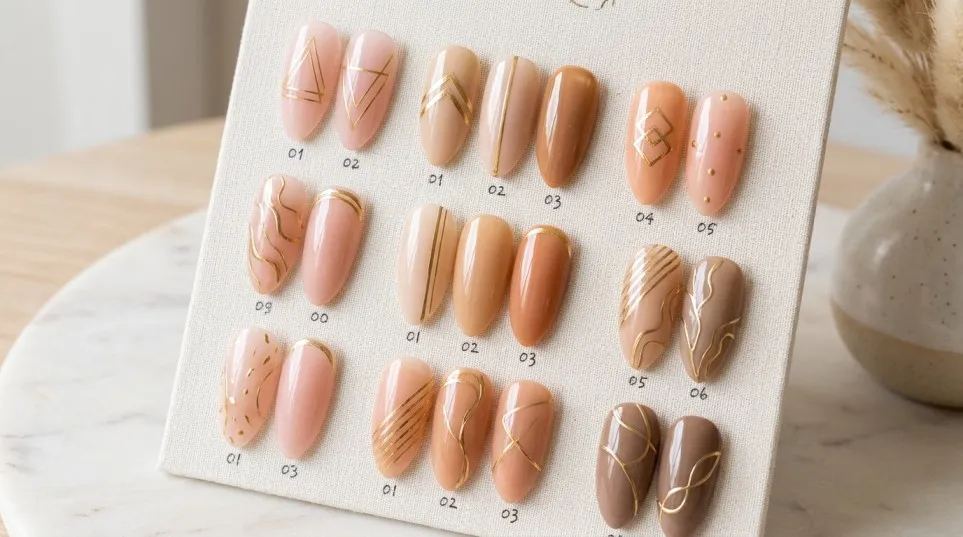
Minimal gold lines can make nude nails look elegant without using too many decorations. This is a great option for people who prefer simple nail art.
4. Lavender Nails with Butterfly Stickers
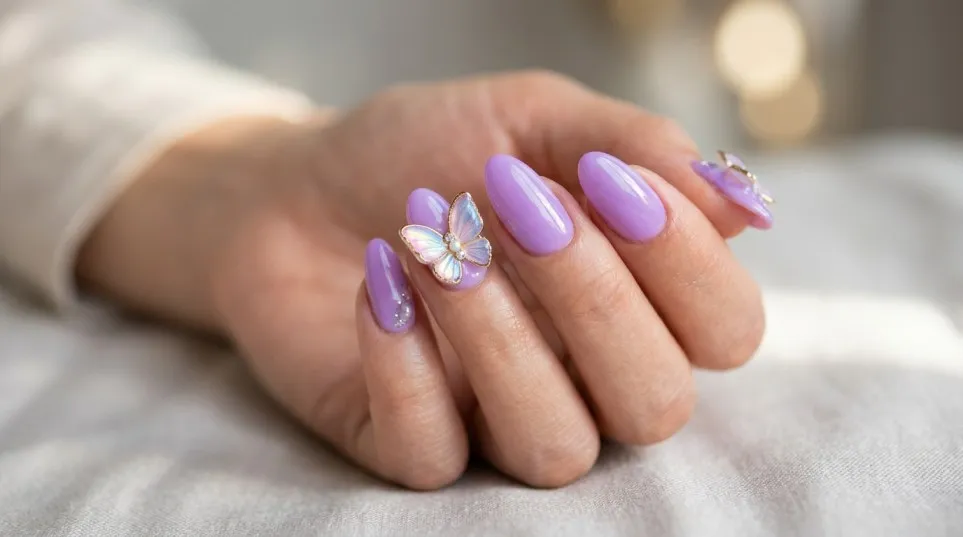
Lavender and butterfly decals create a soft, playful look that suits spring and summer outfits.
5. Red Gel Nails with Heart Stickers
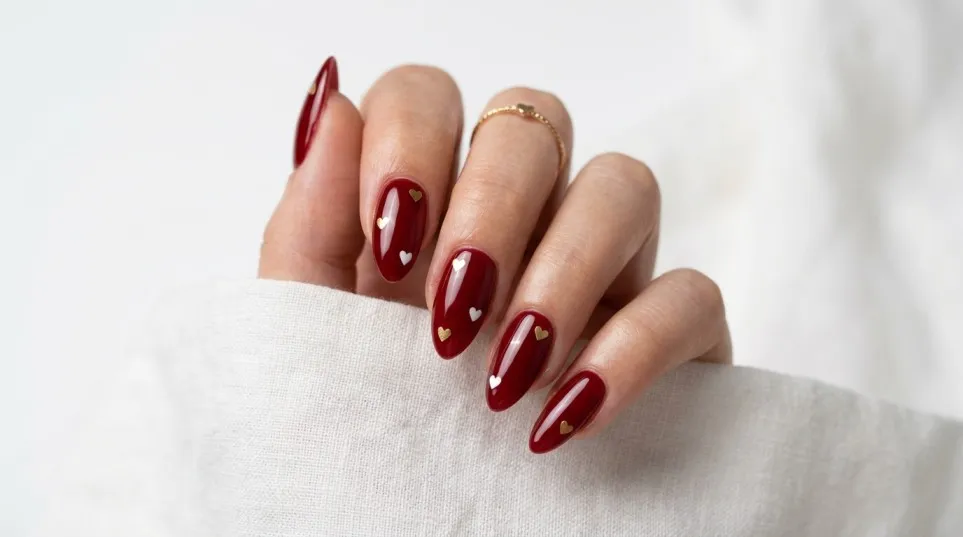
Add small hearts to glossy red nails for a romantic manicure. This design is especially suitable for date nights and Valentine’s Day.
6. French Tips with Floral Stickers
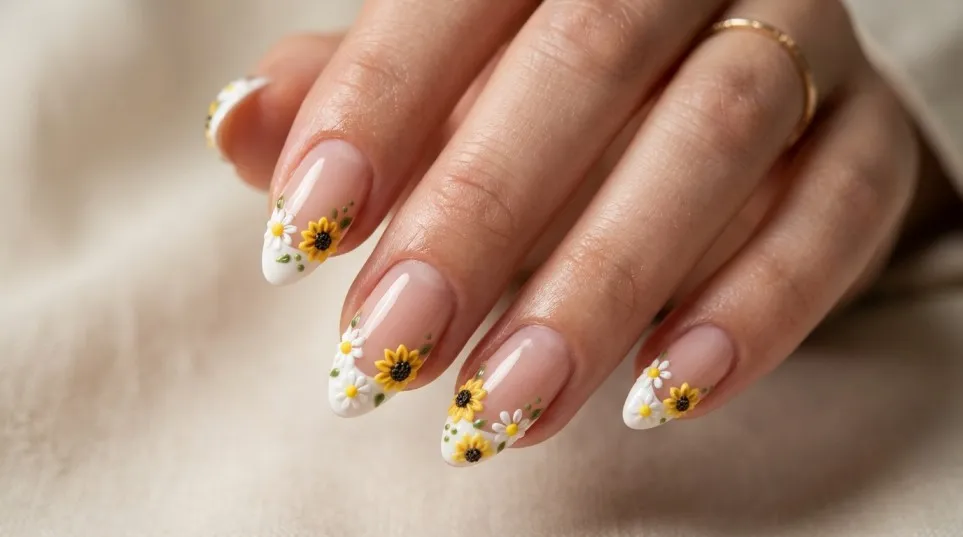
Classic French tips become more interesting with a small flower near the side of each nail or on the ring fingers.
7. Black Nails with Gold Foil
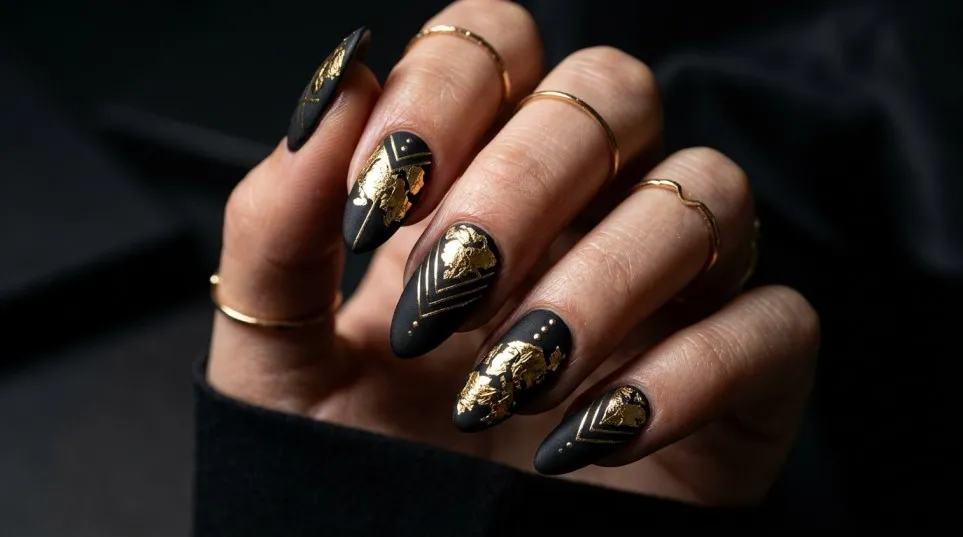
Black and gold create a bold, luxurious combination. Choose small foil accents for a sophisticated finish.
8. Sage Green Botanical Nails
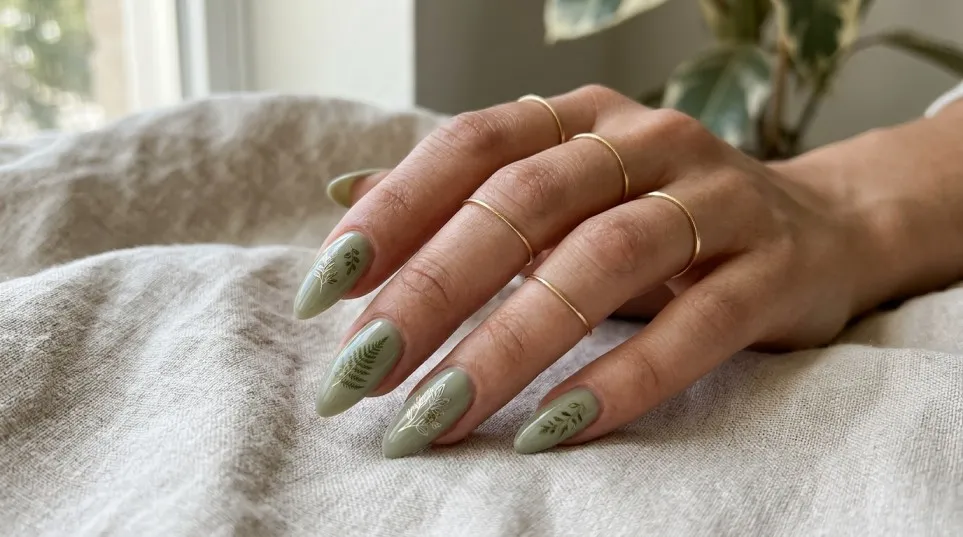
Leaf and plant stickers complement sage green polish beautifully, creating a natural look.
9. Nude Nails with Pearl Decorations
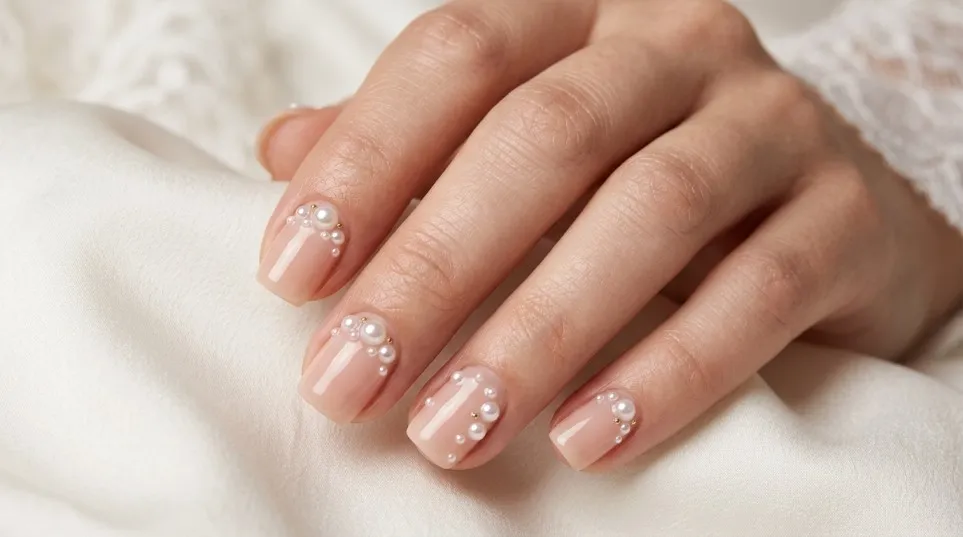
Small pearls add texture and a bridal feel. Keep raised decorations secure and avoid bulky placement that catches on clothes.
10. Summer Fruit Nail Art
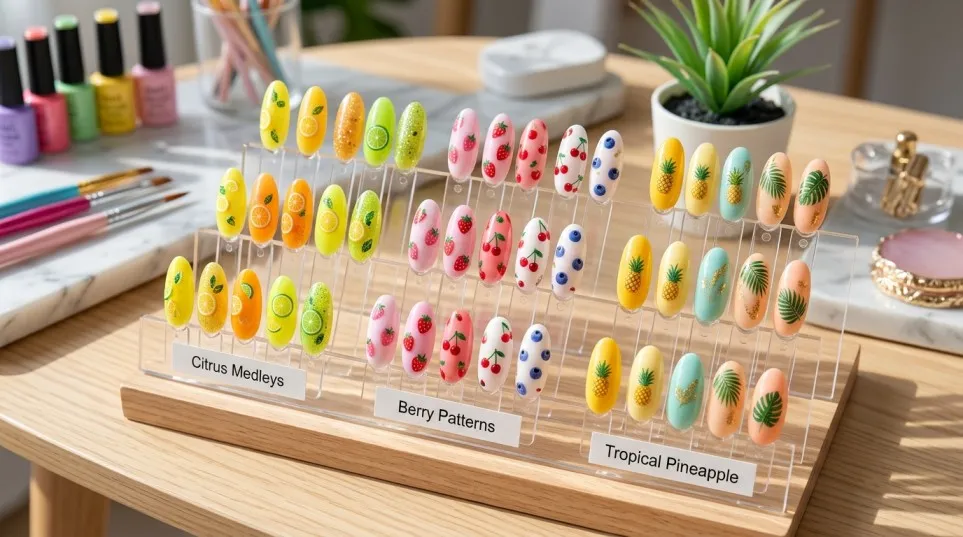
Tiny lemon, cherry, or orange decals add a cheerful touch to bright or pastel gel polish.
11. Minimalist Heart Stickers
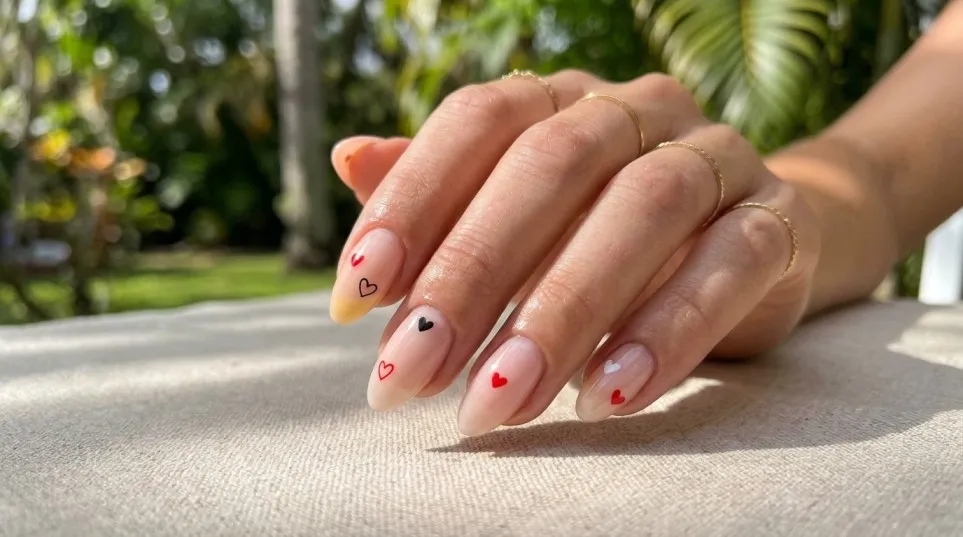
One small black or white heart on each accent nail is an easy way to create a modern, understated manicure.
12. Blue Nails with Silver Stars
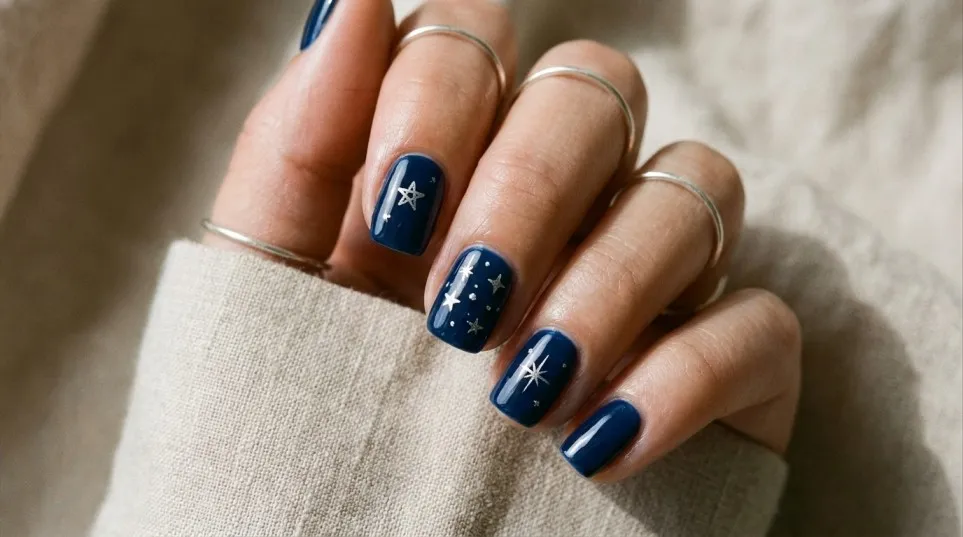
Blue polish and silver stars give your nails a celestial look. Try pale blue for a softer finish or navy for more contrast.
13. Burgundy Nails with Gold Flowers
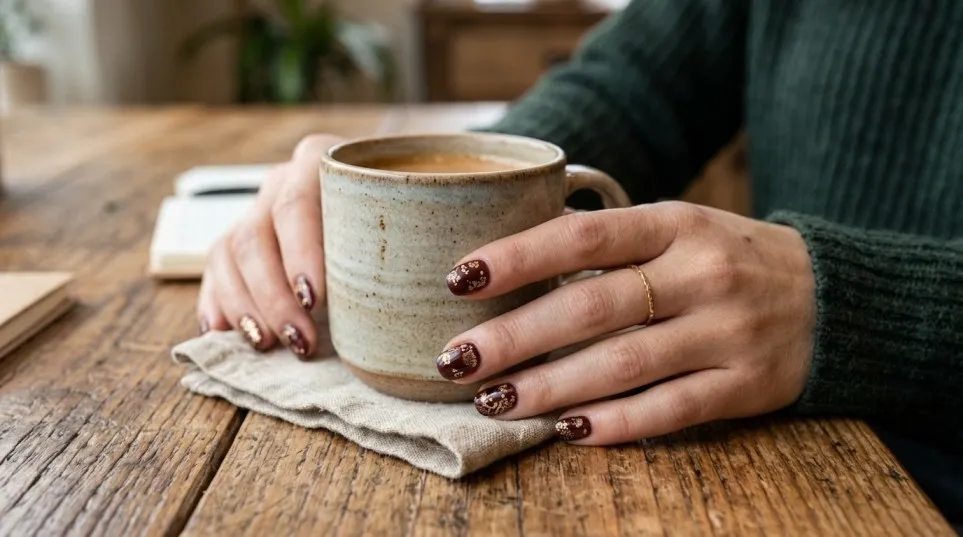
Deep burgundy and gold work well together for autumn, winter, and formal occasions.
14. Pink Nails with Silver Rhinestones
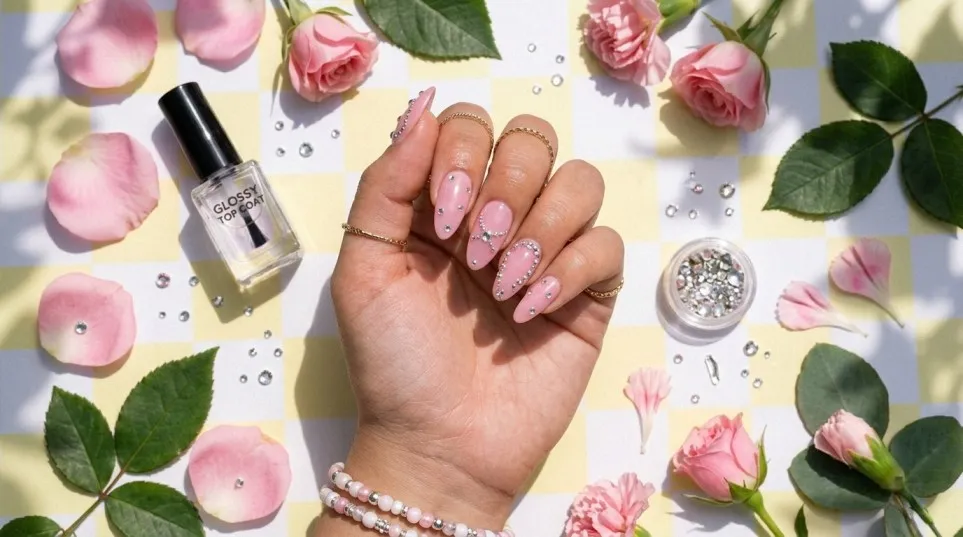
A few small rhinestones add shine without making every nail look busy. Use decorations designed for nail application.
15. Abstract Geometric Stickers
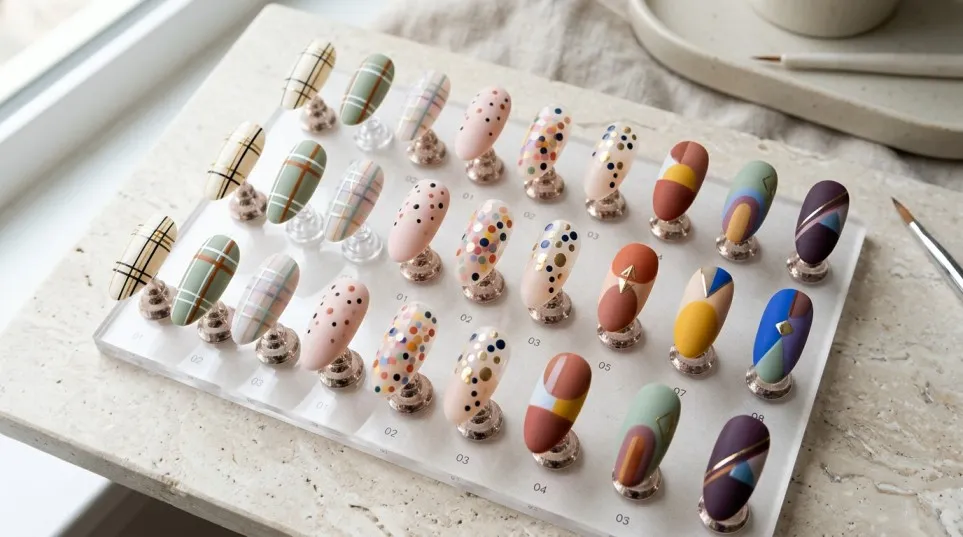
Colourful shapes, curved lines, and modern patterns are ideal if you prefer contemporary nail art over traditional flowers and hearts.
Gel Nails with Stickers for Short Nails
Short nails can look just as attractive as long nails. In fact, smaller nail surfaces often suit minimalist sticker designs particularly well.
If you have short nails, try these tips:
- Choose tiny flowers, stars, dots, or simple lines.
- Place one sticker on each ring finger for a balanced design.
- Use a nude, pink, or milky base to create a clean appearance.
- Avoid placing large stickers too close to the sidewalls.
- Choose flat stickers if you want a smooth finish for everyday activities.
For example, a short nude manicure with one tiny gold star on each ring finger can look elegant without appearing crowded.
Gel Nails with Stickers for Long Nails
Long nails offer more space for creative designs. You can combine stickers with French tips, ombré effects, metallic accents, or several small patterns.
Almond-shaped nails look beautiful with delicate flowers or butterfly decals. Square nails can suit geometric patterns, while coffin-shaped nails provide space for bold designs and statement artwork.
However, remember that longer nails can be more prone to catching on clothing or objects. If you use 3D stickers or gems, keep them secure and avoid placing bulky decorations where they could snag.
Common Mistakes to Avoid When Using Nail Stickers
Even a good sticker set can produce disappointing results if the application is rushed. Fortunately, most common problems are easy to prevent.
| Common mistake | How to avoid it |
|---|---|
| Applying stickers to wet polish | Use the surface condition specified by the sticker manufacturer. |
| Placing stickers over dusty nails | Clean away dust before applying decals. |
| Choosing oversized designs | Match the sticker size to the nail. |
| Leaving sticker edges raised | Smooth flat decals carefully before sealing. |
| Applying too much top coat | Use a thin, even layer. |
| Letting gel touch the skin | Remove skin contact before curing. |
| Using an incompatible lamp | Follow the gel manufacturer’s lamp and curing instructions. |
| Peeling stickers off aggressively | Remove decorations gently and follow the product’s removal guidance. |
Why Do Gel Nail Stickers Peel Off?
There are several possible reasons why stickers may start lifting.
First, the nail surface may have been dusty, oily, or otherwise unsuitable for the adhesive. Second, the sticker may have been placed too close to the cuticle or sidewall. Third, the top coat may not have been compatible with the sticker, or the decoration may have needed to dry fully before sealing.
To improve the result, prepare the nail carefully, follow the instructions for your particular sticker, and make sure the edges are smooth before finishing the manicure.
If the sticker continues to lift, do not repeatedly cover it with more gel. Remove or repair the affected decoration according to the product instructions.
How Long Do Gel Nails with Stickers Last?
The lifespan of gel nails with stickers depends on the gel system, sticker quality, nail preparation, application technique, and your daily activities.
As a general guide, a well-applied gel manicure may last around two to three weeks, although some people experience lifting or wear sooner. Nail stickers do not automatically make a manicure last longer; their durability depends on how well they adhere and whether they are compatible with the top coat.
Here are a few ways to help your manicure look fresh for longer:
- Wear gloves when washing dishes or using household cleaning products.
- Avoid using your nails to open cans, scrape surfaces, or remove labels.
- Apply hand cream and cuticle oil regularly.
- Avoid picking at lifting stickers or peeling gel polish.
- Have your manicure removed safely when it is time for a new design.
If your nails become sore, discoloured, or unusually brittle, remove the product safely and seek professional advice where appropriate. Do not cover an unexplained nail problem with another manicure.
How to Remove Gel Nails with Stickers Safely
Removing gel nails with stickers correctly is just as important as applying them. Pulling off stickers or peeling away gel can damage the natural nail surface.
The correct removal method depends on whether you used ordinary adhesive stickers, water decals, gel polish, or gel extensions.
Removing Ordinary Nail Stickers
If the stickers are on natural nails without gel polish, follow the sticker manufacturer’s removal instructions. Some can be lifted gently after using a suitable remover, while others may need a different approach.
Never force a sticker off if it resists removal.
Removing Stickers from Gel Polish
If the stickers are sealed under gel polish, you may need to remove the gel coating first. Follow the instructions for your specific gel system. Soak-off gel products commonly require acetone, while other systems may need professional filing or removal.
Do not aggressively scrape or file your natural nails to remove the design.
The American Academy of Dermatology’s gel manicure guidance recommends avoiding picking gel polish and moisturising nails between manicures.
American Academy of Dermatology
After removal, give your nails a break if they feel weak or dry. Use a moisturiser or petroleum jelly around the nails and cuticles, and allow damaged areas to grow out.
Are Gel Nails with Stickers Safe?
Gel nails with stickers can be a convenient way to decorate your nails, but it is important to use the products correctly.
Gel nail products may contain acrylates or related ingredients that can cause allergic reactions, especially when uncured product contacts the skin. Avoid skin contact, use only a compatible curing lamp, and never assume that a gel product is fully cured simply because the surface looks dry.
The US Food and Drug Administration’s guidance on nail care products explains the importance of avoiding skin contact with certain nail product ingredients.
You should also be aware that UV and LED nail lamps can expose your hands to ultraviolet radiation. The American Academy of Dermatology recommends considering broad-spectrum, water-resistant SPF 30 or higher on the hands before a gel manicure, or using dark, opaque fingerless gloves designed for nail treatments.
If you experience itching, redness, swelling, blisters, or nail separation, stop using the suspected products and seek medical advice. Do not try another gel brand to test whether the reaction goes away.
Frequently Asked Questions About Gel Nails with Stickers
These answers cover common questions people ask when choosing, applying, and caring for gel nails with stickers.
Related BIAB Guides
- Gel Nail Stickers: A Complete Guide to Easy, Salon-Looking Nails
- How to Apply Gel Nail Stickers: An Easy Step-by-Step Guide
- Gel Nail Stickers: The Complete Guide to Easy, Salon-Looking Nails at Home
- Builders Gel Nails Near Me: Your Complete Guide to Beautiful, Strong and Natural-Looking Nails
Frequently Asked Questions
Yes. You can apply many self-adhesive nail stickers to cured gel polish. Make sure the sticker is suitable for your nail system, position it on the recommended surface, and seal it with a compatible top coat if the manufacturer allows it.
Ordinary self-adhesive stickers and most water decals do not need a UV lamp to attach. However, the gel polish and compatible gel top coat used in the manicure usually require the specified curing lamp. Some gel nail wraps are also designed to be cured.
You can, but the correct surface depends on the sticker type. Many self-adhesive stickers are best applied to a clean, cured colour layer before the final top coat. Others may be designed for use on a finished manicure. Always follow the product instructions.
Prepare the nail properly, remove dust, position the sticker on the recommended surface, smooth out air bubbles, and seal the design with a compatible top coat where appropriate. Avoid placing stickers over lifted polish or too close to the skin.
Many ordinary self-adhesive stickers work with gel polish, but not all are suitable for every gel system. Check the instructions and avoid curing stickers under a lamp unless the manufacturer specifically recommends it.
Neither option is always better. Stickers are convenient for detailed designs and beginners, while hand-painted nail art allows more customisation. If you want quick, repeatable patterns, stickers are often the easier choice.
Absolutely. Small flowers, dots, stars, and minimalist lines look particularly attractive on short nails. Choose designs that fit the nail without touching the surrounding skin.
A gel manicure may last around two to three weeks, depending on the product and application. The stickers may begin lifting sooner if they are poorly positioned, incompatible with the top coat, or exposed to frequent wear.
Yes, many nail stickers can be used on gel extensions and acrylic nails. Check that the sticker and top coat are compatible with the nail system, and avoid placing decorations where they might catch on clothing or hair.
Some decals can be placed beneath a compatible gel top coat, but the correct method depends on the sticker material. Ordinary stickers should not automatically be coated with gel or cured under a lamp. Follow the manufacturer’s instructions to avoid lifting or curing problems.
Nude, baby pink, milky white, lavender, and sage green are versatile choices. Gold and silver stickers add elegance, while colourful flowers, hearts, and fruit designs work well for playful manicures.
Yes. Flat self-adhesive stickers are often the easiest option because you can position them without painting detailed designs. Beginners should start with a simple manicure and learn how to apply and remove the products safely.
You can explore different styles through Amazon UK nail art stickers, including floral decals, metallic patterns, French tip designs, and minimalist stickers. Check the product description, application instructions, reviews, and delivery information before purchasing.
The stickers themselves do not necessarily damage natural nails, but aggressive removal, excessive filing, and repeated gel manicures can contribute to brittleness or peeling. Use suitable products, avoid picking, and give your nails time to recover if they become weak.
Tiny white flowers, thin gold lines, subtle hearts, and delicate botanical decals usually create a natural-looking manicure. Pair them with sheer pink, nude, or milky white gel polish for an understated finish.
Final Thoughts on Gel Nails with Stickers
Gel nails with stickers are a simple way to create beautiful nail art without needing advanced painting skills. From delicate floral designs and elegant gold details to colourful summer patterns, there are options for almost every taste and occasion.
The best results come from choosing suitable stickers, preparing your nails carefully, applying gel products correctly, and following the manufacturer’s instructions for curing and removal.
If you are just starting, a mixed pack of self-adhesive nail stickers is a sensible first purchase. Combine it with a few versatile gel polish colours and a compatible top coat, and you will have plenty of options for experimenting with new designs.
Most importantly, focus on product compatibility and safe application rather than buying the largest kit. With a little practice, gel nails with stickers can help you create attractive, personalised manicures at home with confidence.
4 Comments